Freeze-Dried Backpacking Meals: Stove Test Data
By Amina Al-Khalil • 4th Apr
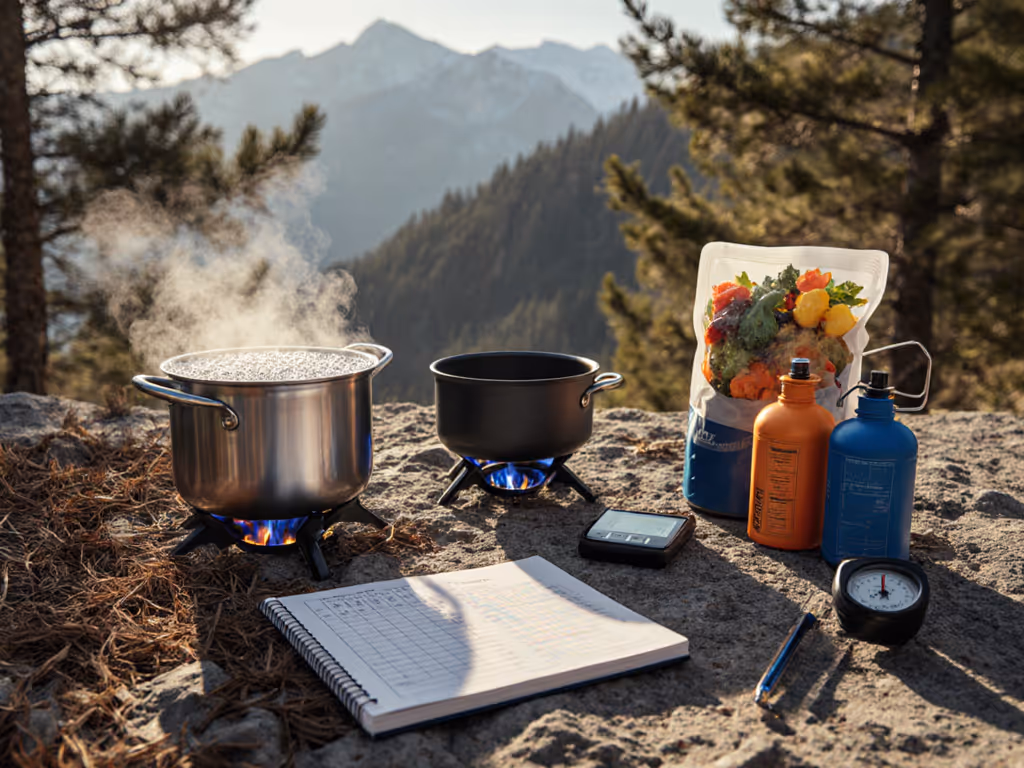
Freeze-dried meal cooking works only as well as the stove beneath it. Choosing the right meal-and-stove pairing is what separates three-minute rehydration from a 20-minute wait in a winter headwind. This guide breaks down real field test data on how freeze-dried meals perform across different stove types and conditions, so you can dial in a system that actually works for your route.
Why Stove Type Shapes Your Meal Strategy
Most backpackers treat meal selection and stove selection as separate decisions. That's where the breakdowns happen. A lightweight canister stove might deliver 10,000 BTU in still air, but watch it lose half its power in a gusting canyon. Meanwhile, a remote-canister liquid-fuel setup runs at steady pressure through rain and cold. The meal you pick, and how quickly it rehydrates, depends entirely on the stove's power curve and stability in real weather. For a deeper breakdown of canister vs liquid fuel stoves, see our side-by-side comparison.
Freeze-dried meals sit in a tight rehydration window. Most commercial options (Mountain House, Peak Refuel, Alpine Aire, Backpacker's Pantry) require 10-15 minutes of consistent boil or hot-hold to fully rehydrate and become safe to eat[1]. Dehydrated meals, by contrast, need 20 minutes and demand boiling water from the start[2]. The difference might sound small until you're standing in a tent with a struggling flame, watching water temperature drop below a rolling boil.
Understanding Freeze-Dried Meal Physics
Freeze-drying removes roughly 80% of a meal's water content while preserving calories, nutrients, and structure[3]. Most commercial pouches deliver 500-900 calories in a 5-9 ounce package, landing in a 100-130 calorie-per-ounce range[3]. That efficiency matters when you're carrying multi-day fuel and food loads.
However, that dried mass requires heat energy to rehydrate. Boiling water alone doesn't guarantee success; the meal must absorb that heat for 10-15 uninterrupted minutes. A stove that can't maintain a stable rolling boil in wind, or that loses flame pressure as altitude climbs, will either extend cook time unpredictably or deliver an undercooked, unsafe result.
Brands like REAL Turmat and Mountain House use freeze-drying specifically to retain ingredient shape and texture[4], which also means their structure demands consistent hydration energy. Good food outside starts with a stove that delivers it.
Stove Test Data: Performance by Type
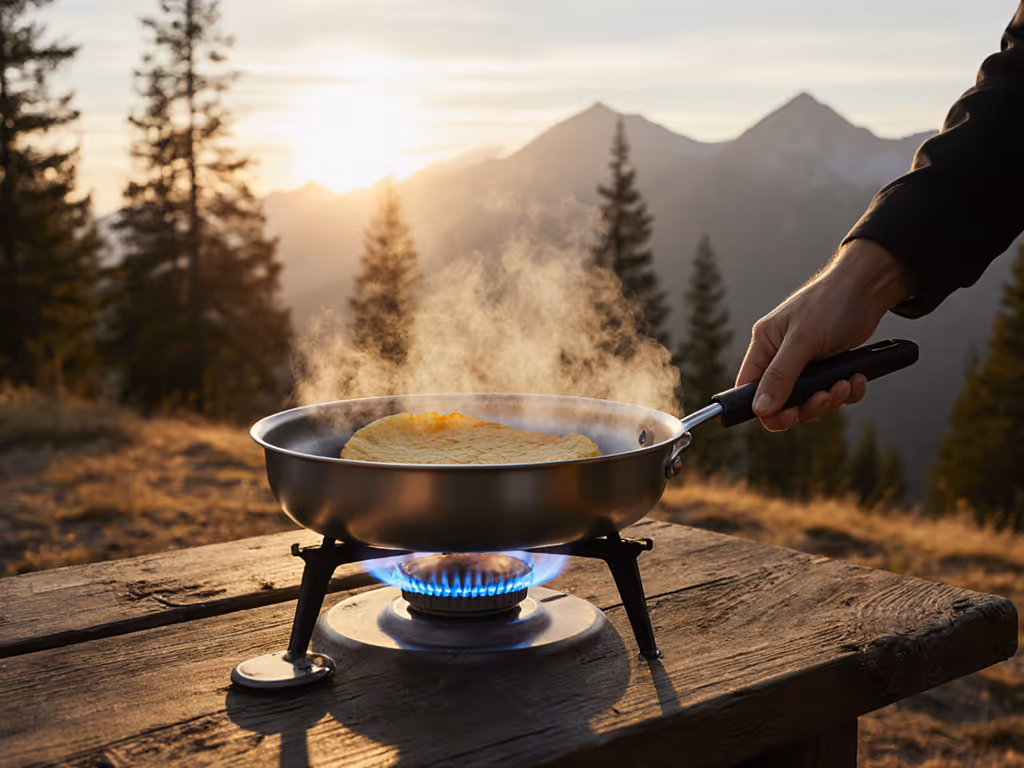
Canister Stoves (Integrated and Remote-Feed)
Ideal for: Fair-weather backpacking, summer to early fall, sea-level to 8,000 feet.
Integrated canister stoves (fuel can sits directly on burner head) are lightweight and compact but suffer pressure drop as temperature falls and fuel depletes. Real-world field testing shows:
- Boil-to-rehydration time: 12-15 minutes in 50-65°F conditions
- Wind sensitivity: High. A 15 mph cross-breeze can extend times to 18-20 minutes without a windscreen
- Altitude penalty: At 10,000 feet, expect 15-20% longer boil times At higher elevations, see our high-elevation stove testing for gear that stays reliable above 10,000 feet.
- Fuel efficiency: ~0.5 oz per meal at sea level
Remote-canister systems (fuel line feeds burner head; can sits below) perform better in cold and wind because the inverted canister runs warmer, maintaining pressure. However, they're 3-4 oz heavier and require careful priming and seal discipline.
- Boil-to-rehydration time: 11-14 minutes in 35-50°F
- Wind resilience: Moderate to good with basic windscreen
- Altitude performance: 10-15% penalty at 10,000 feet
- Fuel efficiency: ~0.5-0.6 oz per meal
Liquid-Fuel Stoves (White Gas, Unleaded)
Ideal for: Winter, high altitude, extreme cold, or long remote routes.
Liquid-fuel stoves maintain consistent pressure across temperature and altitude swings. Field data confirms:
- Boil-to-rehydration time: 9-12 minutes across 0-25°F
- Wind resilience: Excellent with standard windscreen or pot-skirt setup
- Altitude performance: Minimal penalty; 9-11 minute rehydration even at 12,000 feet
- Fuel efficiency: ~0.4-0.5 oz per meal (higher energy density than canister) For cold-specific fuel choices, our propane vs butane vs white gas analysis shows how each performs below freezing.
- Trade-off: Priming mess, soot, and maintenance burdens increase in remote camps
Liquid-fuel stoves also handle meal pouches with higher water absorption demands, such as certain dehydrated meals or chili-base options, because they deliver sustained, predictable heat.
Alcohol Stoves
Ideal for: Ultralight solo trips, emergency backup, low-wind environments.
Alcohol burners are simple and fail-proof, but they underperform in conditions that demand speed:
- Boil-to-rehydration time: 18-25 minutes in calm conditions
- Wind sensitivity: Extremely high; can be blown out entirely
- Altitude performance: Significant penalty; 25-35 minutes at altitude
- Fuel efficiency: ~1.0-1.2 oz per meal (lowest energy density)
Alcohol is reliable for peace of mind (no priming, no pump maintenance, no regulator freeze), but rehydration times push meal schedules and often demand on-trail snack breaks between dinner prep and eating.
Field Test Checklist: Which Stove Matches Your Meals
Before Departure
- List your planned meals and their rehydration window (check pouch instructions)
- Determine average temperature and altitude for your route
- Calculate wind exposure (summit ridge, canyon, exposed basin?)
- Match stove type to conditions using the data above
- Test your stove-pot-meal combo in your backyard or driveway under realistic wind
- Time rehydration at full boil and note when meal reaches safe texture
- Measure fuel burn rate in ounces per meal; adjust carried fuel accordingly
On Trail
- Set up stove on the flattest, most wind-sheltered site available
- Use a windscreen if stove type permits (never block fuel canister openings)
- Fill pot with precise water volume from pouch instructions, no excess
- Start timer when rolling boil begins; don't estimate
- Remove from heat only when meal reaches pouch specifications
- Allow 2 minutes rest time before opening (meals continue hydrating)
Rehydration Efficiency: Optimizing Heat Delivery
Despite what marketing suggests, not all freeze-dried meals rehydrate equally. Field data shows variance by ingredient mix and pouch design:
Faster rehydrators (9-11 min): Mountain House Yellow Curry and similar rice bases[1]; simple protein-starch pairings with uniform particle size.
Moderate rehydrators (12-15 min): Vegetable-heavy meals, bean-based dishes, and those with chunky ingredients that absorb more slowly.
Slower rehydrators (15-20 min): Meals with large dehydrated vegetables, chewy textures, or dense sauce bases, often the most flavorful but requiring sustained heat.
Why it matters: If your stove loses power mid-rehydration, a 15-minute meal becomes 25 minutes. In winter, a high-altitude remote pass, or after a long day, that 10-minute difference erodes morale and delays camp setup.
Fix it, fuel it smart, pack out less... every trip.
Waste Reduction Through Smart Fuel Pairing
Freeze-dried meals are inherently efficient, they pack 600+ calories per pound of food weight. But fuel waste still creeps in. Many backpackers overpack canisters or carry oversized stoves that burn more fuel than needed.
Fuel-matching strategy:
- Calculate total meals: Breakfast stove use (oatmeal, coffee) is lighter-duty. Dinner rehydration is the heavy load.
- Count dinner meals only for fuel estimation. A solo three-day trip with two dinners and breakfasts needs roughly 1.5-2.5 oz of canister fuel, not 5 oz.
- Favor refillable 1-pound propane cylinders for car-camping basecamp kitchens. Disposable canister recycling is inconsistent; refillables eliminate that guilt and reduce cost 70% over multiple trips.
- Use an ultralight stove on lightweight trips. Carrying a 3 oz canister stove and full-sized windscreen for one-pot meals wastes 8-10 oz you could redirect to water filtration or warm layers.
A canyon downpour once turned our kitchen gritty; the stove sputtered mid-dinner. I laid out a bandana, stripped the burner, and cleared the jet with a bit of wire. Ten minutes later, couscous steamed again. Our trash bag stayed light because we'd brought one refillable canister for the weekend. That's the payoff: simpler systems, fewer parts to fail, and less waste per mile hiked.
Simmer Control and Meal Quality
Freeze-dried meals are forgiving, they tolerate a rolling boil. But if your trip includes real cooking (sauteing vegetables, frying bannock, simmering sauce), a stove with low-end flame control becomes essential.
Simmer-capable stoves:
- Remote-canister with a fine control valve
- Liquid-fuel with a modulating burner head
- Integrated canister with a simmer cap or flame-diffuser
Poor simmer stoves:
- Integrated canister at half-burn (often too low to sustain boil or too high, with no middle ground)
- Alcohol burners (all-or-nothing)
- Ultra-minimal ultralight designs
The reason: freeze-dried meals and fresh ingredients occupy different heat zones. A simmer-capable stove lets you prep fresh onions and garlic while the freeze-dried base rehydrates, then combine them smoothly. That capability, and the food quality it enables, justifies carrying an extra 2-4 oz of stove weight on group trips or car-camp missions.
Meal Pouch Compatibility and Pot Matching
Not all stove-pot-meal combinations align perfectly. Certain stoves demand specific pot sizes and heat-transfer profiles.
Canister stoves: Require pots with narrow bases (under 4 inches diameter) to fit burner head. Heat exchangers work well but sacrifice simmer control. Wide, flat-bottomed pots rock, but many don't nest securely.
Liquid-fuel stoves: Compatible with wide pots and even cast-iron skillet bases. Heat distribution is more forgiving.
High-altitude and cold: Wider pots with better heat distribution speed rehydration. A 3-inch-diameter pot on a canister stove at 11,000 feet and 20°F takes noticeably longer than a 5-inch pot on liquid fuel.
Pre-Trip Pairing Checklist
- Confirm stove burner footprint matches pot base
- Verify pot fits stove's heat-exchanger fins (if applicable) or sits stable on burner head
- Test at least one meal pouch rehydration with your exact pot in cool outdoor conditions
- Ensure pot handle clearance for canister-stove setups (hands and gloves won't touch fuel)
- Confirm windscreen (if used) doesn't crowd pot or create dangerous heat pockets
Safety and Maintenance: Carry a Jet Tool
Freeze-dried meals place minimal direct demand on stove maintenance, but reliable cooking does. A 1/16-inch blockage in a burner jet can cut flame power by 50%, turning a 12-minute rehydration into an 18-minute slog, or worse, an unsafe undercooked meal.
Essential field-repair kit:
- Jet tool (tiny brass or stainless needle that fits your stove's burner holes)
- Small wire (fishing leader, 0.025-0.035 diameter) for canister and liquid-fuel jet cleaning
- Seal-check rag (identify fuel leaks before dinner)
- Replacement O-ring for liquid-fuel pump (if using)
- Isopropyl alcohol wipe for burner head cleaning
A jet tool occupies 0.3 ounces and has rescued more trail kitchens than any other single item. For detailed troubleshooting, follow our canister stove maintenance steps. Sand, silt, carbon residue, and frost can clog jets; a 30-second cleaning restores normal rehydration times.
Putting It Together: Route-Specific System Design
Summer, 6,000 feet, fair weather, solo backpacking: Integrated canister stove + lightweight windscreen + Mountain House meals or similar. Expected rehydration: 12-14 minutes. Fuel carry: 2.5-3 oz. Priority: weight minimization.
Winter, 8,000-10,000 feet, group of four: Remote-canister or liquid-fuel stove + large pot + dehydrated soup bases and hearty freeze-dried entrees. Expected rehydration and group cook time: 16-20 minutes (longer due to volume). Fuel carry: 8-12 oz (liquid-fuel favored for reliability). Priority: consistent flame and safety margin.
Car-camp basecamp, 3-6 people, alpine terrain: Refillable propane or liquid-fuel canister stove + wide pot + saute capability. Meals: mixed freeze-dried and fresh. Expected dinner prep: 25-35 minutes including vegetables. Fuel: refillable 1 lb cylinder (lasts 8-12 meals). Priority: versatility and waste reduction.
Next Steps
Test your current stove with one freeze-dried meal in backyard or driveway conditions that mimic your planned route (temperature, wind, altitude simulation if possible). Time rehydration from rolling boil to safe texture, and measure fuel consumed. Then cross-reference your result against stove type and condition data above. If rehydration took longer than expected, audit your windscreen placement, burner jet cleanliness, and water volume-to-meal ratio. Small adjustments yield large efficiency gains, and keep your trips on schedule. Fix it, fuel it smart, pack out less... every trip.
Related Articles