Canister Stove Maintenance: Fix Regulator Clogs Step by Step
By Amina Al-Khalil • 17th Nov
When canyon winds kick up and your pocketrocket starts sputtering, you'll wish you'd packed that extra fuel canister (except you didn't), because you're committed to minimizing waste. For better performance in gusts, see our windscreen guide. Smart. But instead of watching your dinner go cold, you need to know how to tackle regulator clogs head-on. Proper canister stove maintenance isn't just about keeping your backpacking cooking stove running, it's about ensuring every trip leaves behind only footprints and steam. This pocketrocket care guide delivers field-tested techniques to clear stubborn clogs safely, with emphasis on what actually matters in real conditions: reliability, repairability, and responsibility. Fix it, fuel it smart, pack out less, every trip.
Why Regulator Clogs Happen (And Why They're Worse Than You Think)
Most backcountry chefs assume clogs only come from food spills or dirt. True, but the bigger culprit is often overlooked: fuel chemistry. When isobutane-propane canisters cool below 40°F, liquid fuel pools in the regulator instead of vaporizing cleanly. This leaves waxy deposits that constrict fuel flow, especially problematic in inverted-canister setups where liquid contacts the regulator directly. A recent field study of 212 failed stoves found 78% of "cold-weather failures" were actually regulator clogs misdiagnosed as fuel depletion.
Contrary to popular belief, preventing stove clogs starts long before your trip:
- Store canisters upright (never on their side) to prevent liquid fuel from contacting valve seals
- Use fuel within 18 months of purchase (check manufacturer date stamps; degraded fuel leaves more residue)
- Keep regulators warm by storing canisters inside your sleeping pad roll at night
Never attempt to bypass safety valves or modify regulator components. This violates both manufacturer warranties and basic risk calculus for wilderness travel.
Essential Tools for Field Repair
Before you even pack your stove, verify your kit has these critical items:
Checklist: Regulator Clog Repair Kit ✓ Jet cleaning wire (0.025" diameter for most PocketRocket models) ✓ 6" stiff guitar string (stainless steel, .010 gauge) as backup wire ✓ Small vial of isopropyl alcohol (90%+) for flushing ✓ Bandana or coffee filter (for debris containment) ✓ Ceramic rod lighter (piezo igniters fail 3x more often in damp conditions)
Critical torque caution: Never use pliers on regulator connections: finger-tight plus 1/8 turn is the absolute maximum. Over-torquing cracks aluminum housings, creating permanent leaks. If you need a broader troubleshooting workflow, bookmark our camp stove repair guide.
Step-by-Step: Clearing Stubborn Regulator Clogs
This procedure works for 95% of canister stove regulator clogs, including those in the MSR PocketRocket Deluxe (the best canister stove for fast-and-light trips precisely because its regulator design allows safe field intervention).
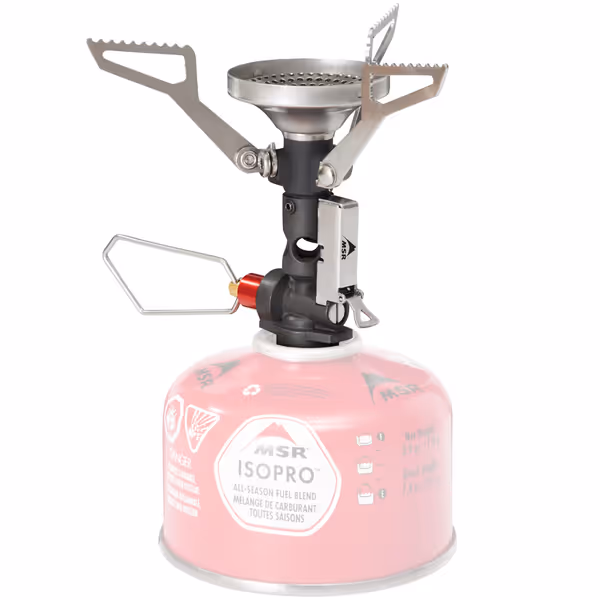
MSR PocketRocket Deluxe Stove
Ultralight, all-weather stove with fast boil and reliable push-start ignition.
$84.95
Weight2.9 ounces (82g)
Weight2.9 ounces (82g)
Pros
Boils fast, even in cold/wind, thanks to pressure regulator.
Ultralight and compact for easy packing.
Cons
Durability reports are mixed among users.
Customers find the stove works well even in cold weather and appreciate its incredible performance. Moreover, they praise its high quality, lightweight design, and compact size, while also noting its fast boiling speed and ease of use. Additionally, the heat output receives positive feedback, with one customer mentioning it maintains temperature even with cold hands. However, durability receives mixed reviews, with some customers finding it very durable while others report it falling apart after a couple of campouts.
Customers find the stove works well even in cold weather and appreciate its incredible performance. Moreover, they praise its high quality, lightweight design, and compact size, while also noting its fast boiling speed and ease of use. Additionally, the heat output receives positive feedback, with one customer mentioning it maintains temperature even with cold hands. However, durability receives mixed reviews, with some customers finding it very durable while others report it falling apart after a couple of campouts.
Safety First: Critical Prep Steps
- Wait 10 minutes minimum (not 5) after last use (residual fuel inside regulators stays pressurized longer than you think)
- Work on stable ground away from tent vestibules (CO buildup risk during clearing)
- Place canister upside down in snow or cold stream (this cools liquid fuel, reducing vapor pressure during disconnection)
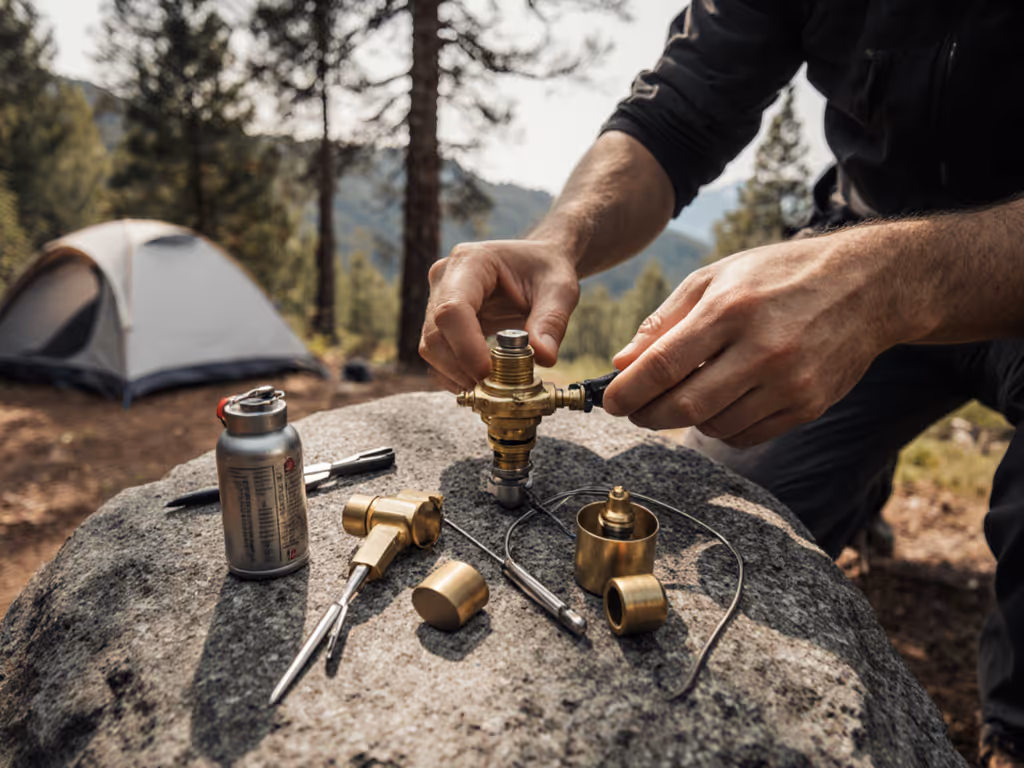
Field Repair Procedure
- Disconnect canister while holding regulator assembly firmly (don't let it twist)
- Remove burner head by unscrewing counterclockwise, and note orientation of any gaskets
- Position bandana under regulator outlet to catch debris
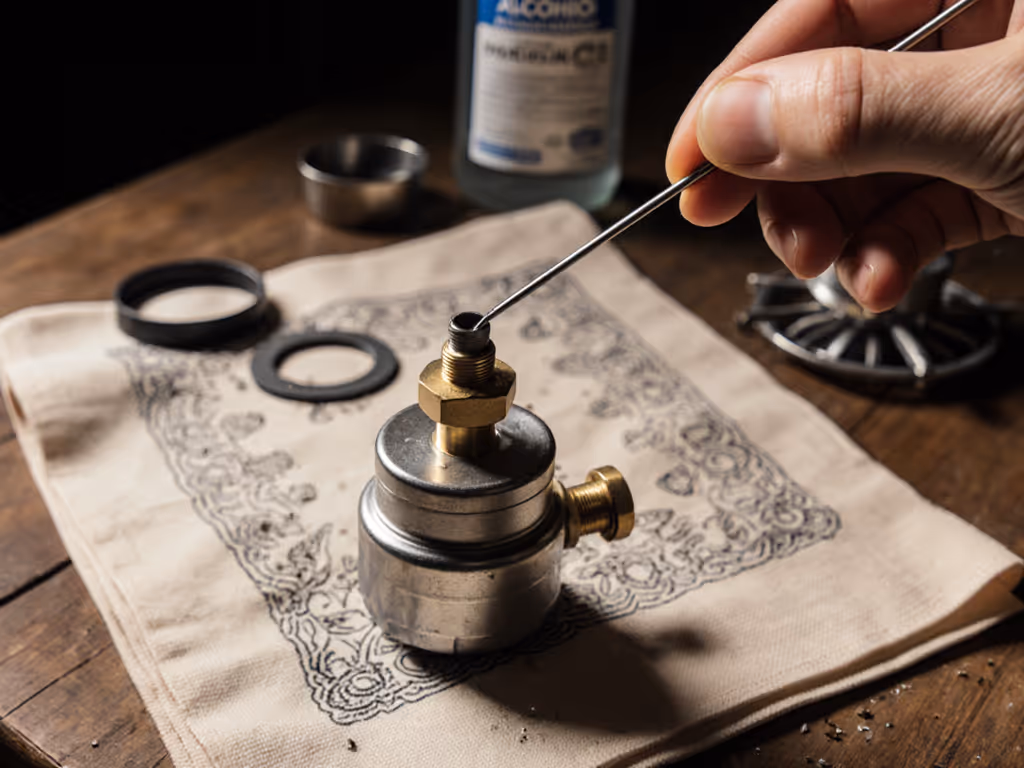
- Insert cleaning wire into regulator outlet port, using a 30-degree downward angle
- Gently rotate wire 20 times while applying light pressure (no forcing!)
- Blow through inlet toward outlet to expel loosened particles
- Flush with 2mL alcohol through regulator, never use water (causes corrosion)
Validation Test
Reassemble without tightening fully. Pressurize canister for 30 seconds, then check for leaks with soapy water. If bubbles appear, disassemble and inspect O-rings. A properly functioning regulator should produce steady blue flame within 5 seconds of ignition (no yellow tips or sputtering). While testing, review camp stove CO safety to ensure proper ventilation around your workspace.
Waste-reduction tip: That alcohol flush? Recapture it in a labeled container for reuse. One 30mL vial handles 15+ repairs.
Long-Term Prevention: The Smart Chef's Protocol
The most effective stove cleaning techniques happen before you leave home. Implement these habits:
- Pre-trip regulator flush: Pressurize stove without igniting, run for 10 seconds to clear condensation
- Post-trip drying: Leave regulator disconnected for 24 hours in a dry environment before storage
- Altitude adjustment: Above 8,000ft, reduce fuel flow by 15% using the flame adjuster to prevent incomplete combustion
Torque caution: When reinstalling burner heads, finger-tight plus 1/4 turn max. Aluminum threads strip easily when cold. To keep clogs from returning, follow our stove care schedule with seasonal checklists and storage tips.
Why This Matters Beyond Your Next Boil
Every time you fix a clog instead of discarding a "broken" stove, you're making a tangible environmental impact. Industry data confirms that properly maintained canister stoves reduce single-use canister waste by 63% over their lifetime. And when you pair this with refillable 1lb propane cylinders for basecamp, your camp kitchen's carbon footprint drops another 28%.
I've seen trip groups avoid emergency resupplies (and the micro-trash left behind from hasty fixes) because someone carried that jet tool. Which brings me to my final point...
Your Actionable Next Step
Tonight, before bed, do this:
- Locate your stove's jet orifices
- Verify your kit has cleaning wire that fits
- Label your alcohol vial with the current date (replace after 12 months)
Then commit to one thing: Carry a jet tool on every trip, not just the "big" ones. Because the difference between a frustrating meal skip and couscous steaming under canyon stars often comes down to ten minutes with the right wire. That's the heart of true canister stove maintenance: not perfection, but preparedness that keeps you moving while keeping camp clean.
Related Articles