Camp Stove Repair Guide: Fix Common Issues in the Field
By Ingrid Sørensen • 3rd Oct
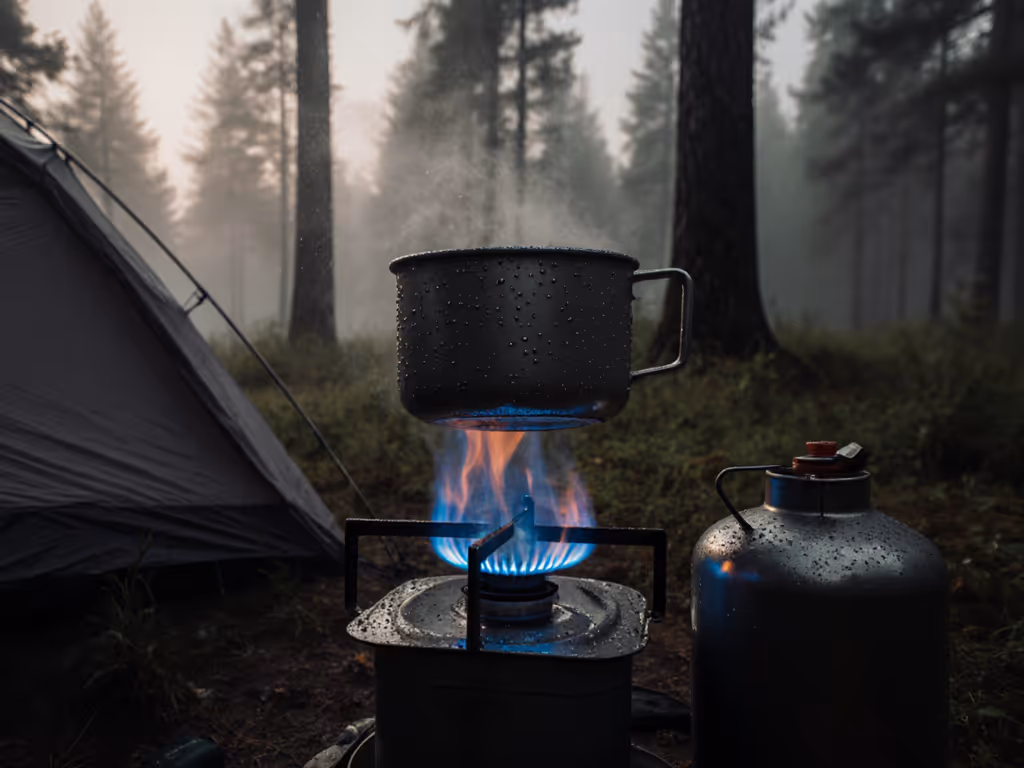
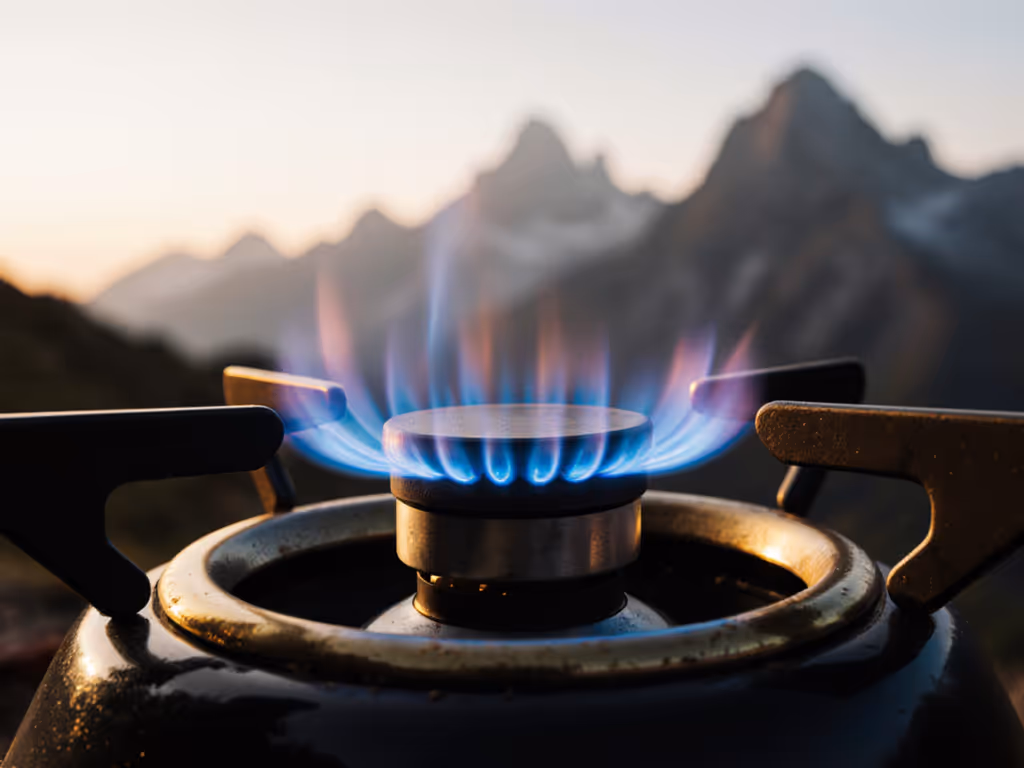
When your camp stove sputters out during a blustery coastal weekend, or worse, fails just as breakfast pancakes need flipping, reliability becomes everything. For car campers managing mixed diets and unpredictable weather, knowing how to troubleshoot a camp stove isn't just convenient; it is how you keep everyone fed, safe, and smiling. After years planning kitchens for groups (including that infamous pancake-and-curry mission for lactose-free friends and impatient kids), I've learned that most field failures stem from three culprits: fuel flow, wind exposure, and overlooked maintenance. Let's get your stove roaring again with these no-nonsense fixes (before morale dips below campfire level).
Why Field Repairs Matter More Than You Think
Car campers often assume stove failures only plague backpackers. Reality? Unstable pot bases, clogged jets, and wind-induced flameouts hit any campsite when weather turns. And when you're cooking for dietary needs (gluten-free, vegan, kids' picky phases), delays or failures mean cold meals and frustration. Stability is kindness, especially when shielding a simmering pot from gusts lets a lactose-free curry cook gently while pancakes flip golden. Below, I'll walk through the top 5 field fixes honed from real car-camping trips, prioritizing speed and safety over complex tools.
1. Revive a Weak Flame or Failed Ignition (The Silent Fuel Flow Killer)
The Problem
Sudden flame reduction or ignition failure often points to blocked fuel pathways, not empty canisters. Liquid fuel stoves like the MSR WhisperLite International suffer quickest, especially after using kerosene or old white gas. You'll notice sputtering, uneven burner rings, or that sinking click-no-spark moment.
Field Repair Protocol
Step 1: Verify fuel flow: loosen the fuel line slightly while priming. If gas hisses, tighten just until sealed.
Step 2: Clear the jet: remove the burner assembly and use the included cleaning needle (or a paperclip!) to poke the jet hole. Critical: Do this upward into the jet to avoid debris falling in.
Step 3: Prime wisely: add 5-10 drops of fuel only to the primer cup, never directly onto the burner. Light it, then slowly open the fuel valve once vapor rises.
Plain-language safety reminder: Never force primer cup fuel into the jet (it causes flare-ups). Priming should take 30 seconds max. If flame sputters after ignition, you've got debris deeper in the fuel line (see Step 4).
Why This Works for Mixed Groups
A stable simmer means lentil soup won't scorch for vegan campers while kids' noodles boil rapidly. Stove troubleshooting here prevents mealtime chaos, and wasted food when diets cannot be compromised.
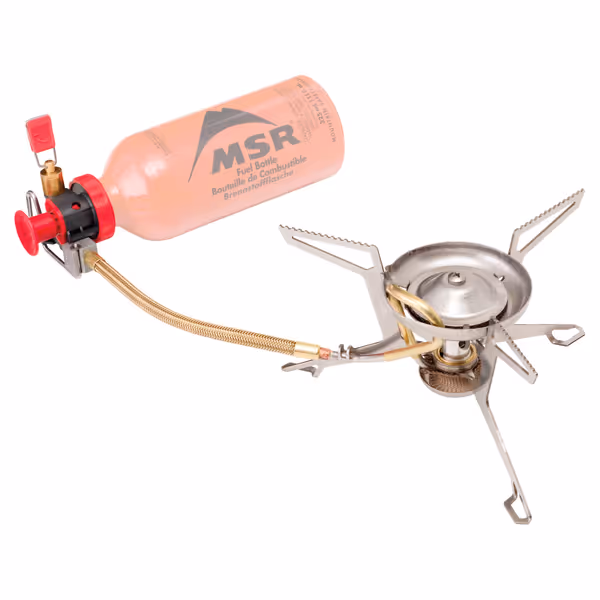
MSR WhisperLite International
Reliable multi-fuel stove for diverse conditions and global adventures.
$159.95
Minimum Weight11.2 oz (0.32 kg)
Minimum Weight11.2 oz (0.32 kg)
Pros
Burns white gas, kerosene, unleaded auto fuel for versatility.
Lightweight, compact, and stable for backpacking.
Cons
Fuel efficiency varies; some find it a 'jet engine.'
Customers find this backpacking stove well-built and reliable, working best with white gas, and appreciate its ease of use and maintenance. The stove is lightweight, durable, and versatile, being perfect for camping, car trips, and hunting excursions.
Customers find this backpacking stove well-built and reliable, working best with white gas, and appreciate its ease of use and maintenance. The stove is lightweight, durable, and versatile, being perfect for camping, car trips, and hunting excursions.
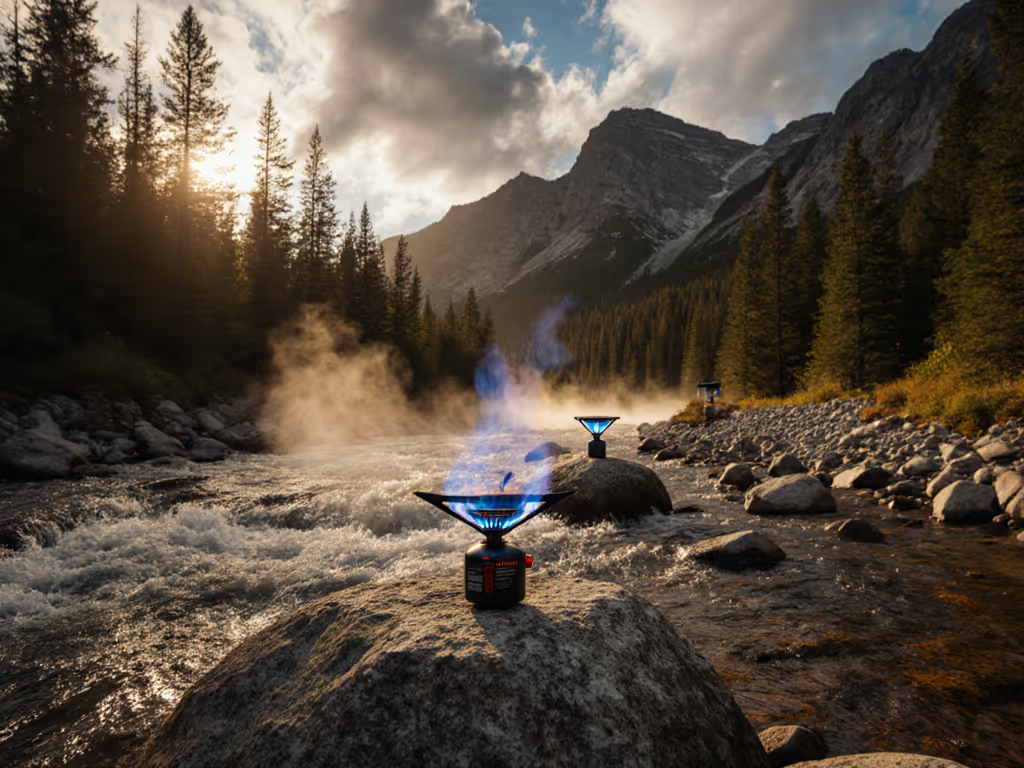
2. Beat Wind-Induced Flameouts (Without Breaking Burn Ban Rules)
The Problem
Wind is the #1 stealth stove killer, especially for car campers using propane stoves near trees or tents. But slapping a makeshift windscreen on a canister stove risks overheating and explosive pressure spikes. I've seen it happen during coastal storms, melting regulator parts within minutes.
Field Repair Protocol
Step 1: Reposition the stove: move it behind natural barriers (rocks, your vehicle's side).
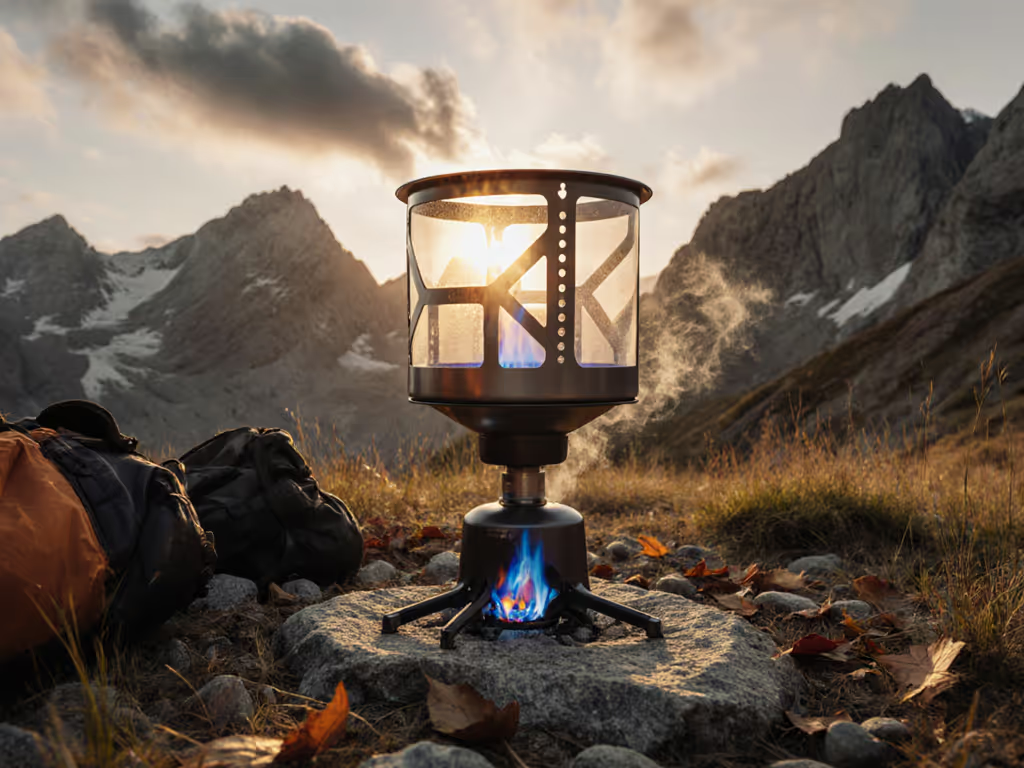
Step 2: Use approved screens: only attach screens that end below the pot's base (like the MSR Reactor's integrated design).
Step 3: Tilt burners strategically: on stoves like Coleman's Triton, angle the wind guard away from prevailing gusts while keeping flames centered under the pot.
Inclusive Menu Notes
This fix keeps all cooking stable: sautéing veggies for stir-fries without flameouts, or gentle reheating for dairy-free sauces. Never place flammable screens higher than the burner's base. It violates burn bans and creates CO hazards in enclosed spaces. For specifics on ventilation and CO risks, see our camp stove safety guide.
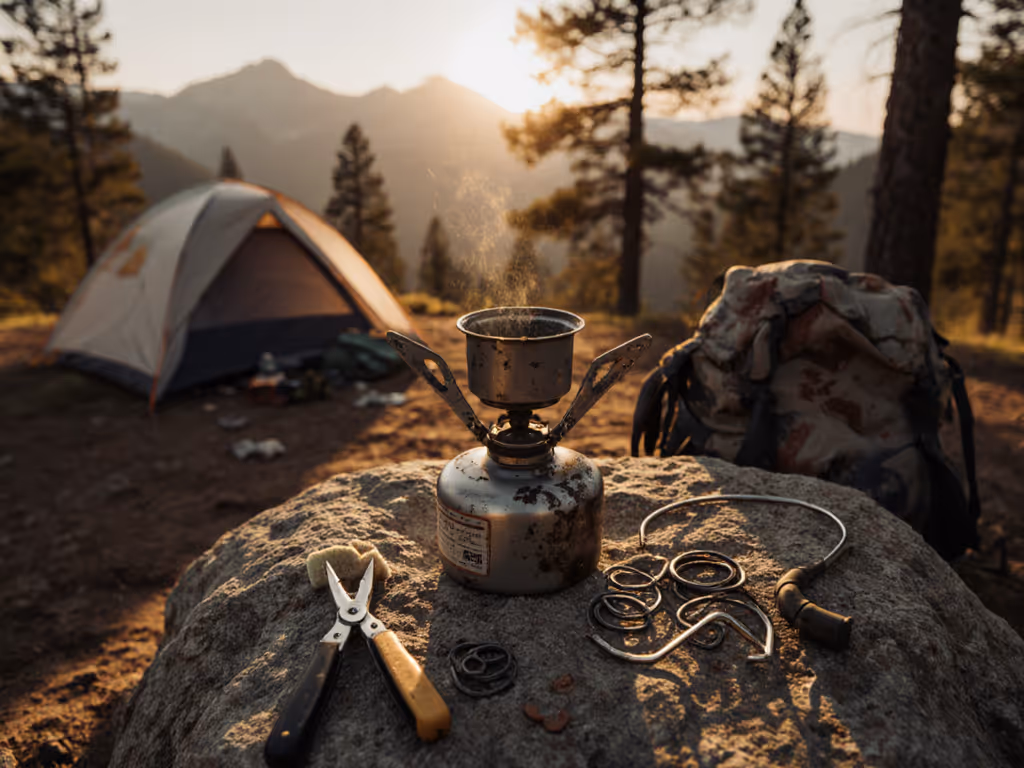
3. Unclog Burner Ports (The Grease & Crumb Assassin)
The Problem
Food spills or dusty storage turn burner ports into blockage zones. Result? Patchy flames that burn half your frittata while leaving the rest raw, a nightmare for group meals. Diagnose it by listening: if the flame hisses unevenly, ports are clogged.
Field Repair Protocol
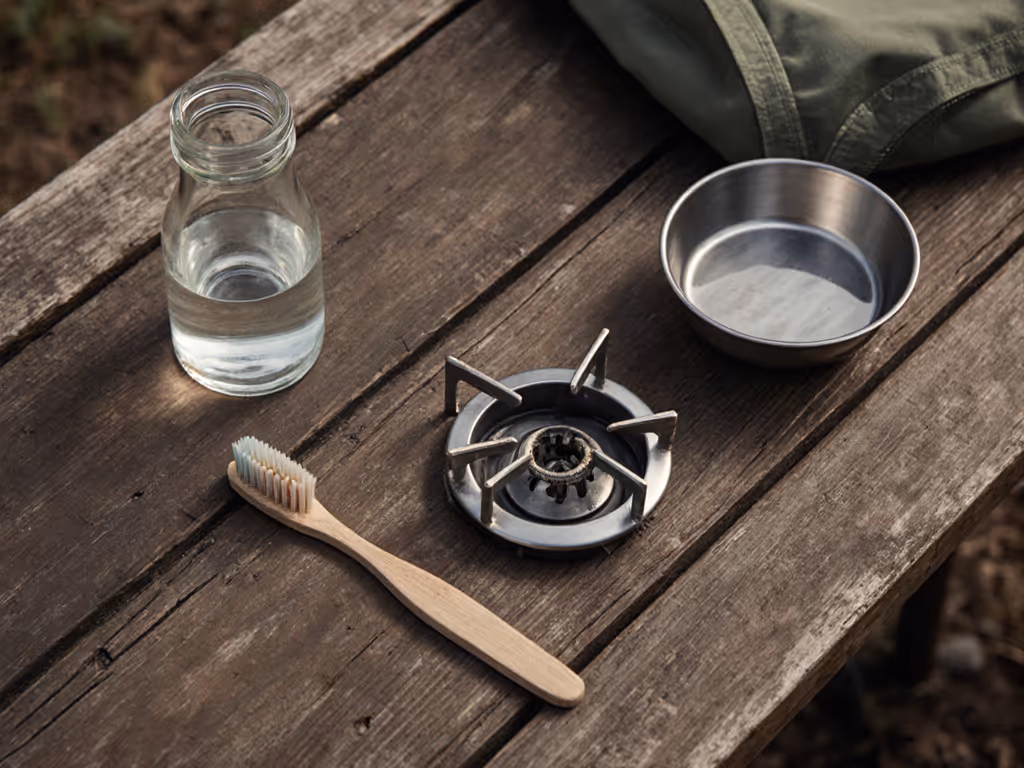
Step 1: Cool completely: never probe hot metal!
Step 2: Soak the burner: submerge it in camp water with 1 tsp vinegar for 15 minutes (pack vinegar in small spill-proof bottles!).
Step 3: Scrub gently: use a nylon toothbrush (dedicate one to stove cleaning!) to clear ports. Never use wire. It scratches fuel channels.
Timelines and Prep Order
Do this after dinner while cleaning up, it takes 10 minutes. Prevents next-morning disasters when you're rushing to get pancakes on the griddle. A stove cleaning habit like this also extends stove life, cutting canister waste.
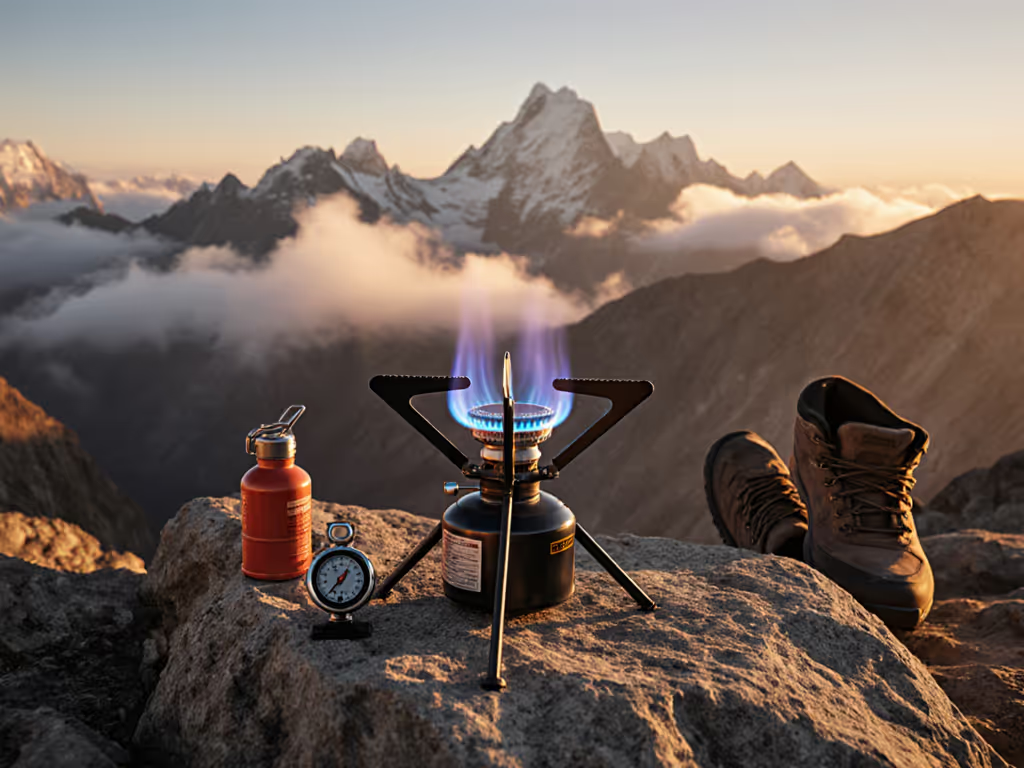
4. Fix Liquid Fuel Stove Sputtering (The Regulator Freeze Fix)
The Problem
Repair liquid fuel stove emergencies often involve regulator freeze (a silent killer above 5,000 feet or below 40°F). Symptoms: strong initial flame that weakens after 2 minutes as fuel vaporization drops. Critical for alpine trips or winter car-camping.
Field Repair Protocol
Step 1: Warm the canister: place it in a bowl of warm (not hot!) water, body heat works in a pinch.
Step 2: Relocate the pump: move it away from cold ground onto your sleeping pad for insulation.
Step 3: Prime after preheating: light fuel only once vapor rises steadily from the primer cup.
Data-Driven Tip
Pressure drops 1% per 1,000 ft elevation gain. For a 4-person winter trip above 7k ft, add 15 minutes to boil times. Better to arrive with extra fuel than hungry campers!
5. Stabilize Wobbly Bases (The Kid-Proofing Essential)
The Problem
Narrow pot supports on backpacking stoves become death traps at car camps with kids or large Dutch ovens. One bump = spilled chili. This violates my core rule: no unstable cook surfaces around kids.
Field Repair Protocol
Step 1: Level the ground: dig a shallow trench with your heel for stove legs.
Step 2: Add a stable platform: use a flat rock or the Coleman Triton's wide base as an anchor.
Step 3: Test with empty pots: spin the pot; if it wobbles, reposition immediately.
Why Stability = Safety
On that coastal trip, I anchored my griddle with a flattened rock, keeping pancakes level while waves crashed. Family-proof kitchens: stable simmer, quick boils, zero drama. This also prevents burns when kids reach for pancakes mid-flip.
Your Action Plan: Pre-Trip Checklist
Don't wait for failure. Before your next trip:
- Clean burner ports with vinegar solution (10 mins)
- Test windscreen alignment: should sit below pot base
- Pack a stove kit with: cleaning needle, vinegar, nylon brush
- Verify fuel compatibility: never mix fuels in liquid stoves
- Rehearse priming, in your driveway, with gloves on!
When your camp stove runs smoothly, everyone eats well, and together. That's when you know you've built more than a meal. You've built trust. Now go flip those pancakes with confidence.
Related Articles