Field-Tested Freeze-Dried Meal Cooking Stoves For Backpacking
By Ingrid Sørensen • 25th May

If most of your backpacking meal preparation revolves around boiling water for pouches, you don't need a restaurant kitchen, you need a freeze-dried meal cooking stove that boils fast, stays stable in wind, and conserves fuel while keeping mealtimes calm and predictable. This guide walks you step by step through choosing, testing, and using the right stove system so that every bag of chili mac, gluten-free pad thai, or dairy-free curry rehydrates properly without drama. For brand- and pouch-focused metrics, see our freeze-dried stove test data.
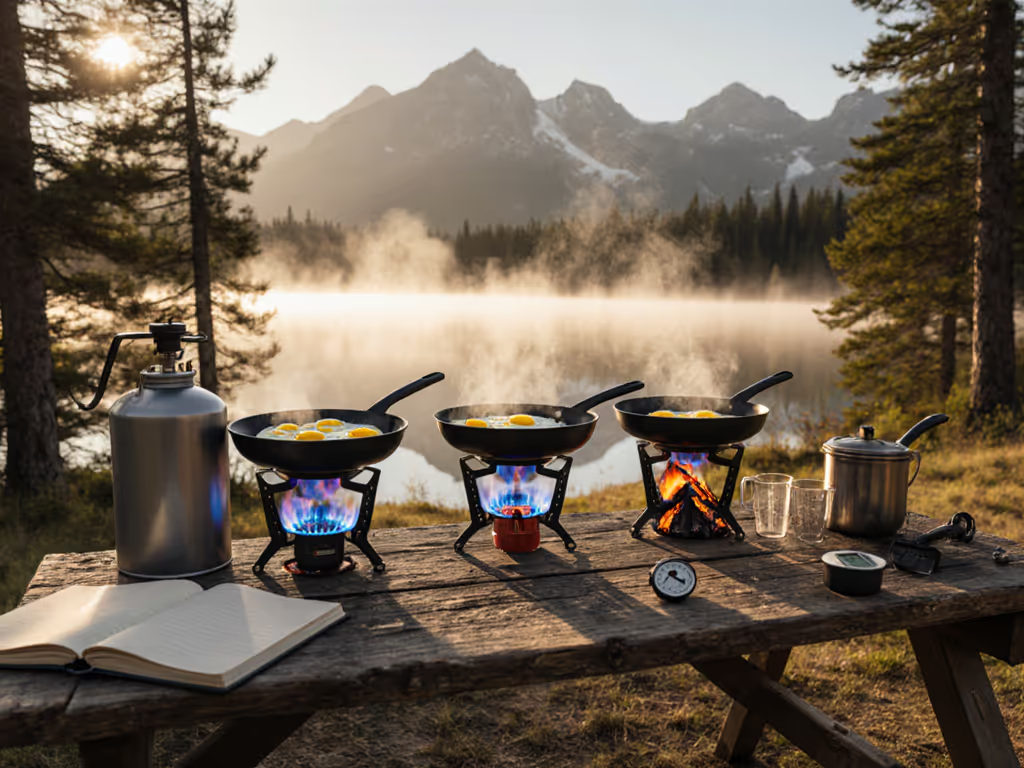
Family-proof kitchens: stable simmer, quick boils, zero drama.
In the backcountry, comfort and safety are performance. If you dial in a simple, efficient boil-and-pour system at home, you'll spend less time fighting flame and more time checking in on tired hikers and cold kids.
Step 1: Start With Your Freeze-Dried Menu (Not the Stove)
Before you compare burners, define what your backpacking meal preparation actually looks like.
1.1 Map your meals
Make a one-column list for a typical trip day:
- Breakfast
- Lunch
- Dinner
- Hot drinks and "bonus" hot water (washing, foot soaks, etc.)
Under each meal, note:
-
Pouch cook style
- Pour-and-wait: Add boiling water to the bag, seal, rehydrate.
- Pot simmer: Add water and simmer in a pot for 5-10 minutes.
-
Water per meal (usually 250-500 ml per person for freeze-dried entrees)
-
Dietary constraints
- Dairy-free, vegetarian, high-calorie, low-sodium, etc.
Inclusive menu notes: if you're mixing omnivores, vegans, and lactose-free folks, note which meals are shared and which are individual. This affects how many pots you'll use and whether you're pouring into pouches or cooking multiple dishes in a single pot.
1.2 Decide how much real cooking you'll do
For a freeze-dried-focused trip, most people fall into one of these patterns:
- Pure boiler: All dinners are pour-and-wait pouches; cooking = boiling water only.
- Boil + occasional simmer: Mostly pouches, with the odd mac-and-cheese or noodle dish that needs 3-8 minutes of gentle simmer.
- Hybrid cook: Pouches for backup, but many meals involve sauteing or simmering (e.g., adding veggies, instant rice, or fresh protein to a freeze-dried base).
If you're pure boiler, prioritize fast boils, wind stability, and fuel efficiency. If you're hybrid, prioritize freeze-dried simmer control and a wider burner that plays well with real cookware.
Simmer is a skill and a feature.
Step 2: Define Your Conditions and Constraints
The "best" freeze-dried meal cooking stove depends heavily on where and when you travel. Compare cold-weather propane vs butane vs white gas to pick the right fuel mix for your trip.
Consider:
-
Temperature range
- Above freezing (3-25 °C / 37-77 °F): Upright canister stoves shine.
- Around or below freezing: You may need a regulated or inverted canister, or liquid fuel.
-
Altitude
- Higher altitude = faster water boil but colder, windier camps.
- Stoves with good regulators and wind protection matter more.
-
Wind exposure
- Tree-line vs. alpine passes and ridges.
- If you regularly cook in gusts, factor in wind management as seriously as BTUs.
-
Group size
- 1-2 people: Small pots, small burners, tight fuel planning.
- 3-4: Larger pots and a more stable base.
- 5-6: Consider a second stove rather than overloading a tiny burner.
-
Trip length and resupply
- Weekend: You can accept a heavier stove if it saves hassle.
- Week+ with no resupply: Fuel efficiency becomes critical.

Write this down once; it becomes the backdrop for choosing your stove and pot.
Step 3: Choose a Stove Category for Freeze-Dried Meals
For freeze-dried-focused trips, these are the main stove types worth considering.
3.1 Quick comparison table
| Stove type | Best for | Key strengths for freeze-dried use | Watch-outs |
|---|---|---|---|
| Integrated canister boiler | Fast solo/duo trips, mild-to-cool temps | Extremely fast boils, great fuel efficiency, tidy kit | Tall, narrow pot; less stable; limited simmer |
| Compact canister + separate pot | Versatile 1-3 person trips | Good balance of weight, control, and pot options | Needs more wind management |
| Remote/inverted canister | Cold, wind, 2-4 people | Better cold performance, stable base, bigger pots | Heavier; more parts to manage |
| Alcohol/solid fuel | Ultralight, short solo trips | Very light, simple, quiet | Slow boils, poor wind performance |
| Liquid fuel (white gas) | Extreme cold, large groups | Reliable in deep cold, powerful, works with big pots | Noisy, heavier, more complex |
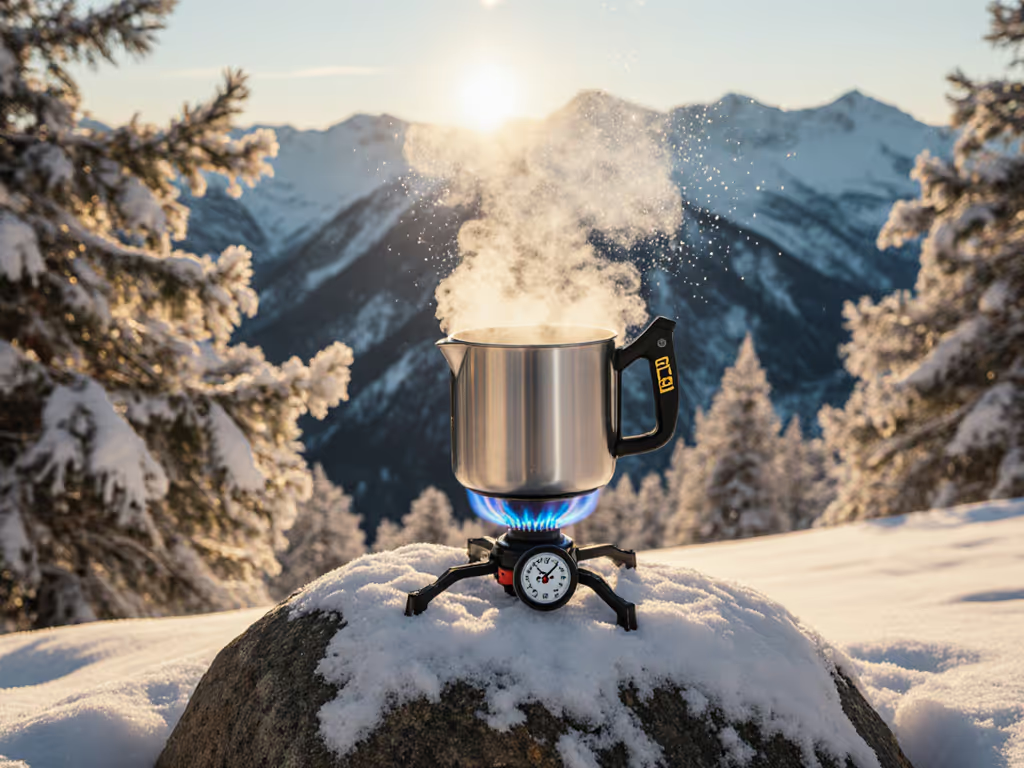
3.2 Integrated canister "boilers"
Think of the classic tall pot that locks directly onto its burner and canister.
Pros for freeze-dried meals
- Very high rehydration efficiency: fast boils, excellent heat transfer, and tight lids mean more of your fuel becomes hot water instead of hot air.
- Great for lightweight meal prep where you only need to boil and pour into pouches.
- Often include built-in wind protection and heat exchanger fins.
Trade-offs
- Tall, narrow pots are less meal pouch compatible if you ever want to cook in the pot instead of the bag; stirring chunky meals can be awkward.
- Stability can be an issue on rough ground, especially with a full pot and a small canister base.
- Simmer is usually a token feature, not a delight.
Use these when: you're mostly pouring water into pouches, cooking for 1-2 people, and you care about speed and efficiency more than gourmet versatility. See our Jetboil vs MSR wind test for brand-by-brand boil speed and wind stability.
3.3 Compact upright canister stoves + separate pot
This is the classic small folding burner that screws onto a gas canister and supports a stand-alone pot.
Pros for freeze-dried meals
- You can choose a pot that fits your style: wider for better stirring, or taller if you're just boiling.
- Better freeze-dried simmer control than many integrated systems because of more exposed flame and finer valve adjustment.
- Packs small and feels flexible for varied trips.
Trade-offs
- More exposed to wind; you must actively manage wind before you boil.
- Pot stability depends heavily on the burner arm design and how carefully you level the stove.
Use these when: you want one stove system that can handle pouches, occasional simmered meals, and small frying tasks without being heavy or fussy.
3.4 Remote canister / inverted canister stoves
These stoves connect to the canister via a hose, with the burner sitting on its own legs.
Pros for freeze-dried meals
- Much more stable base, especially for 1.5-2 L pots serving 3-4 hikers.
- Better in cold: many allow the canister to be inverted for liquid feed, maintaining pressure near or below freezing.
- Easy to shield the burner with a windscreen without overheating the canister (the canister is physically separate).
Trade-offs
- Heavier and bulkier than simple upright stoves.
- More moving parts to maintain and keep clean.
Use these when: you routinely cook in wind or near freezing for 2-4 people and want family-proof stability and reliable boils.
3.5 Alcohol and solid fuel stoves
Minimalist burners popular with ultralight solo hikers.
Pros for freeze-dried meals
- Extremely light and mechanically simple.
- Quiet, with no canister waste.
Trade-offs
- Slow boils and poor wind performance; you must have an effective, safe windscreen for practical use.
- Hard to fine-tune heat; usually not great for simmering.
- Fuel volume planning is less precise, spills and variability are common.
Use these when: trips are short, weather is mild, and you are willing to trade speed and convenience for weight savings.
3.6 Liquid fuel (white gas) stoves
These shine in extreme cold and with large groups.
Pros for freeze-dried meals
- Reliable performance well below freezing, where canisters struggle.
- Powerful output for melting snow or boiling several liters at once.
Trade-offs
- Priming, flare-ups, soot, and pump maintenance all add complexity.
- Overkill for most 1-2 person three-season freeze-dried trips.
Use these when: you cook for larger parties in very cold conditions or on long winter routes where fuel reliability matters more than simplicity.
Step 4: Pair Stove, Pot, and Wind Management
Once you know your stove type, you tune the system for rehydration efficiency and safety.
4.1 Pot shape and size
- Solo/duo, pouch-only: 0.8-1.0 L pot is usually enough. A slightly taller shape can be fine if you're only boiling water.
- 2-3 people or occasional in-pot cooking: 1.2-1.5 L, preferably wider, to stir bulkier meals.
- 3-4 people, group pouches: 1.7-2.0 L wide pot pairs well with a remote canister or stable upright burner.
For meal pouch compatibility, match your pot volume to the largest single pour you'll make (e.g., 2 pouches needing 400 ml each = 800 ml minimum, plus some margin). To squeeze even more efficiency from boils, check our heat exchanger pot tests.
4.2 Lids, cozies, and insulation
- Always use a lid; it can cut boil times by 20-30% in breezy conditions.
- A simple foam or reflective cozy around the pouch boosts rehydration efficiency, especially in cold air.
- Use a small piece of foam or a sit pad under the canister or stove base to reduce heat loss into cold ground and improve stability.
4.3 Wind management and safety
Plain-language safety reminders:
- Never use any open flame in a tent, vestibule, or enclosed shelter (CO risk and fire risk are real).
- Don't wrap a tight windscreen around an upright canister stove; you can overheat the canister. For upright stoves, use partial shields and strategic site selection. For detailed setup, materials, and when to use them, see our windscreen guide.
- Always cook on a stable, flat surface away from where kids or pets might bump the stove.
- No boiling without wind management: choose a sheltered spot (behind rocks/logs, but not in dead leaves) before you even pull the stove out.
For remote canister or alcohol stoves, you can use a closer-fitting windscreen because the fuel is separated from the flame; still leave some gaps for airflow and monitor heat.
Step 5: Calculate Fuel Needs for Freeze-Dried Trips
Now that you've matched stove and pot to your style, you can plan fuel.
5.1 Estimate water you'll boil
Per person per day, for freeze-dried meals only, a common range is:
- Breakfast pouch: 250-400 ml
- Dinner pouch: 350-500 ml
- Hot drink(s): 200-400 ml
That's roughly 800-1,300 ml per person per day. Add 10-20% buffer if you like extra drinks or occasional washing water.
5.2 Translate water volume to fuel
Real numbers vary with stove, pot, and weather, but for three-season use:
- Integrated canister boiler: ~7-10 g of gas to boil 500 ml.
- Efficient upright canister with lid and wind management: ~9-12 g per 500 ml.
- Remote canister with windscreen: similar to or slightly better than upright if well tuned.
- Alcohol: often 15-20 g per 500 ml or more.
A practical rule of thumb for typical canister stoves:
Plan 15-20 g of canister fuel per person per day for boil-only freeze-dried meals in three-season conditions, then add a 20-30% safety margin.
For a 3-day, 2-person trip: Water per person per day ≈ 1.0 L → 2.0 L/day total → ~4.0 L total. At ~10 g per 500 ml, that's ~80 g of gas. Add 30% buffer → ~104 g. A standard 110 g canister is just about right.
Adjust upward if:
- You're melting snow.
- You expect strong wind or temps near freezing.
- You're doing more real cooking than just boiling.
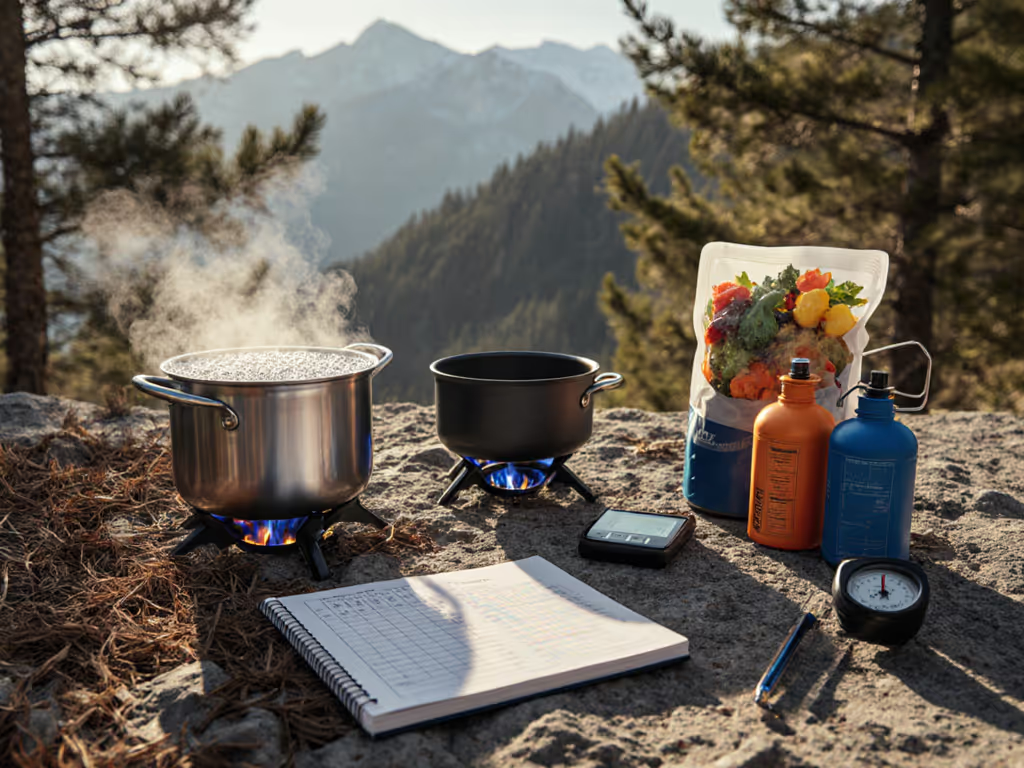
Step 6: Run a Two-Meal Field Test at Home
Before trusting any freeze-dried meal cooking stove system on a long route, simulate a dinner-and-breakfast cycle in a controlled space.
6.1 Test protocol
- Weigh your fuel canister or bottle before you start.
- Cook a typical freeze-dried dinner:
- Boil the exact volume of water specified on the pouch.
- Note the time to boil and how easy it is to pour safely.
- Check how hot the meal is after the recommended rehydration time.
- Boil water for your usual hot drinks.
- Next morning, repeat for breakfast.
- Weigh the fuel again to see total consumption.
Note:
- Did you feel rushed or did the workflow feel calm?
- Any instability when stirring or pouring?
- Was rehydration complete, or did you get crunchy centers in thicker meals?
I like to run the same test in the yard on a breezy day as well, those are the conditions that separate "marketing-speed" boils from real-world performance. A wide, stable burner with a decent windscreen has saved my timelines more than once on blustery coastal weekends when pancakes and a mild curry had to land on time for kids and a lactose-free friend.
Step 7: On-Trail Workflow for Freeze-Dried Dinners
Here's a simple, repeatable order of operations that keeps your kitchen efficient and low-stress.
7.1 Timeline and prep order
-
Choose your kitchen spot
- Out of the wind, on mineral soil or rock, away from loose duff.
- Clear a flat, stable area for the stove, no balancing on logs or rocks, especially with kids nearby.
-
Set up your stove system
- Attach canister firmly; check for leaks.
- Place wind protection as appropriate for your stove type.
-
Stage your pouches and water
- Open pouches, remove oxygen absorbers (micro-trash goes straight into your trash bag).
- Measure total water needed for all meals for this boil, plus a little extra.
-
Light and boil
- Use the stove's igniter if present, but always carry a backup lighter or matches.
- Bring water just to a rolling boil; no need to rage-boil for minutes.
-
Pour and reseal
- Turn the stove down or off while pouring to avoid splashes near flame.
- Stir thoroughly, scraping corners of the pouch. Reseal immediately.
-
Cozy and wait
- Place pouches in your cozy, wrapped in a jacket, or against a warm water bottle.
- In cold or windy conditions, add a few minutes to the stated rehydration time.
-
Final stir and check
- Open, stir again, and taste a thicker piece (meat, potato, bean).
- If still firm, reseal for 3-5 more minutes.
-
Clean-up with minimal water
- If you've only boiled water, cleanup is trivial, just dry the pot.
- Micro-trash (tear-off tops, oxygen absorbers) goes into a dedicated small bag.
This workflow keeps the burner time efficient, reduces spill risk, and makes it easier to track fuel usage from night to night.
Step 8: Put It All Together - Your Action Plan
To turn all this into a working, field-tested system before your next trip:
- Write a one-day freeze-dried menu for your typical route and group size, including drinks.
- Choose a stove category based on your coldest, windiest expected conditions and group size:
- Mild, 1-2 people, pouch-only → integrated canister or compact upright.
- Colder or windier, 2-4 people → remote/inverted canister.
- Deep winter or large groups → liquid fuel.
- Match a pot to your largest single boil (plus 20-30%) and decide whether you'll ever cook in the pot or only boil-and-pour.
- Plan fuel using 15-20 g of canister fuel per person per day for boil-only trips, then add a 20-30% buffer.
- Run the two-meal home test, including a breezy-conditions repeat if possible, tracking fuel and noting any stability or wind issues.
- Adjust wind management and workflow until you can move through dinner prep on "autopilot" with no wobbling pots, no half-rehydrated meals, and a small but comfortable fuel margin.
Once you've done this once, you have a route-ready, data-backed freeze-dried meal cooking stove system you can trust. From there, you can tweak for new seasons or itineraries, but the backbone stays the same: Family-proof kitchens, stable simmer, quick boils, zero drama.
Related Articles