Windscreen Design Engineering: Maximize Stove Efficiency
By Amina Al-Khalil • 31st Mar
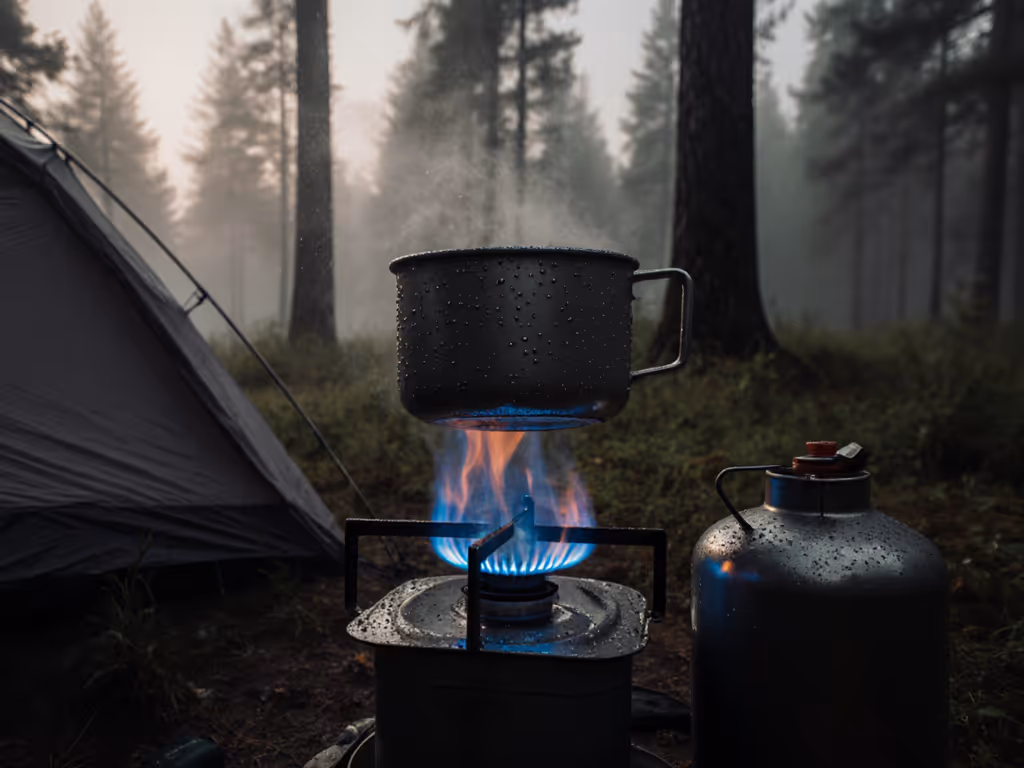
Windscreen design engineering and camp stove wind protection science aren't abstractions; they are the difference between a hot meal on schedule and watching fuel burn away while your pot stays lukewarm. Wind is the single biggest thief of stove efficiency in the field, yet most backpackers and car campers treat windscreens as optional add-ons instead of core system components. In this guide, I'll walk you through the aerodynamics, material science, and build principles that turn a windscreen from a generic shield into a high-performance piece of thermal engineering. For a quick overview of accessory options and when to use each, see our essential windscreen guide.
Understanding Why Windscreens Work
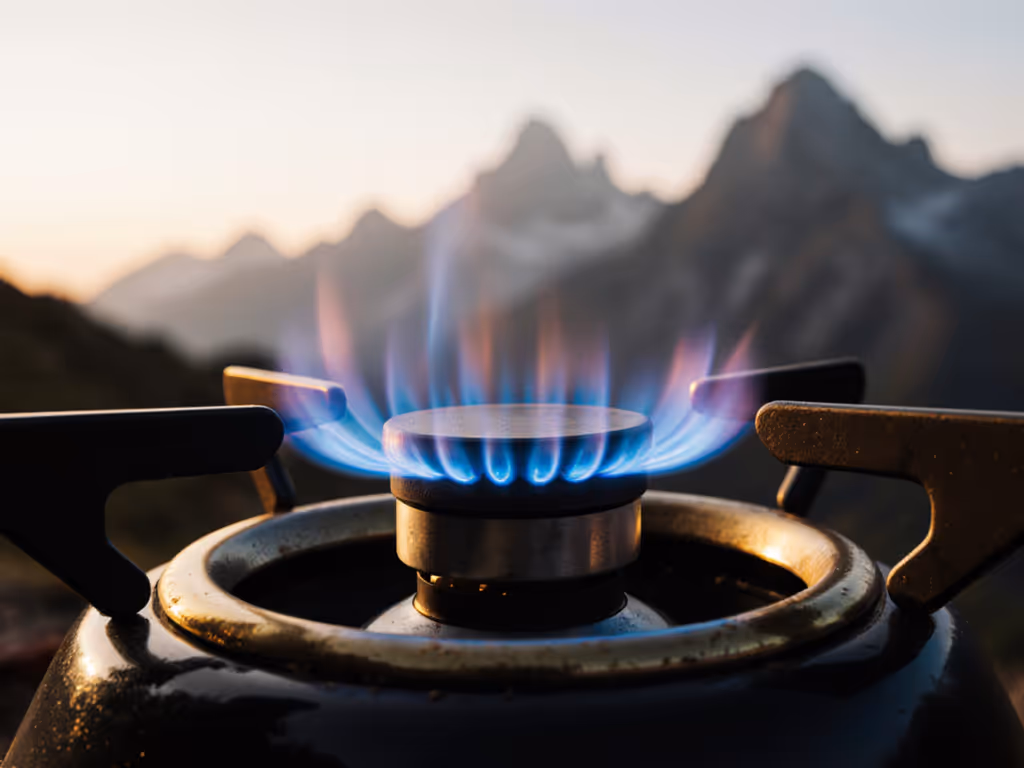
Wind doesn't just cool your cookpot directly; it strips heat away from the flame, creates turbulence that disrupts the combustion envelope, and prevents radiant energy from reaching the bottom and sides of the vessel where you need it most[4]. A well-engineered windscreen solves three problems at once: it breaks the incoming wind, creates a calm thermal zone around your burner, and channels heat upward and inward toward the pot[4].
Real-world field testing shows that fuel efficiency gains range from 20% under mild wind to 100% in sustained cold-weather conditions[3]. These aren't marketing claims; they are the result of geometry, material properties, and vent placement working in concert. To understand the tradeoffs these designs create, read our wind resistance vs fuel efficiency analysis.
Step 1: Choose Your Core Design Geometry
Cone vs. Cylinder vs. Hybrid
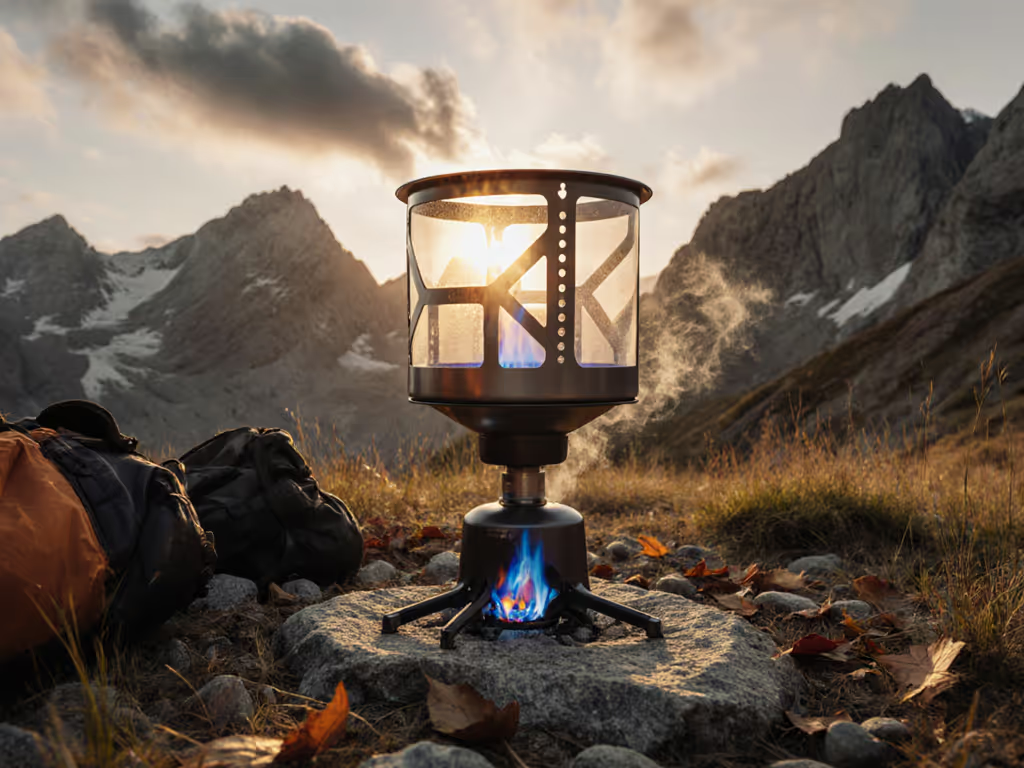
The most effective backpacking windscreens use a cone-shaped or truncated-cone profile[1]. This geometry serves a purpose: the widening walls direct deflected wind upward and away from the cooking zone while the sloped sides naturally guide radiant heat toward the pot's lower half.
Cylindrical screens are heavier, trap more dead air (which can overheat certain stove types), and don't direct heat as efficiently inward. Hybrid designs (flat base with angled upper walls) split the difference and work well when weight is less critical, such as car-camp or group-cooking setups.
Practical choice: For backpacking, start with a cone. For car camping or canister-stove cooking, a cone-in-cone hybrid can handle larger pots without excessive weight penalty.
Step 2: Engineer the Vent Geometry
This is where most commercial windscreens fail: they block wind completely, which ironically kills efficiency. Your burner needs oxygen to maintain a clean, hot flame[1].
Lower Vent Design
Lower vents (those open slots near the base) must:
- Allow air to enter at a shallow angle, deflecting incoming wind upward rather than letting it flow straight through
- Occupy roughly 30-40% of the lower perimeter (not 100% open, not sealed)
- Be positioned 1 to 2 inches above the burner and pot base to avoid blocking combustion air while keeping ground-level turbulence out
If vents are too small, the flame suffocates and soot builds up. Too large, and wind pours through unimpeded. The sweet spot is a series of rectangular slots, each roughly 0.5 inches tall by 1.5 to 2 inches wide, spaced evenly around the base.
Upper Vent Adjustment
Adjustable upper vents (flaps or overlapping panels at the top) let you control the air-to-fuel ratio in real time[1]. In mild wind, close them partially to reduce fuel consumption. In hard gusts, open them slightly for more oxygen to stabilize the flame. This dial-in capability is the difference between a passive shield and an active thermal system. For stove-level wind data that pairs with screen tuning, see our remote vs integrated wind test results.
Step 3: Select Windscreen Materials
Heat reflector physics demands materials that withstand radiant heat, resist corrosion, and stay light. If you want the science behind these choices, start with our camp stove heat efficiency explainer.
Material Comparison
| Material | Weight (typical 8" screen) | Heat Tolerance | Durability | Field Repairability | Waste Impact |
|---|---|---|---|---|---|
| Aluminum sheet (0.015" to 0.020" thick) | 40-60 g | Up to 600°C | Excellent; dents don't break function | Patchable with tape and wire | Recyclable, refurbishable |
| Stainless steel (0.012" to 0.016") | 50-80 g | Up to 1000°C | Exceptional; best for white-gas stoves | Field-weldable or rivet-patchable | Fully recyclable; lasts decades |
| Titanium sheet (0.010") | 20-35 g | Up to 1200°C | Outstanding for extreme cold/wind | Challenging to repair without equipment | Recyclable but scarce in field |
| Silicone-coated fabric | 15-25 g | Up to 400°C | Good; tears are the mode of failure | Patching with adhesive-backed patches | Often single-use; poor end-of-life |
| Vermiculite-coated fiberglass | 60-100 g | Up to 500°C | Fragile; easily cracks | Not practically field-repairable | Non-recyclable |
Recommendation: For weight-obsessed backpackers, aluminum is the pragmatic choice; it balances mass, durability, and field-repair simplicity. For winter stove work and group cooking, stainless steel gives you a component that'll outlast your career. Spare O-rings weigh almost nothing, but so do a few feet of aluminum repair tape and wire, so carry both.
Step 4: Calculate Safe Windscreen Clearance
Safe windscreen clearance isn't optional; it is a thermal safety boundary. Stove heat output, pot contact, and fuel type all matter.
Minimum Clearance Rules
- Canister stoves: Maintain at least 0.75 inches between the windscreen interior wall and the pot's outer diameter. Canisters pressurize as they warm; trapping excessive radiant heat can spike pressure and create unsafe conditions[1].
- White-gas and liquid-fuel stoves: These run hotter; increase clearance to 1 to 1.5 inches. Soot and flare-ups demand breathing room.
- Alcohol stoves: More forgiving; 0.5 inches is acceptable, but taller windscreens reduce flames and work better with simmer setups.
Never seal the windscreen completely, and never use aluminum foil windscreens with canister stoves in enclosed spaces. CO buildup is a real hazard. Review our camp stove safety guide for ventilation best practices and placement rules.
Step 5: Test and Dial In Your Design
A field-proven windscreen design requires iteration, and the good news is that field testing is free.
Pre-Trip Checklist
- Measure vent openings with calipers; photograph dimensions for your notes
- Boil 2 liters of water in calm conditions without windscreen; time it and record fuel used
- Repeat with windscreen in place, same fuel type and amount
- Calculate efficiency gain as a percentage
- Test in mild wind (10-15 mph) and note flame stability
- Check pot-to-wall clearance with an actual cooking pot at temperature
- Inspect seams, joints, and vent edges for sharp burrs; file smooth
Thermal Efficiency Optimization
Your goal is a boil time reduction of 20-40% on calm days and 40-100% in moderate wind[3][4]. If your screen underperforms, most likely culprits are:
- Lower vents too restricted: Increase open area by widening or opening slots further
- Upper vents sealed: Crack them open; flame needs oxygen
- Pot sits too high: Lower the pot so it's cradled in the warmest zone (typically in the lower-middle of the screen interior)
- Gaps between pot rim and screen: Some leakage is normal; excessive gaps waste heat. Adjust the pot support or add a loose-fitting lid
Actionable Next Step
Choose one of these paths based on your cooking frequency and trip profile:
Path A: Build or Retrofit Your Own
Source 0.020" aluminum sheet (costs ~$15 for a 12"×24" piece), design a cone with lower and upper vents using the dimensions above, cut and edge-roll it, then rivet or bolt it together. Time investment: 2-3 hours. Result: a tuned, repairable windscreen you understand completely. Fix it, fuel it smart, pack out less on every trip.
Path B: Adopt and Modify a Commercial Screen
Start with any commercial canister-stove windscreen, then drill or file additional lower vent area to match your stove's output and your local wind conditions. This respects the design work already done while letting you adapt to your actual needs.
Path C: Baseline Test Without Modification
Borrow or buy a common windscreen, run the boil-time test in three conditions (calm, 10 mph wind, sustained 15+ mph), and record your baseline. Use that data to decide whether building or modifying is worth your time.
Whichever path you choose, document your findings: vent dimensions, pot size, fuel type, boil time, ambient wind speed, and ambient temperature. Share those notes in trip reports or field guides you trust. The camp kitchen that performs in real weather, not just marketing brochures, is built on evidence, not guesswork.
Related Articles