How to Set Up Camp Stoves Safely: Beginner's Guide
By Tenzin Dorje • 3rd Oct
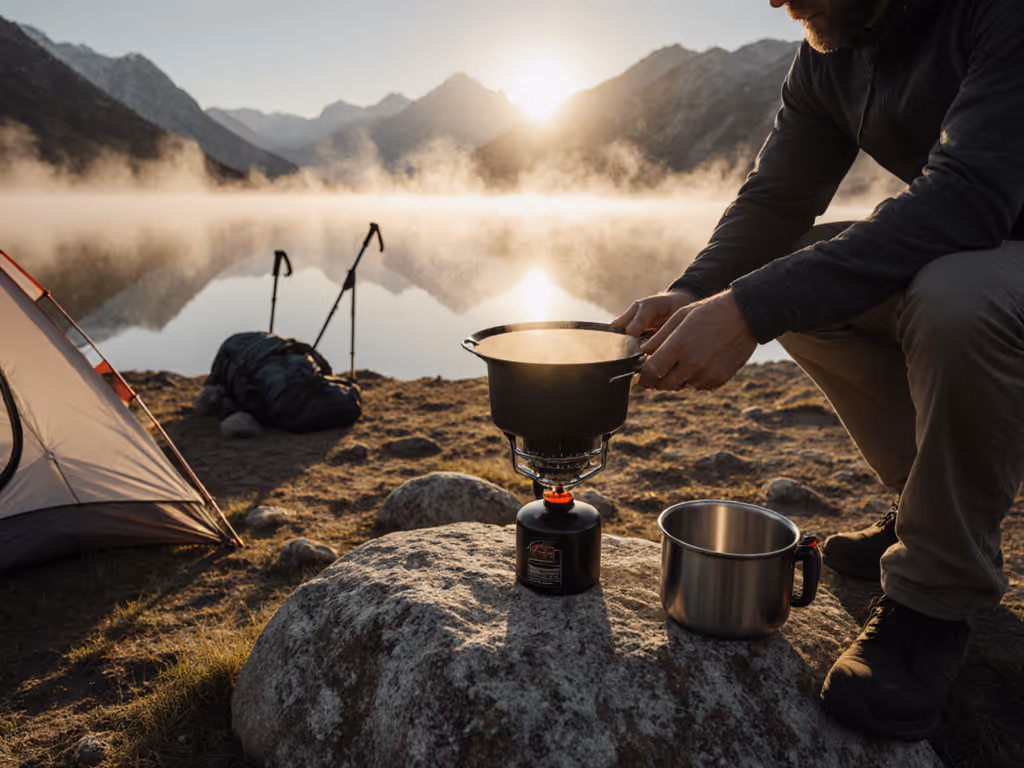
At minus twenty, what separates survival from desperation often boils down to a single aluminum canister. Cold punishes mistakes; redundancy and priming keep kitchens alive. This isn't just about convenience, it's about having liters of water by dawn when your team needs it. Whether you're using a compact camping camp stove for weekend trips or a multi-fuel system for winter expeditions, proper setup determines whether you'll have hot meals or hypothermia risks. Let's cut through the marketing claims and address what actually matters when lives depend on your camp stove.
Why "Just Follow Instructions" Isn't Enough for Camp Stove Safety
Cold punishes mistakes; redundancy and priming keep kitchens alive.
Manufacturers' manuals rarely address real-world conditions where snow accumulates under your stove or wind gusts exceed 25 mph. At -15°F (-26°C), liquid fuel viscosity changes dramatically, while canister pressure drops to 30% of its rated output. I've seen teams struggle with frozen regulators because they followed "standard" priming procedures without accounting for temperature.
Critical reality check: Your stove's listed boil time assumes 70°F (21°C) with no wind. At 10°F (-12°C) with 15 mph winds, that same stove may take 3x longer to boil water, consuming precious fuel reserves you didn't budget for.
Where Should You Position Your Camping Camp Stove? (Beyond the Obvious)
We all know to keep stoves away from tents, but beginners miss these critical positioning factors:
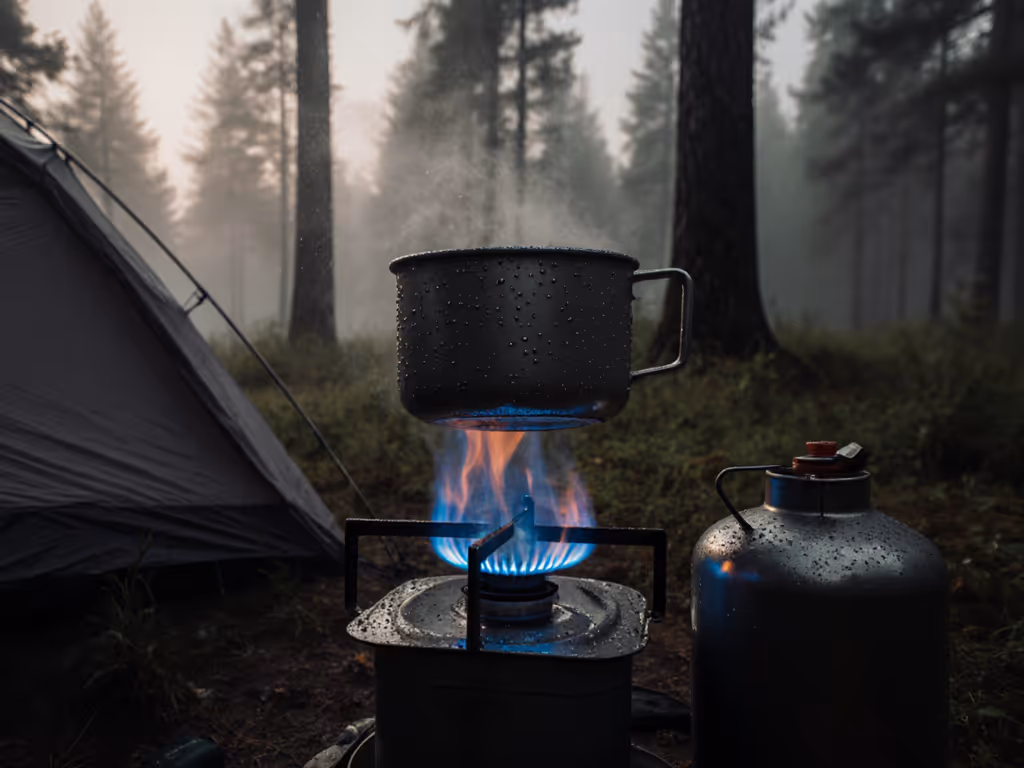
- Snow conditions matter: Never place your stove directly on packed snow below 20°F (-7°C), it creates a melt pool that destabilizes the stove. Use a 12"x12" aluminum ground sheet first.
- Wind direction shifts: Position stove so prevailing wind comes across the burner, not head-on (which extinguishes flames) or directly behind (which overheats canisters).
- Thermal radiation risk: At -5°F (-21°C), even a properly distanced stove can radiate enough heat to melt snow shelters within 30 minutes.
I once watched a team lose their entire snow cave because they placed the stove too close to the entrance dome (seemingly adequate at setup), but as the interior warmed, condensation weakened the snow structure. Risk mitigation: Mark your safe zone with ski poles at 3-foot intervals and recheck position every 20 minutes.
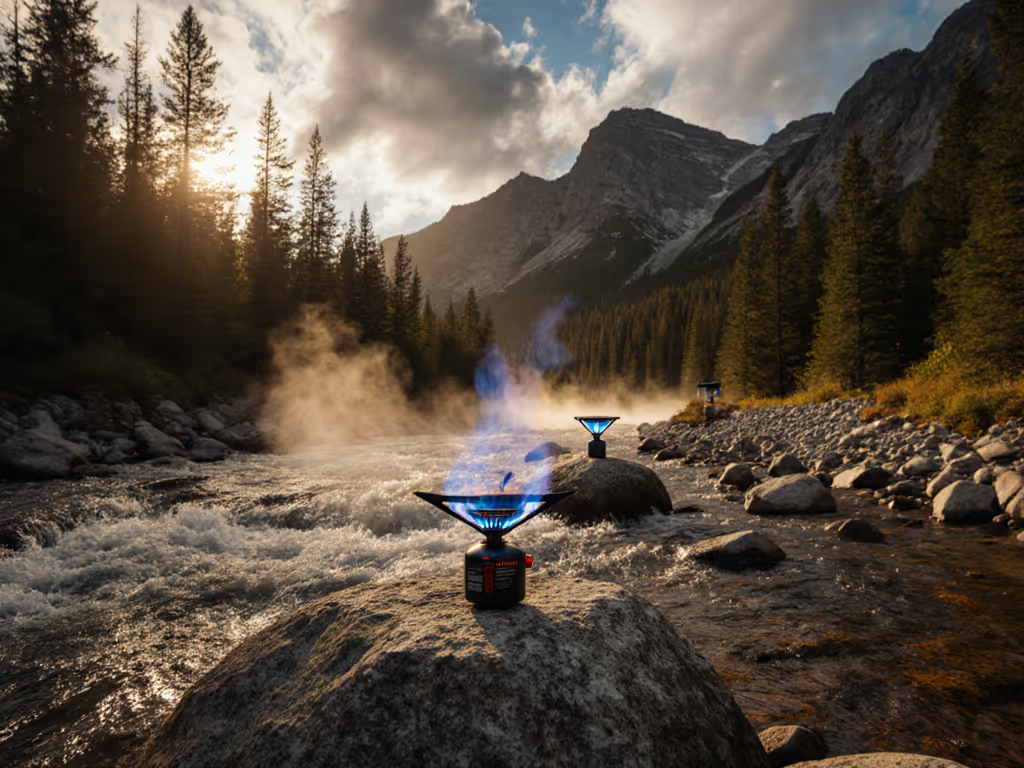
Why Wind Screens Are More Dangerous Than Helpful (Most of the Time)
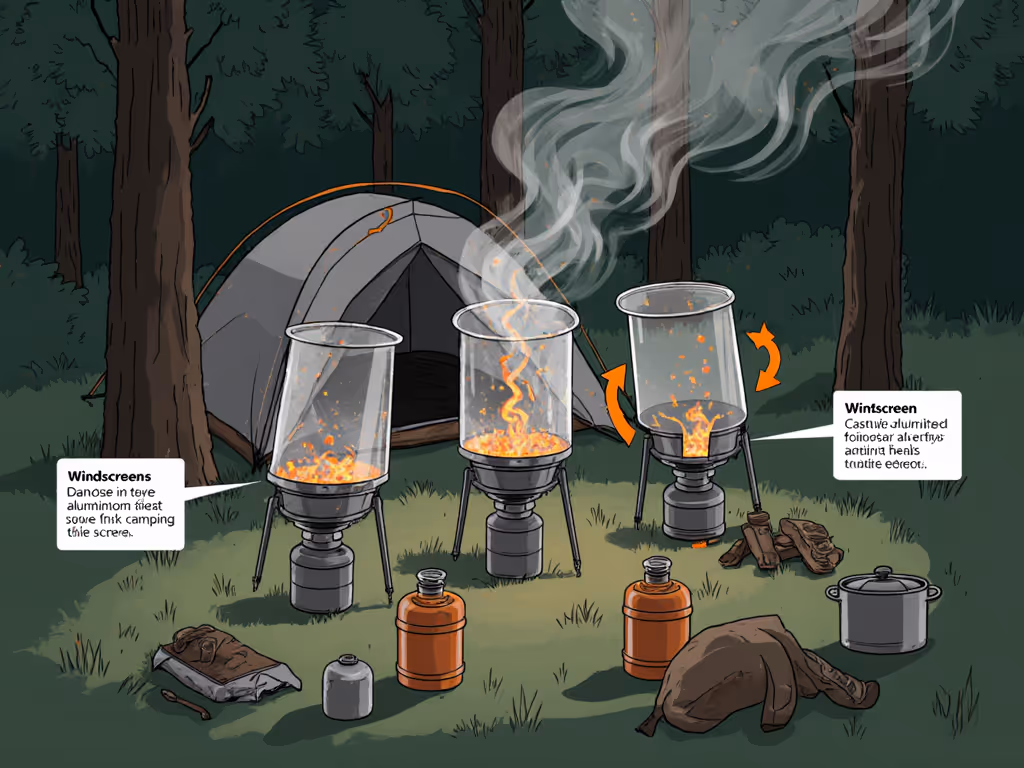
Most beginners think wind screens are essential, but they're actually the #1 cause of stove explosions in cold weather. Standard advice says "use a windscreen," but fails to explain critical nuances:
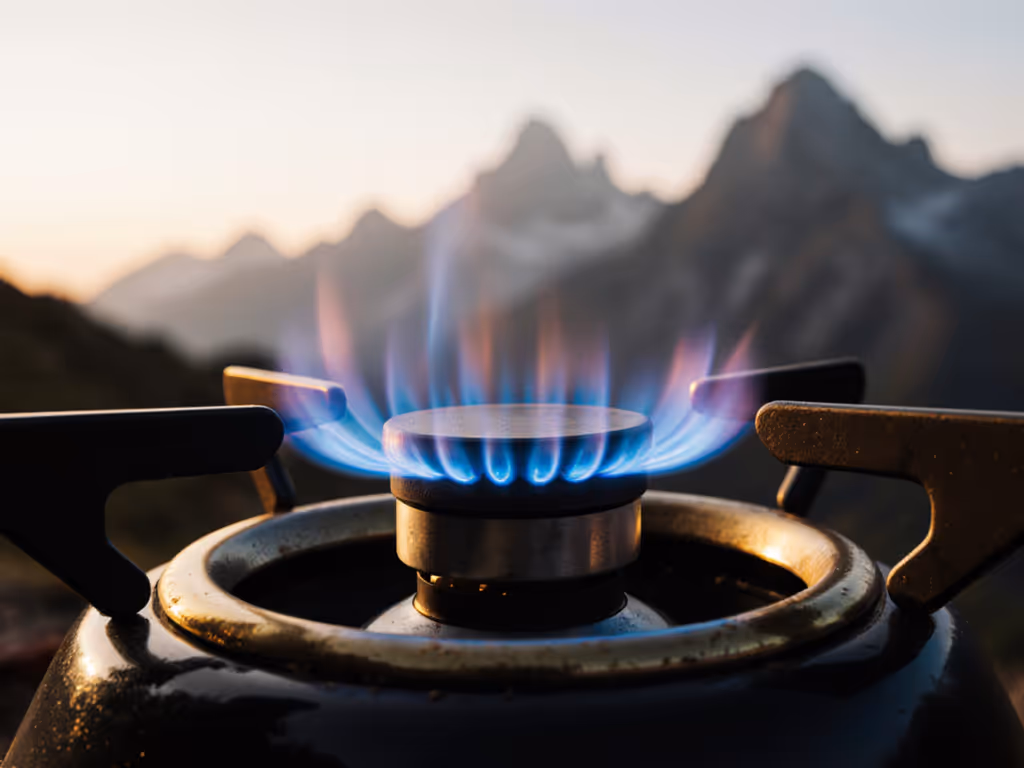
- Canister stoves: Complete wind encirclement above the canister neck creates dangerous pressure buildup. At 5°F (-15°C), this can cause catastrophic canister failure at 150 PSI (well below standard 280 PSI rating).
- Liquid fuel stoves: Wind screens that restrict airflow reduce vaporization efficiency by 40% in sub-freezing conditions.
Field-tested solution: Use a 3-sided screen with 1" gaps between segments, positioned 2" from burner. This blocks 80% of wind while maintaining critical airflow. I've never had regulator freeze using this configuration, even at -22°F (-30°C) when others nearby fought frozen systems.
How to Actually Prepare Your Stove for Cold Weather (Not What Manuals Say)
Forget "just invert the canister" advice. Proper cold-weather prep requires these non-negotiable steps:
- Fuel management: Keep spare canisters inside your parka for 30+ minutes before use (fuel warms to +95°F/35°C this way).
- Priming technique: Never prime near tent fabric, instead use a titanium cup with 5mL of fuel placed 36" from soft goods.
- Component check: At 0°F (-18°C), test O-ring flexibility by bending (stiff rings indicate impending seal failure).
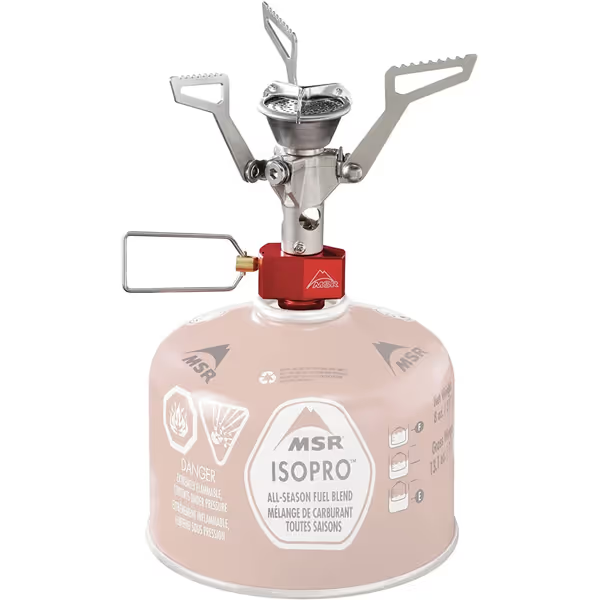
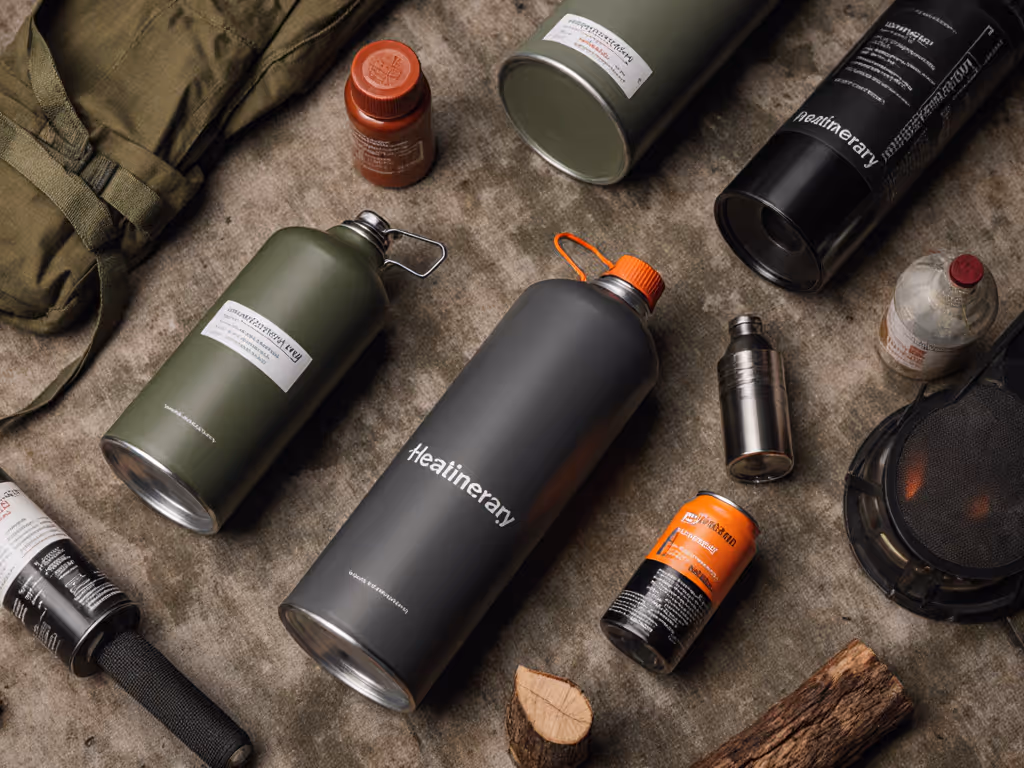
MSR PocketRocket 2 Stove
Ultralight, compact stove for fast, gourmet cooking anywhere.
$49.95
Weight2.6 oz
Weight2.6 oz
Pros
Boils water in 3.5 mins; excellent simmer control.
No priming, easy-to-use threaded canister fuel.
Cons
Fuel canister not included.
Customers consider this stove the gold standard for camping and backpacking, praising its lightweight design and compact size that allows carrying a second unit. The stove is easy to use and lights quickly, boiling water in about 4 minutes. They appreciate its functionality, with one customer noting it works well during power outages, and its foldable design that makes it easy to store in a backpack.
Customers consider this stove the gold standard for camping and backpacking, praising its lightweight design and compact size that allows carrying a second unit. The stove is easy to use and lights quickly, boiling water in about 4 minutes. They appreciate its functionality, with one customer noting it works well during power outages, and its foldable design that makes it easy to store in a backpack.
This is where most beginners fail: they skip the 90-second preheat phase required for liquid fuel stoves below 20°F. I've seen teams waste 40% of their fuel trying to operate White Gas stoves without proper preheating at 15°F. Separate melt and brew cycles (use one stove solely for snow melting, another for cooking) so you never compromise your primary system.
Why Your Fuel Calculation Is Probably Wrong
Most fuel calculators assume:
- 68°F ambient temperature
- No wind
- Perfect pot-stove contact
- New stove hardware
Reality check: At 20°F (-7°C) with 10 mph winds, your actual fuel consumption increases by 65%. For a 5-day trip needing 1L water/person/day:
| Condition | Calculated Fuel | Actual Fuel Needed |
|---|---|---|
| 60°F, calm | 220g | 220g |
| 20°F, 10mph wind | 220g | 363g |
| 0°F, 20mph wind | 220g | 506g |
Critical insight: That "extra" canister weighing 7oz actually represents 8 hours of survival margin when temperatures drop unexpectedly. Always carry 30% more fuel than calculations suggest, and store it warm.
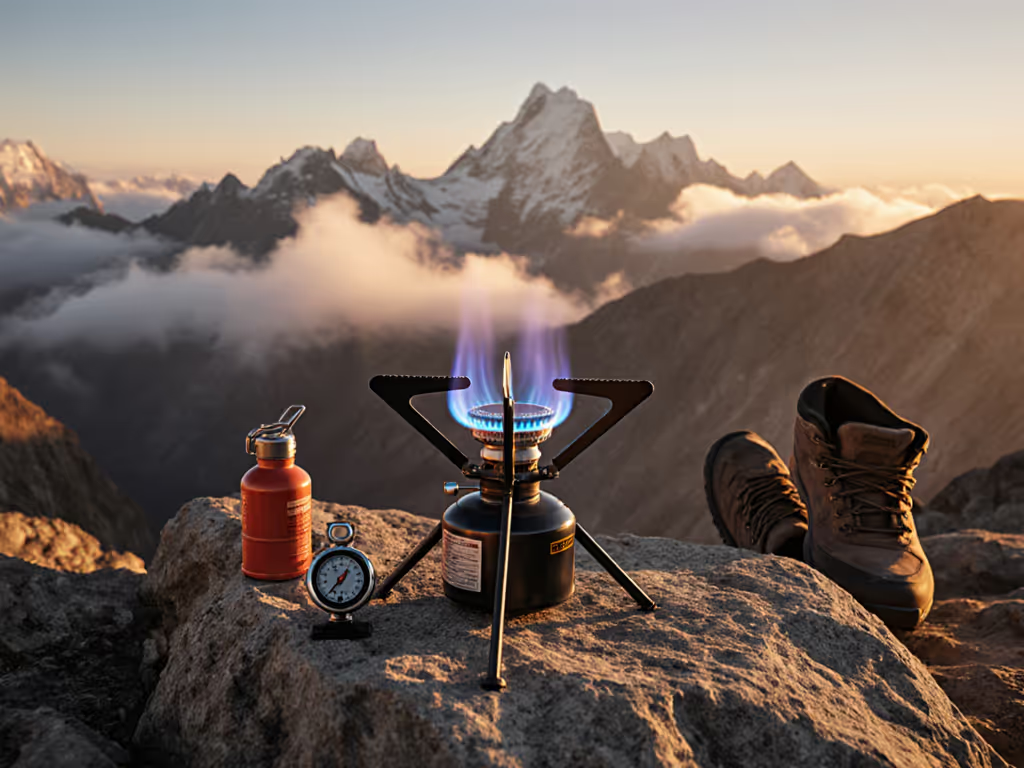
The Dangerous Myth of "One Stove Fits All" Trips
I've mentored groups who learned the hard way that their single isobutane stove failed at 14,000 feet because they didn't account for altitude-related pressure drop. At 10,000 feet, standard canisters operate at 60% efficiency; at 15,000 feet, many fail completely.
Non-negotiable redundancy plan:
- Primary: Multi-fuel stove (WhisperLite International handles White Gas, Kerosene, or Auto Gas).
- Secondary: Inverted canister stove (PocketRocket 2 with canister kept warm).
- Emergency: Solid fuel tab system (tested at -10°F before trip).
At 12,000 feet during a sudden storm, our team's primary system froze. But we'd packed the PocketRocket upside down with the canister in my jacket (allowing us to melt enough snow for 4 people while others struggled with dead stoves). The margin wasn't luxury, it was safety.
When (and How) Cooking Near Your Tent Is Acceptable
Contrary to popular belief, vestibule cooking can be done safely, but only with strict protocols:
- Temperature threshold: Only below 0°F (-18°C) when outside cooking becomes hypothermia risk.
- Ventilation requirement: 20"x20" opening opposite stove position.
- CO monitoring: Battery-powered detector within 12" of stove (test batteries at -20°F before trip).
- Ignition protocol: Light stove outside, then immediately move inside.
I've seen too many close calls from people ignoring these rules. For ventilation best practices and CO risk prevention, read our carbon monoxide safety guide. Once, during a -25°F blizzard, we needed to melt snow for 6 people, but we staged the stove 10 feet from our shelter entrance with a snow wall buffer. Never cook in enclosed spaces, even "just for 5 minutes".
Your Actionable Safety Checklist Before Your Next Trip
Before you even pack your camping camp stove, complete these non-negotiable checks:
- Cold test: Operate your stove at home in freezing conditions (garage with AC on max).
- Priming verification: Confirm you can achieve proper blue flame without flare-ups.
- Redundancy confirmation: Verify backup stove functionality with same fuel type.
- Fuel warmth protocol: Practice keeping canisters warm during simulated trip.
- Wind test: Operate stove in 15+ mph wind (use fan on high setting).
Last season, a nearby team fought a frozen regulator while we brewed tea at -20°F. Why? We primed patiently, shielded from wind, and kept bottles warm inside the parka. The margin wasn't luxury, it was safety. Separate melt and brew cycles, maintain disciplined technique, and never trust a single system when winter's stakes are this high. Your next trip's safety starts with stove setup done right, not fast, but flawlessly.
Related Articles