Microclimate Stove Performance: Terrain-Based Setup Guide
By Ingrid Sørensen • 8th Apr
Microclimate stove performance and terrain-based cooking adjustments are not luxuries; they are the difference between a meal that comes together on time and one that limps through on fumes. When you camp in a valley, cook on a riverside shelf, or set up in a forest clearing, the air moves differently, the pressure shifts, and your stove responds accordingly. Research into field testing confirms what seasoned camp cooks know: performance in real conditions rarely matches lab specs[1][2]. Wind, elevation, humidity, and topography all change how your burner lights, how hot it burns, and how much fuel it needs. This guide walks you through seven terrain-based adjustments so your kitchen works reliably, no matter the landscape.
1. Start with Field Data, Not Marketing Claims
When comparing stove options, ignore the controlled lab numbers. Field studies consistently show that real-world emissions and efficiency diverge significantly from standardized test results[2]. Why? Because laboratory tests use consistent fuel, trained technicians, stable air, and predictable pot tending, none of which you'll have at 11,000 feet in a blustery meadow. The good news: understanding this gap lets you choose gear that tolerates variability. Look for reviews from users cooking in conditions matching your planned terrain (cold, wind, low pressure) rather than generic claims. Simmer is a skill and a feature, and both demand a stove designed for real kitchens, not perfect labs.
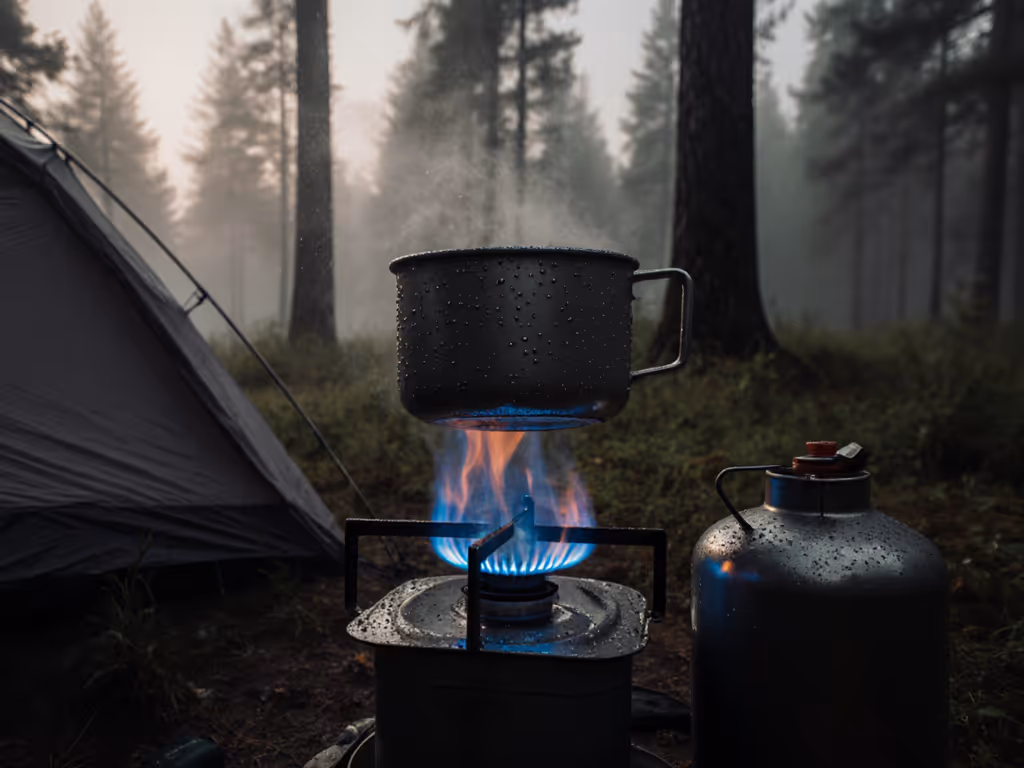
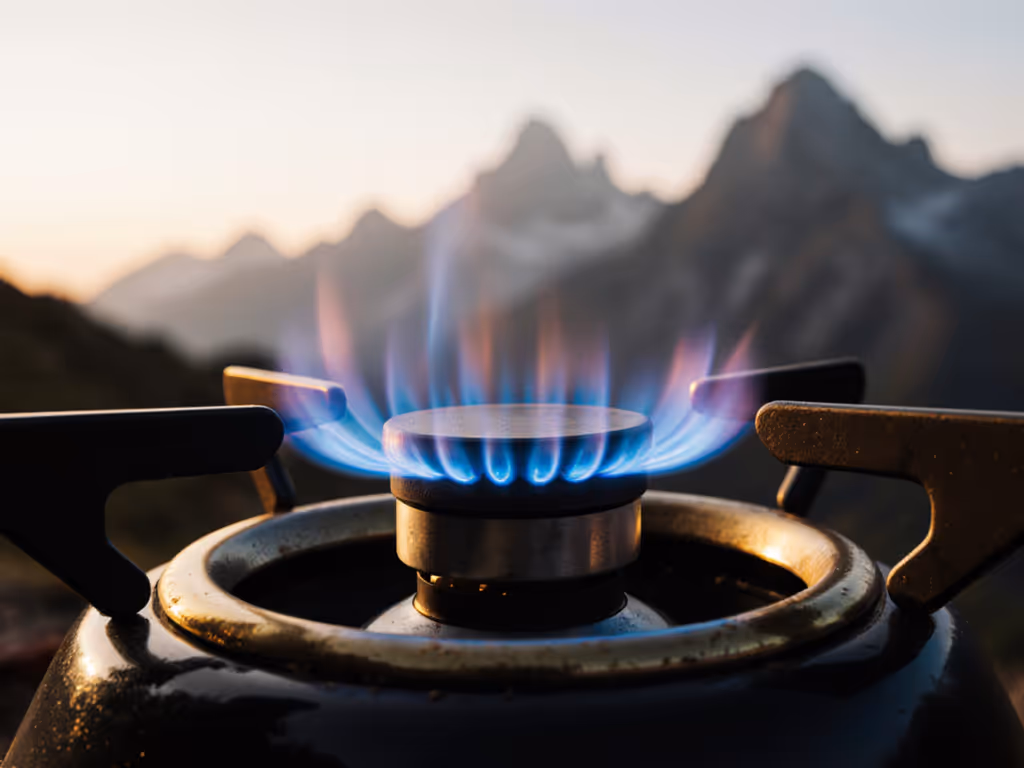
2. Valley Cooking: Manage Stagnant Air and Pressure Pockets
Valleys trap air. Smoke hangs, CO accumulates if you're cooking near a shelter, and wind swirls unpredictably at the canyon floor. The setup: position your stove perpendicular to the valley axis so prevailing breezes move smoke away. Elevate your cook spot slightly if terrain allows (even a meter of height improves air circulation). Bring a simple windscreen (not touching the canister), and keep it low, just tall enough to deflect gusts without suffocating the burner. Plain-language safety reminder: never cook inside a tent, vestibule, or enclosed shelter, even in bitter cold. A valley feels cozy, but it's still outside. If wind is truly brutal, use a larger, heavier stove base that stays planted when a gust hits.
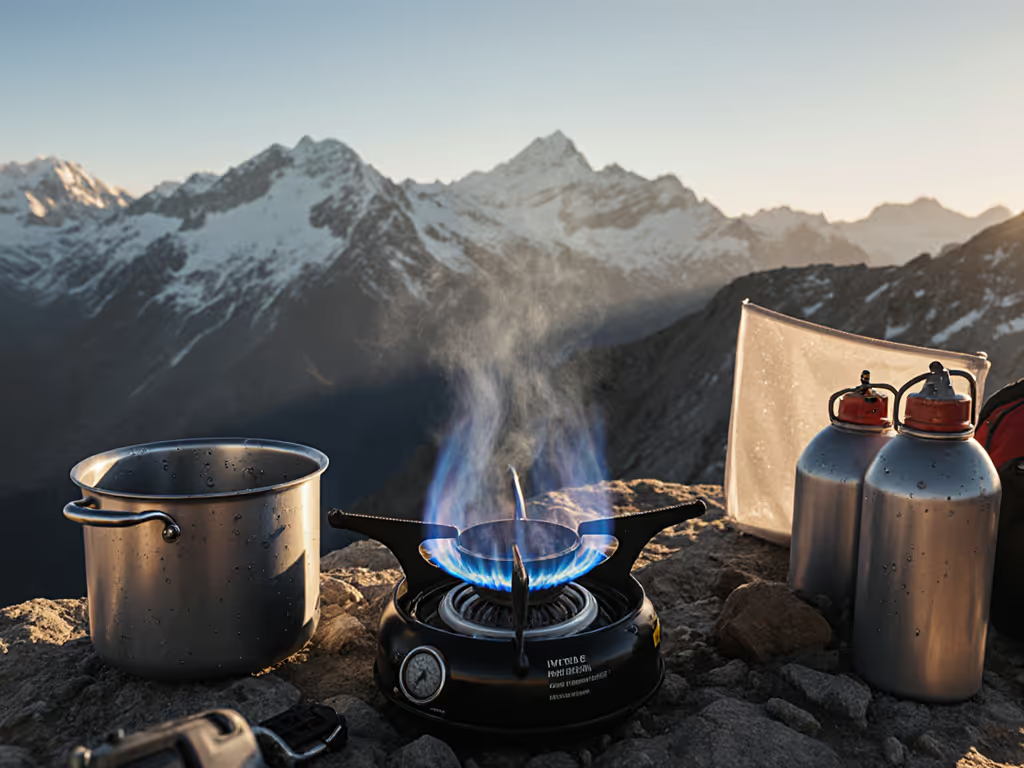
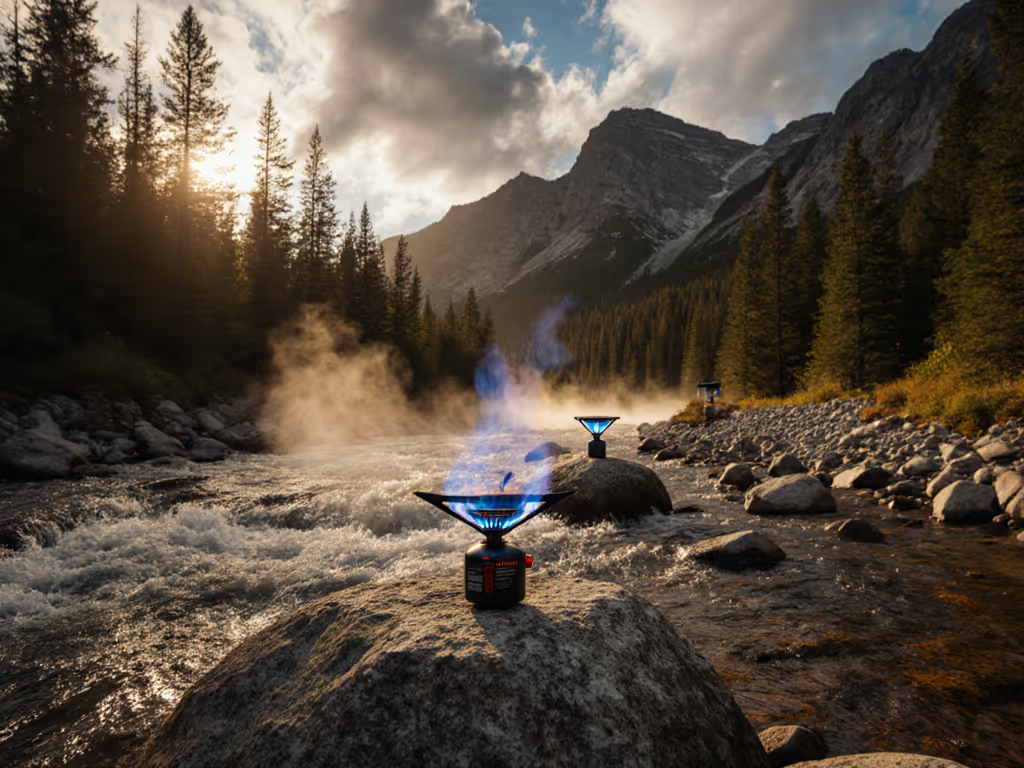
3. Riverside Camp Stove Tips: Account for Thermal Effects and Moisture
River corridors create their own microclimate. Cool, damp air rises off the water, humidity climbs, and fuel pressure drops, especially noticeable with canister stoves in spring and fall. Riverside camp stove tips start with fuel selection: a white-gas or propane system outperforms canisters in these conditions because liquid fuels are less pressure sensitive. For a deeper dive, see our propane vs butane vs white gas cold-weather performance tests. If you must use a canister, nestle it in warm water (not boiling, just hand warm) in a pot before ignition to boost pressure. The moisture also means everything gets damp. Pack waterproof matches, a lighter backup, and a small dry pouch for tinder. Bring firewood-grade fuel (Esbit tablets or alcohol as redundancy) so you're not stranded if your primary stove fails. Riverside setups also benefit from wider stove bases: the ground stays boggy or uneven, and a narrow support tips easily. Test your pot stability on flat ground at home before the trip.
4. Forest Clearing Wind Patterns: Read the Canopy Edge
A forest clearing doesn't mean calm. Wind funnels through gaps in the treeline, swirls in eddies, and shifts as the sun moves. Set up your kitchen at least 15 meters from the forest edge and fuel it upwind of any tents or gathering spots. Observe wind direction for 10 minutes before cooking, then flag a branch or a scrap of fabric to watch its motion. Use a full windscreen (commercial or DIY fabric + stakes) but never completely enclose your stove; a closed box builds heat and starves the burner of oxygen. For specs, setup diagrams, and safe clearances, see our windscreen guide. If the wind shifts mid-meal, shift with it. Keep pot handles toward the interior of your kitchen zone, not pointing outward where someone might bump them. This is family-proof kitchen practice: stable simmer, quick boils, zero drama, and it starts with reading the microclimates around you.
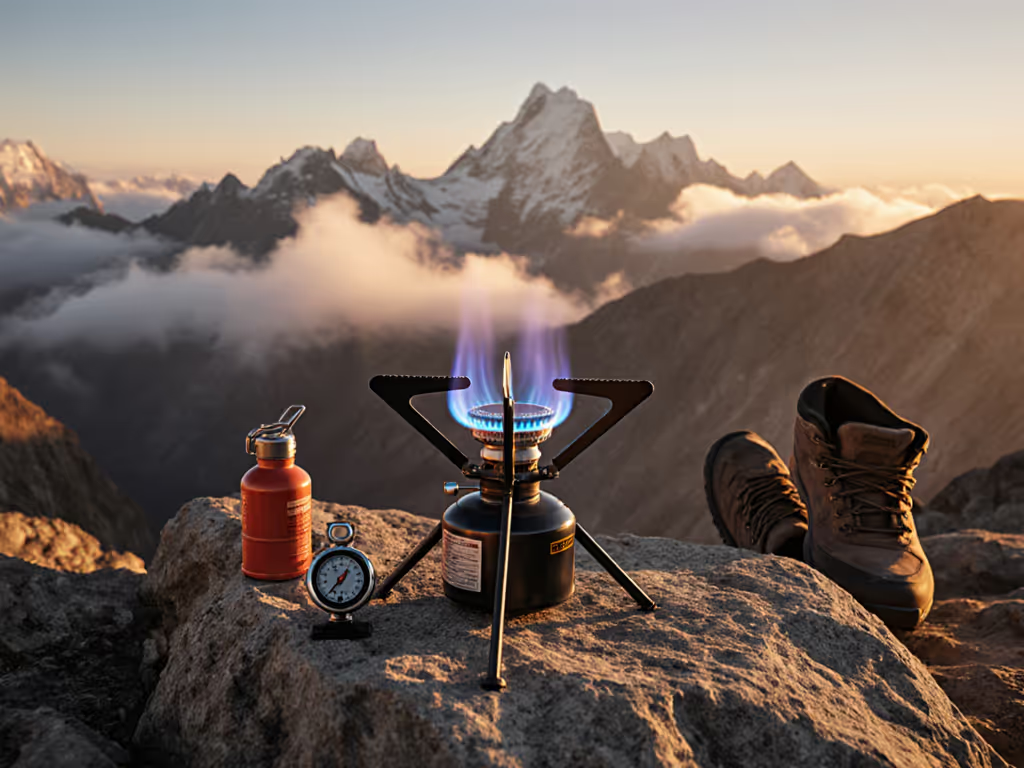
5. Topographical Cooking Considerations: Adjust for Pressure and Cold
Elevation and steep terrain combine to stress your stove. At 8,000 feet, water boils at 202°F instead of 212°F, so expect longer cook times, especially for pasta or rice. Cold also suppresses canister pressure: every 10°C drop roughly halves flame output[2]. Modern pressure regulators can stabilize output across temperature swings and declining canister levels. For high-altitude or winter trips, white gas or a multi-fuel remote-canister system is your best bet. If you're committed to canister fuel, choose inverted-canister stoves designed for cold conditions; the liquid withdrawal method maintains pressure longer than vapor draw. Plain-language safety reminder: never use a stove with a cracked or loose valve at altitude; pressure variability becomes dangerous. Terrain also affects balance. Steep camps demand a wide, low-slung stove base and a pot with a broad, flat bottom. Test the wobble-factor on slopes before cooking; an inch of leg extension (via rubber or stone shims) often stops a tip.
6. Combine Real-World Testing with Inclusive Menu Planning
Your terrain choice shapes not just burner performance but what you can actually cook. Field research shows that lab-tested systems perform differently with varying fuels, pot sizes, and fire-tending practices[1]. This means your menu and your stove must align. In windy, cold terrain, choose meals that require stable, controlled heat: slow-simmered stews, gentle rice, custard-based camp puddings (not recipes needing high, snappy temperatures). Inclusive menu notes: if your group includes lactose-free, plant-based, or other dietary needs, a stove with reliable simmer and even heat distribution becomes essential. A single-flame ultralight system struggles here; a wider burner with a quality windscreen thrives. Build a timeline and prep order for your route's conditions: know which meals cook first light (quick porridge), which happen in calm midday hours (the simmered curry), and which can stretch into evening around a stable flame.
7. Monitor Emissions and Ventilation in Challenging Microclimates
Field testing has repeatedly found that real-world emissions from cookstoves exceed laboratory predictions, especially in enclosed or semi-enclosed microclimates[2]. Valleys and forest clearings with poor air exchange are high-risk zones for CO buildup. Plain-language safety reminder: if you must cook near a shelter opening during a storm, ensure active ventilation: crack a window, prop a door, use a small fan powered by a battery pack, and rotate your location so you're not sitting in the exhaust plume. Review essential precautions in our camp stove safety guide. Install a simple carbon monoxide detector in your vehicle base camp if you're car camping; they're compact and affordable. On a blustery coastal weekend, I learned that a wide, stable burner with a real windscreen kept everything even and everyone warm; the same setup minimizes CO pooling because it lets heat and smoke rise cleanly without swirling dead zones. Monitor anyone in your group for headaches, nausea, or confusion during meals: those are early signs of CO exposure.
Summary and Final Verdict
Microclimate stove performance is learnable. Terrain-based cooking adjustments aren't guesswork; they're systematic responses to how wind, elevation, humidity, and topography change your burner's behavior. Start by choosing a stove rated for the harshest conditions your route will see. You can dial it back in benign terrain, but you cannot coax cold-weather output from a warm-weather system. Build a pre-trip checklist: map your fuel needs based on elevation and temperature (not just day-count), scout your camp locations on satellite imagery to spot wind patterns, and pack windscreens, ignition backups, and fuel redundancy. Test your setup at home on windy days before the trip. Most importantly, remember that family-proof kitchens (stable simmer, quick boils, zero drama) rely on this kind of preparation. Good food and safety emerge together when your stove matches its terrain and your habits respect the microclimates around you. Build this habit, and your camp kitchen becomes the reliable heart of every trip.
Related Articles