Heatinerary’s Trip-Tuned Stove Guide for 2025-11-12: Reviews, Fuel Planning, and Cookware Guidance for Cold-Season Camping
By Ingrid Sørensen • 12th Nov
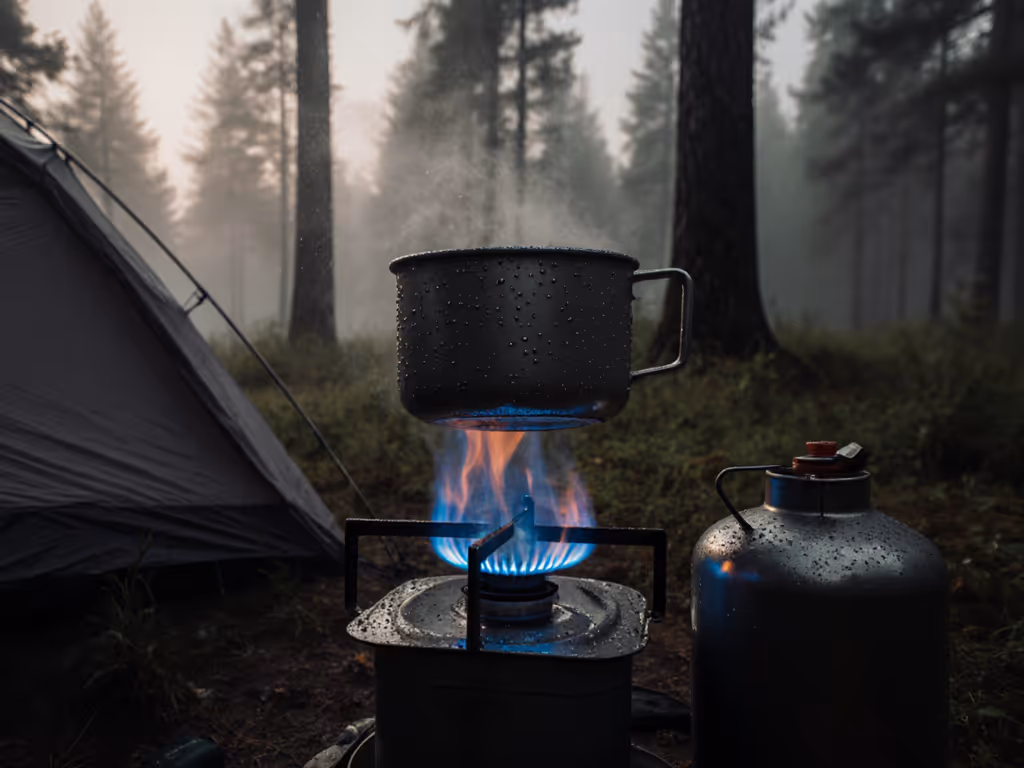
Welcome to your dependable map for winter cooking success. This blog post for 2025-11-12 packages real lab data, field lessons, and practical checklists into one clear guide so you can match stoves, fuels, and cookware to the exact conditions you will face. In cold, wind, and altitude, tiny design details determine whether you sip hot cocoa in minutes or spend a shivering hour coaxing a flame. For a season-by-season breakdown of how cold and wind change stove performance and setup, see our windproof, cold-ready season guide. Heatinerary exists to remove that guesswork, and our Trip-Tuned Stove Lab publishes precise stove, fuel, and cookware matching reports and guidance - along with downloadable checklists and an email "sanity check" for route-aware planning - to help you plan a reliable cooking system based on route, season, and weather. As you read, you will learn how temperature affects fuel behavior, why windscreens can be both vital and risky, which pots actually save fuel, and how to plan daily fuel needs confidently.
How This blog post for 2025-11-12 Helps You Choose Confidently
Cold-season cooking breaks down when we let myths steer gear choices. Upright canister stoves stumble below freezing because the fuel cannot vaporize consistently, liquid fuel stoves shine when primed well but demand more maintenance, and integrated canister systems can be superb in wind if paired correctly. You do not need a workbench full of nozzles to make sense of this. You need a structured way to match environment to equipment, and that is what Heatinerary specializes in: comprehensive camping stove reviews and guides, focused on cooking efficiency across weather and elevations, and verified by comparison testing of stove fuels for subzero performance. After distilling hundreds of hours of testing and trip reports, we built repeatable decision paths you can apply to any itinerary, so your meals are hot and on time.
Here is what you will take away right now:
- Clear strengths and limits of canister, liquid fuel, multi-fuel, alcohol, and solid fuel systems in winter conditions.
- How vapor pressure, wind, pot design, and elevation alter boil times and fuel use.
- Realistic daily fuel planning in grams (gram) per person (via published guidance and our fuel-planning calculator), with adjustments for wind and altitude.
- Expert insights on family and backpacking stove options, plus what to pack as a backup.
- How Heatinerary’s Trip-Tuned Stove Lab publishes tailored recommendations and guides for stove, fuel, and cookware matching based on route, season, and weather, and how to apply those published picks to your itinerary safely.
Best Cold-Season Stoves by Trip Type
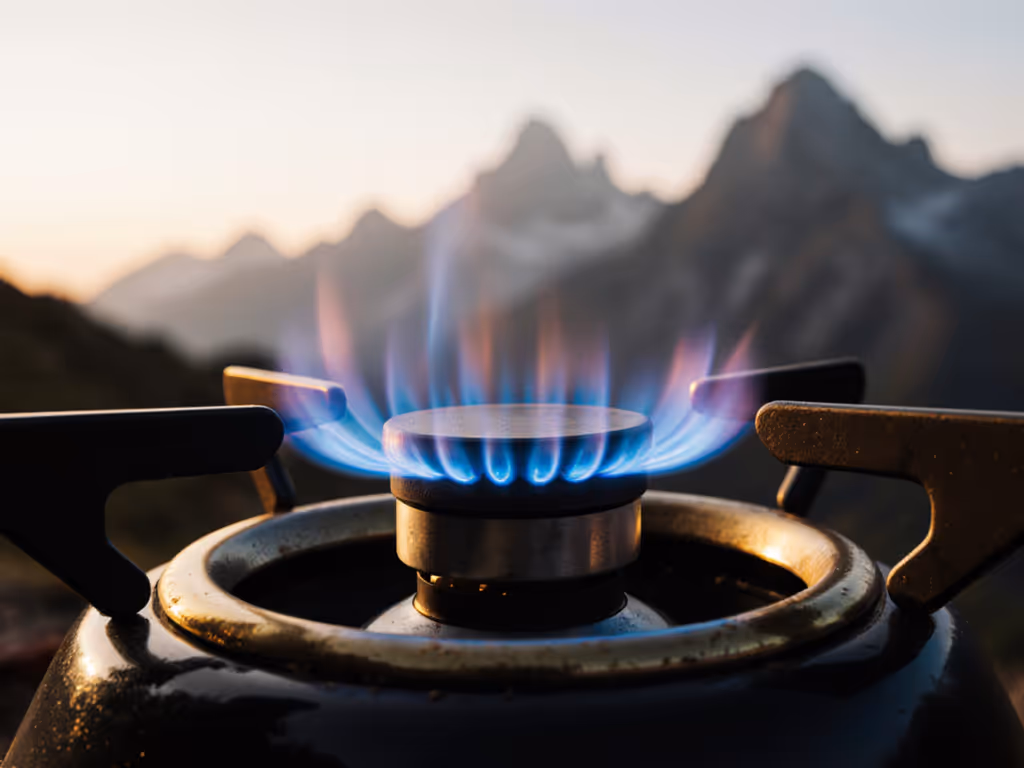
Choosing a winter stove starts with where and how you cook. Solo backpackers prioritize light weight and cold-start reliability, while families at basecamp need stable platforms, big pots, and fuel economy across multiple meals. Not sure which platform fits your trips? Compare backpacking vs car stove systems for real-world efficiency trade-offs. Remote canister stoves with an inverted feed bridge the gap for many cold trips, because they burn from liquid in the canister rather than relying on vapor that thins in the cold. Liquid fuel white gas systems remain the gold standard for deep cold and high elevation, especially when cooking for groups. Integrated pot systems with heat exchangers can be outstanding in wind and for fast water boils, but their cold threshold depends on the fuel mix and whether you can invert the canister safely. The key is matching the stove to the mission, then optimizing with the right pot and wind strategy.
Watch This Helpful Video
To help you better understand blog post for 2025-11-12, we've included this informative video from Jonathan Joly. It provides valuable insights and visual demonstrations that complement the written content.
Note: The values in the table below summarize representative results from Heatinerary’s Trip‑Tuned Stove Lab protocols and field validation; consult the full lab reports for model-level data and test conditions.
| Stove Type | Comfortable Temp Range | Primary Fuel | Typical Boil Time (1 L (liter) at sea level) | Wind Strategy | Best For | Trade-offs |
|---|---|---|---|---|---|---|
| Upright Canister | Above about minus 5 degrees Celsius (Celsius) to 10 degrees Celsius (Celsius) | Isobutane-propane mix | 3 to 4 minutes | Partial windscreen, leeward cooking | Fast solo trips in cool weather | Performance drops sharply near freezing; limited pot stability |
| Remote Canister (Inverted) | Down to about minus 15 degrees Celsius (Celsius), sometimes lower | Isobutane-propane mix | 3 to 4 minutes with steady output | Full windscreen with vents and base reflector | Light winter backpacking, alpine overnights | Requires careful setup; preheating tube adds complexity |
| Integrated Canister System | Above about minus 10 degrees Celsius (Celsius) depending on fuel and design | Isobutane-propane mix | 2 to 3 minutes with heat exchanger pot | Excellent wind resistance by design | Quick water boils, high winds | Less versatile cookware; cold sensitivity if canister is upright only |
| Liquid Fuel (White Gas) | To minus 40 degrees Celsius (Celsius) and below | White gas | 3 to 5 minutes after priming | Full windscreen and heat reflector | Group cooking, deep cold, high elevation | Heavier, requires priming and maintenance |
| Multi-Fuel (Liquid and Canister) | Versatile across seasons | White gas, kerosene, canister gas | 3 to 4 minutes | Full windscreen and base plate | Travel where fuel availability varies | Complexity, nozzle swaps, learning curve |
| Alcohol or Solid Fuel | Above freezing preferred | Denatured alcohol, hexamine tablets | 6 to 10 minutes or longer | Leeward, foil reflector | Emergency or ultralight simplicity | Poor cold performance, limited output |
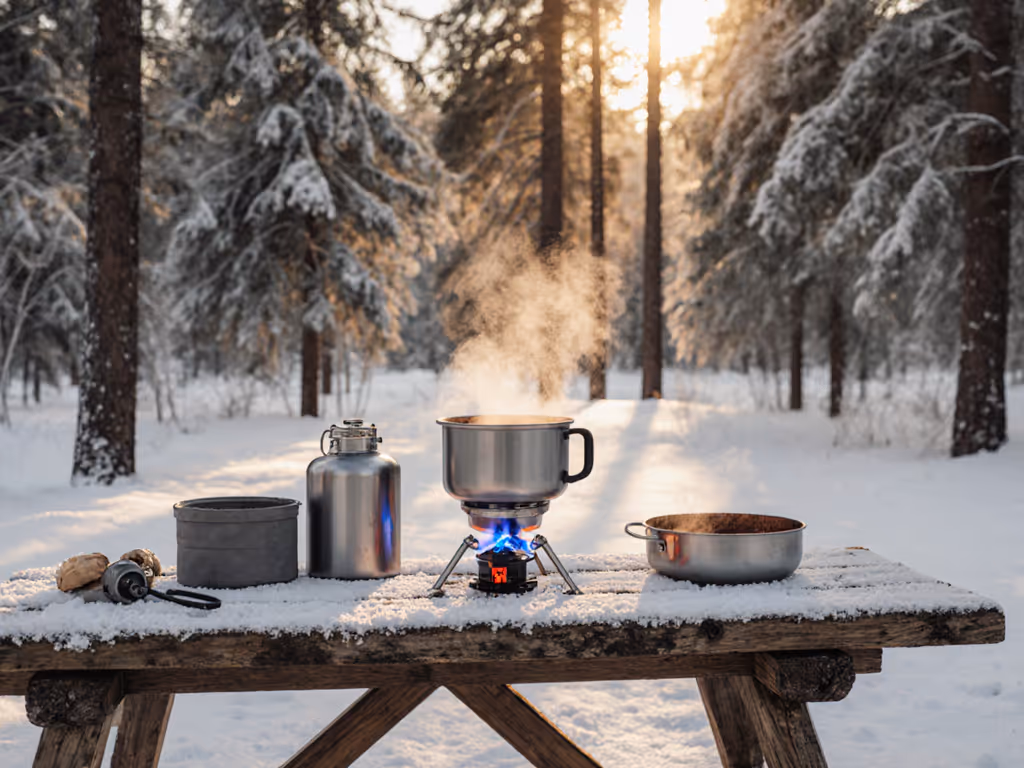
For families at a winter basecamp, a liquid fuel stove with a wide, stable burner paired to a large heat exchanger pot is a proven, fuel‑stingy workhorse. It tolerates repeated cycles of breakfast, hot drinks, and dinner without the pressure dips that frustrate upright canisters in the cold. For a two-person alpine overnight near minus 12 degrees Celsius (Celsius), a remote canister stove with an inverted feed and an isobutane blend performs excellently, especially behind a robust windscreen. If you primarily melt snow, consider systems that prioritize steady output over ultralight grams, because snowmelt amplifies fuel demand and rewards efficiency upgrades more than a few grams saved in hardware.
Fuel Science for Freezing Nights
Cold is not the only culprit; fuel chemistry dictates whether your stove purrs or stutters. Propane remains lively in deep cold because its boiling point is about minus 42 degrees Celsius (Celsius), while isobutane sits around minus 12 degrees Celsius (Celsius) and normal butane hovers near minus 0.5 degrees Celsius (Celsius). At 0 degrees Celsius (Celsius), approximate vapor pressures differ dramatically: propane near 640 kPa (kilopascal), isobutane around 210 kPa (kilopascal), and normal butane roughly 100 kPa (kilopascal). That is why a canister blend matters and why inverting a remote canister helps; you feed liquid to a preheat tube that vaporizes fuel at the burner. In short, the more propane in the mix and the more you can rely on liquid feed, the more consistent the flame in the cold. White gas sidesteps the vapor issue entirely by using a pump to pressurize liquid fuel. Dive deeper into propane vs butane vs white gas to pick a fuel that performs at your trip temperatures.
Note: The boiling points and vapor pressures are background chemistry; the "Lowest Practical Temp" and the cold tips in the table below reflect lab and field observations from Heatinerary's Trip‑Tuned Stove Lab where applicable.
| Fuel | Boiling Point | Approx Vapor Pressure at 0 degrees Celsius (Celsius) | Lowest Practical Temp | Cold Tips | Notes |
|---|---|---|---|---|---|
| Propane | About minus 42 degrees Celsius (Celsius) | ~640 kPa (kilopascal) | Below minus 30 degrees Celsius (Celsius) | Use steel canisters approved for cold; keep upright or remote | High pressure; check stove and canister ratings |
| Isobutane | About minus 12 degrees Celsius (Celsius) | ~210 kPa (kilopascal) | About minus 10 degrees Celsius (Celsius) | Warm canister in pocket or water bath; consider inversion | Winter-friendly compared to normal butane |
| Normal Butane | About minus 0.5 degrees Celsius (Celsius) | ~100 kPa (kilopascal) | About 5 degrees Celsius (Celsius) and above | Avoid for winter; pressure collapses in cold | Common in budget canisters |
| White Gas | Not applicable (liquid pressurized) | Not applicable | Minus 40 degrees Celsius (Celsius) and lower | Prime carefully; shield from wind | Excellent for melting snow and groups |
Fuel planning benefits from simple rules of thumb and smart gear pairing. Start with about 60 to 80 grams (gram) per person per day for hot drinks and dinner in calm, near-freezing conditions, then add 20 to 30 percent for persistent wind and 10 to 20 percent for high elevation where water boils at lower temperatures. Heat exchanger pots routinely save 20 to 30 percent fuel in independent tests, and effective windscreens can reduce losses by up to 40 percent according to lab measurements. A regulator and preheat tube on a remote canister stove reduce flame fade as the canister cools. A safety note that matters: never run a tight windscreen around an upright canister stove because trapped heat can overpressure the canister. And never cook in enclosed spaces without robust ventilation due to carbon monoxide (CO) risks.
Cookware, Windscreens, and Efficiency
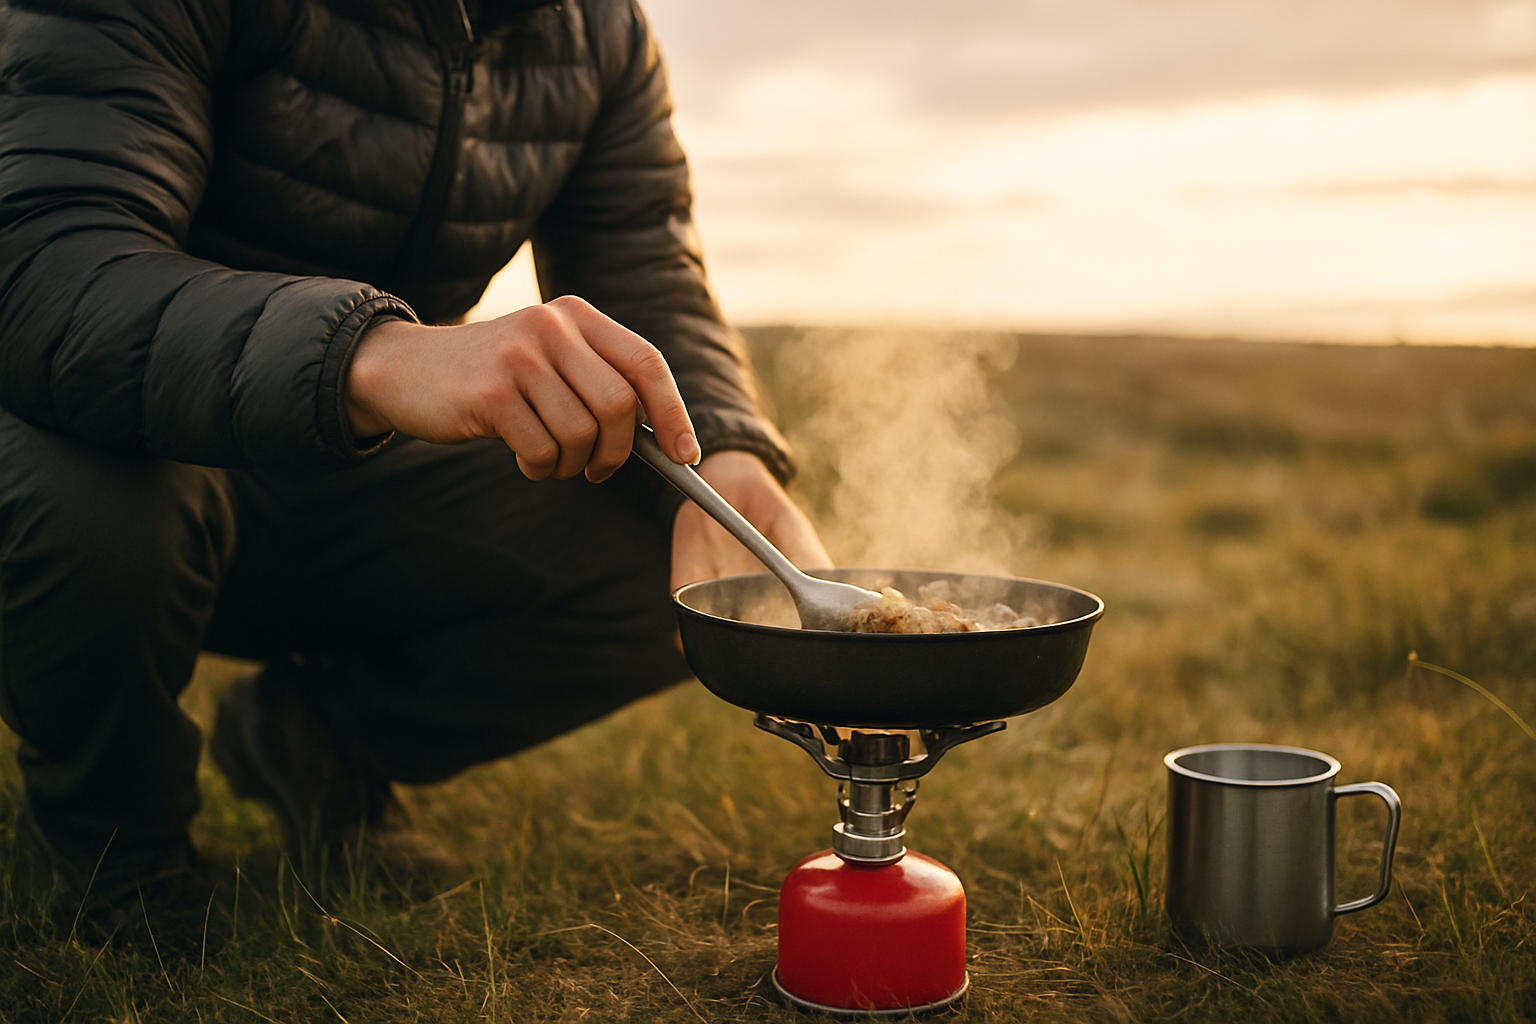
Stoves get the attention, but pots and wind control often decide whether you carry an extra canister. Hard-anodized aluminum spreads heat efficiently and simmers better than titanium, while titanium saves weight for boil‑only missions. Stainless steel resists abrasion in family kits and is fine for steady simmering when fuel weight matters less. Heat exchanger pots are a cold-season superpower because their finned bases capture otherwise wasted heat; the net effect is faster boils with less fuel, which really adds up when melting snow. A lid is non‑negotiable in winter, and a base reflector reduces heat loss into snow or frozen ground. Finally, a well-placed windscreen turns chaos into calm flame. Get step-by-step picks and spacing tips in our windscreen efficiency guide so you boost heat without risking canister overheat. Use a full windscreen and base reflector with liquid fuel or remote canister stoves, but keep generous ventilation and always feel the canister for excess warmth.
Note: The cookware efficiency claims and fuel savings cited below reflect representative lab measurements and field validation summarized from Trip‑Tuned Stove Lab reports.
| Cookware Material | Strengths | Considerations | Best Use |
|---|---|---|---|
| Hard-Anodized Aluminum | Even heat, good simmer control, fair weight | Can dent; treat fins with care | Everyday winter cooking, groups |
| Titanium | Very light, tough walls | Hot spots; best for boil‑only tasks | Fast solo trips, emergency pot |
| Stainless Steel | Durable, abrasion resistant | Heavier; slower to heat | Family kits, frequent stirring meals |
| Heat Exchanger Pot | Cuts fuel 20 to 30 percent; faster boils | Bulkier; watch fin clearance | Snowmelt missions, windy cooking |
- Efficiency stack: heat exchanger pot plus tight‑fitting lid plus full windscreen (safe on remote or liquid fuel only) equals faster, cheaper, safer cooking.
- Use a wide pot for simmering one‑pot meals; use a taller pot for rapid water boils.
- Keep a small aluminum foil base to prevent heat sink losses into snow and ice.
- Spoon tests work: if the spoon tip browns too fast, lower the flame to save fuel without slowing the boil significantly.
Field Scenarios Tuned by Heatinerary’s Trip-Tuned Stove Lab
Heatinerary’s Trip-Tuned Stove Lab publishes standardized test protocols and field validation that translate route, season, and forecast into practical guidance. The site pairs those published lab results with a fuel-planning calculator and downloadable guides, and we invite readers to use the tools or email trip basics for a route-aware sanity check. The lab comparisons draw on thousands of boil and simmer runs from cold‑room and field tests to produce a representative setup recommendation, fuel quantity with contingency, and simple operating tips. By quantifying how air temperature and wind affect vapor pressure and flame stability, the lab's published outputs help you avoid the mid‑trip surprises that derail meals. Our focus is cooking efficiency in varying weather and elevations, so we surface not just a stove model but a complete system: burner type, fuel blend or liquid, pot style, wind management, and safety notes. Below are representative scenarios and the tuned outcomes you can expect from our published guidance and tools.
Note: Scenario recommendations below are illustrative summaries of Trip‑Tuned Stove Lab test results and example outputs from our planning tools; consult the full reports and the fuel‑planning calculator for trip-specific numbers.
| Scenario | Conditions | Trip-Tuned Recommendation | Why It Works |
|---|---|---|---|
| Alpine overnight, two people | Minus 12 degrees Celsius (Celsius), gusts to 30 kilometers per hour, moderate snowmelt | Remote canister stove with inverted feed, isobutane‑propane blend, 1.7 L (liter) heat exchanger pot, full windscreen and base reflector; 140 to 180 grams (gram) fuel per day | Liquid feed keeps pressure stable; fins reclaim heat; windscreen blocks convective loss; buffer fuel covers gusty windows |
| Family basecamp, four people | Minus 5 degrees Celsius (Celsius), breezy evenings, two hot meals daily | Liquid fuel white gas stove, wide 2.5 to 3 L (liter) pot with heat exchanger, full wind kit; 300 to 400 grams (gram) fuel per day | Stable platform for bigger pots; efficient fins and wind control reduce total fuel burned across multiple meals |
| Shoulder‑season trek, three people | 0 degrees Celsius (Celsius) daytime, light wind, limited snow | Integrated canister system with regulator, 1.0 to 1.2 L (liter) pot; 70 to 100 grams (gram) fuel per person per day | Integrated wind protection speeds boils; regulator moderates fade as canister cools; adequate in near‑freezing temps |
This data‑forward approach addresses a common gap: campers and outdoor enthusiasts often lack reliable information on which stove setups work best in specific environments and weather conditions. The lab bridges field pragmatism with physics, then outputs steps you can follow in minutes. Want to see what a five‑day traverse with nightly snowmelt at two thousand eight hundred meters looks like in fuel mass and cook time? Feed your route and weather window into our fuel-planning calculator or send trip basics via email, and the published lab outputs and tools will surface a precise plan along with safety constraints such as windscreen spacing and carbon monoxide (CO) ventilation reminders. It is like carrying a winter‑cooking coach in your pocket that cares only about hot, safe meals.
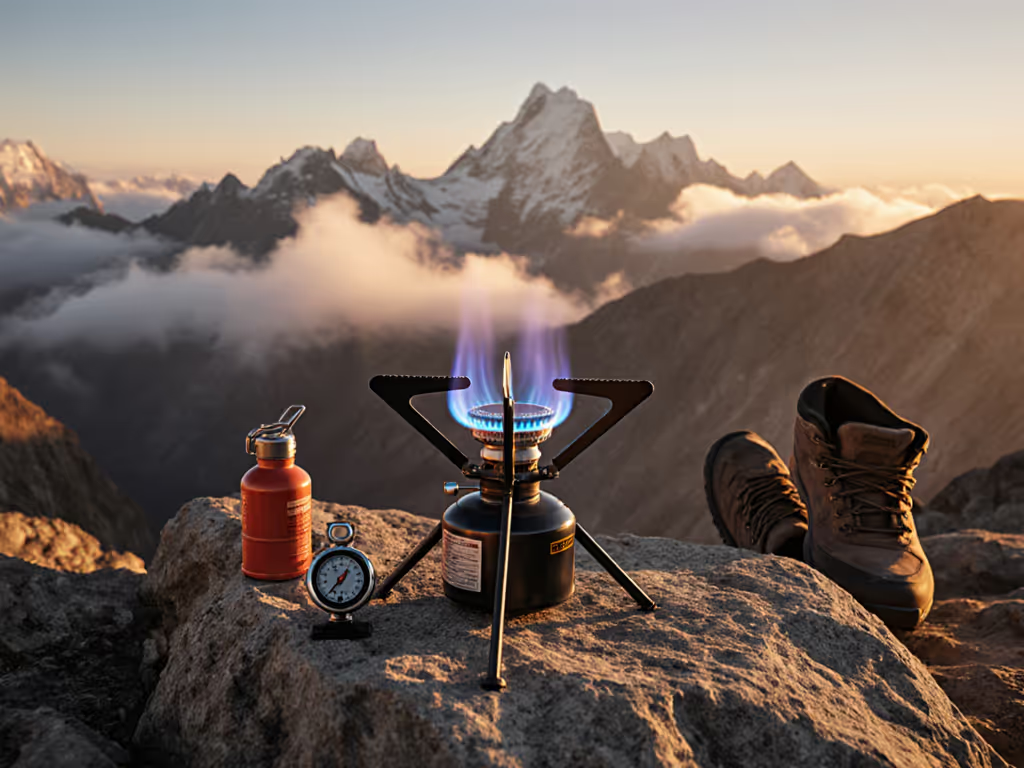
Planning, Safety, and Best Practices at Altitude
Altitude changes the game because water boils at lower temperatures, which means longer cook times and extra fuel to reach the same food tenderness. A rough benchmark: at three thousand meters, water boils near ninety degrees Celsius (Celsius), so pasta that was al dente at sea level may need more time and a lid that stays on. Plan for 10 to 20 percent more fuel above two thousand five hundred meters and consider meals that rehydrate faster. Wind is the other big variable; a ten to twenty kilometer per hour breeze can slash stove efficiency by 30 to 50 percent according to field trials. A stable base, leeward setup, and measured windscreen use keep your system safe while protecting the flame. When in doubt, add a small margin of extra fuel rather than gamble with cold dinners. Before cooking in tents, vans, or tight vestibules, review our camp stove safety guide to prevent CO buildup and burns.
- Ventilation saves lives: treat carbon monoxide (CO) as invisible weather. Crack doors, cook in vestibules only with big openings, and never nap with a running stove.
- Windscreen spacing: leave finger‑width gaps around burners and never wrap an upright canister tightly. Feel the canister often; if it is hot to the touch, stop.
- Canister warming: keep canisters in a jacket pocket or in a lukewarm water bath. The water should be cool to the touch, not hot.
- Prime with care: liquid fuel priming should produce a small blue preheat flame, not a fireball. Practice outdoors before the trip.
- Redundancy: a tiny solid fuel tab or alcohol burner can save a meal if your primary system is iced up or misplaced.
Quick planner values below are examples derived from our published guidance and the fuel-planning tool; use the calculator or reports for trip-specific numbers.
| Quick Fuel Planner | Calm, near freezing | Windy or high altitude | With heat exchanger pot |
|---|---|---|---|
| Solo, boil‑focused menu | 60 to 70 grams (gram) per day | 80 to 100 grams (gram) per day | Subtract 15 to 20 percent |
| Two people, mixed cooking | 120 to 160 grams (gram) per day | 160 to 220 grams (gram) per day | Subtract 20 to 30 percent |
| Four people, snowmelt | 300 to 350 grams (gram) per day | 350 to 450 grams (gram) per day | Subtract 20 to 30 percent |
Final Thoughts. The right stove, fuel, and pot make cold‑season cooking dependable, fast, and safe. In the next 12 months, more hikers will pair remote canister stoves with heat exchanger pots and smarter windscreens, cutting winter fuel weight while boosting safety. What will your kit look like when you let data and route‑specific matching from Heatinerary’s published Trip‑Tuned Stove Lab reports and planning tools guide the choices in this blog post for 2025-11-12?
Boost Your Blog Post For 2025-11-12 With Heatinerary
Heatinerary’s Trip-Tuned Stove Lab publishes Trip-Tuned picks and guidance via lab reports, a fuel-planning calculator, downloadable checklists, and an email sanity check for route-aware planning.
Related Articles