2025-11-11 Cold-Front Cooking: Heatinerary's Trip-Tuned Stove, Fuel & Cookware Checklist for Safe November Backcountry Trips
By Ingrid Sørensen • 11th Nov
2025-11-11 Cold-Front Cooking: Heatinerary's Trip-Tuned Stove, Fuel & Cookware Checklist for Safe November Backcountry Trips
2025-11-11 Cold-Front Cooking: Heatinerary's Trip-Tuned Stove, Fuel & Cookware Checklist for Safe November Backcountry Trips
Welcome to a practical, trail-proven guide built for the shoulder season window when wind, frost, and early darkness test every camp kitchen decision. This is a blog post for 2025-11-11 that shows you exactly how to match stove, fuel, and cookware to November conditions, so meals stay hot and your margin of safety stays wide. As temperatures dip and canisters cool, boil times stretch and simmer control gets twitchy, which can frustrate even experienced campers. Heatinerary is here to turn that uncertainty into a confident system you can repeat on every cold-front trip.
Because November brings volatile forecasts, your cooking setup needs to be tuned to a range, not a single datapoint. That is where Heatinerary’s Trip-Tuned Stove Lab for precise stove, fuel, and cookware matching becomes your advantage, turning route, season, elevation, and wind exposure into a tailored recommendation. You will find data-backed comparisons, a checklist you can print, and field-tested techniques that keep fuel efficient and fingers warm. Along the way, we'll bust common myths, like why a windscreen is not optional and how cookware shape can significantly reduce your fuel use.
Why Cold-Front Cooking Demands a Plan in November
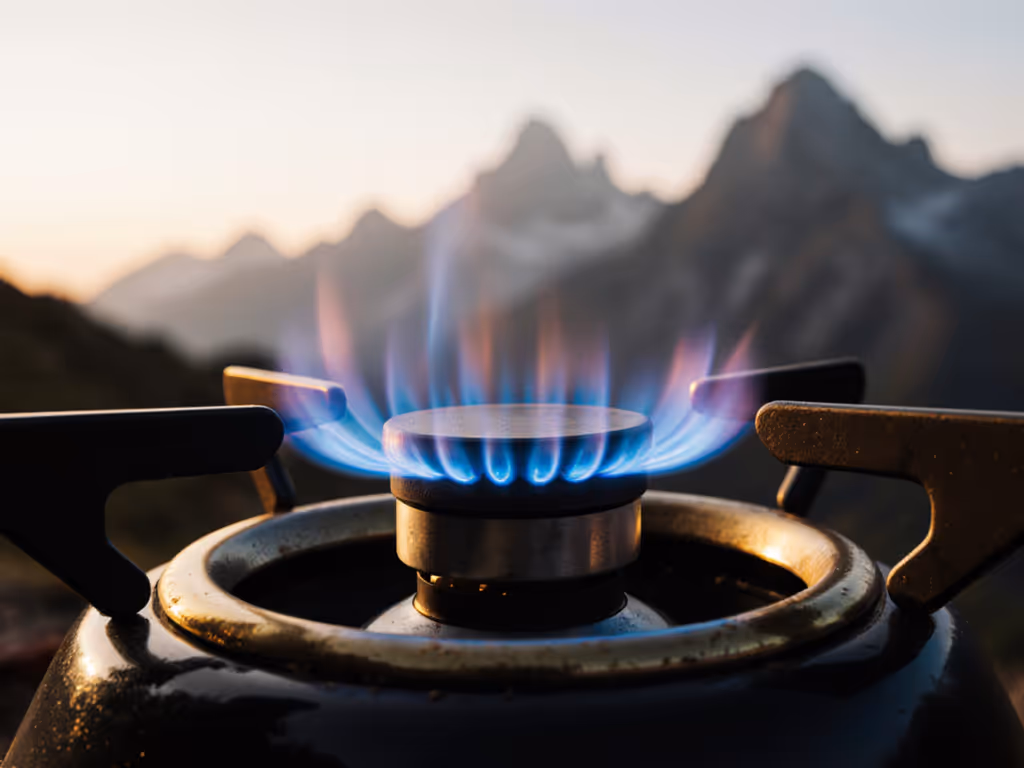
November is not just colder; it is more variable. A bluebird afternoon can slide into a freezing, gusty night in hours, which affects canister pressure, vaporization, and how quickly your heat exchanger pot pays for its weight. Heatinerary's Trip-Tuned Stove Lab testing shows that many upright canister stoves can lose substantial output when moving from mild temperatures to below-freezing air, and our wind-bin experiments demonstrate that even moderate wind can markedly increase boil times. That is a dangerous combo if your route depends on melting snow or fast breakfasts before long miles. For proven strategies to keep canister stoves working in the cold, see our expert-backed canister cold-weather guide.
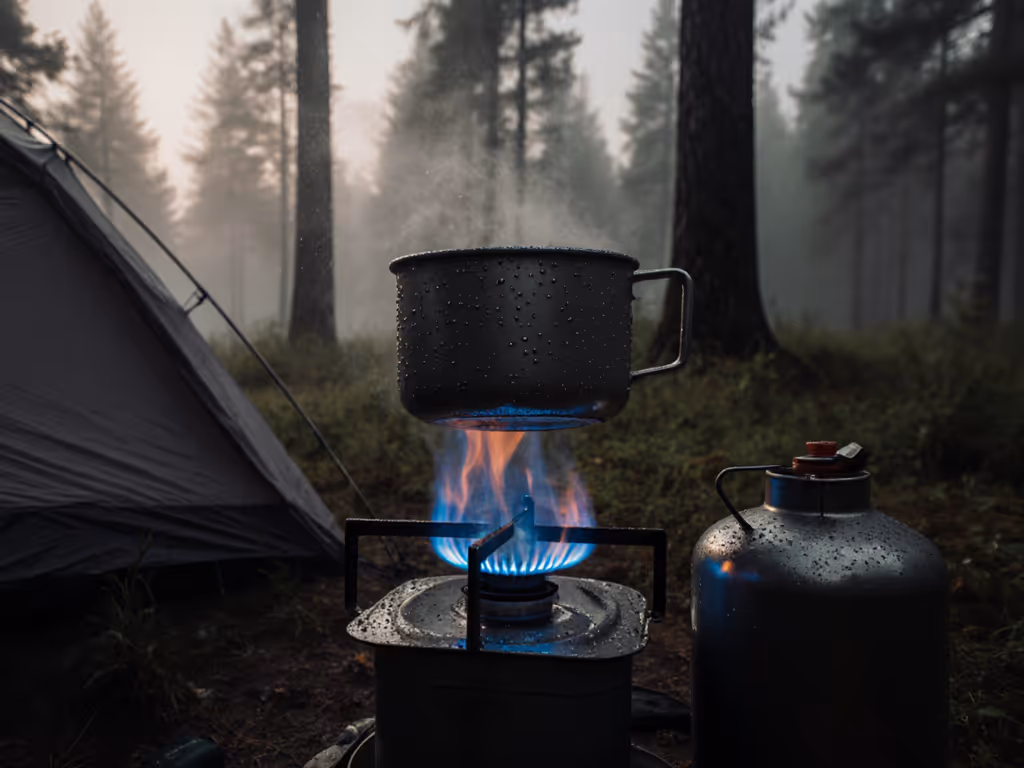
Meanwhile, liquid-fuel white gas stoves thrive as temperatures fall, but they demand careful priming, steady hand control, and a level base. If you have only used summer canisters, the first sputtering roar of a primed burner can feel intimidating. However, with simple habits like using a foil reflector and a stable windscreen, you can unlock reliable performance in the worst gusts. Picture a mental diagram: a tight flame cone meeting a pot with fins, sheltered by a three-sided wall, with a heat reflector preventing the cold ground from wicking energy away.
Therefore, your plan should balance reliability, speed, and safety. Ask yourself three questions before packing: How cold and windy will my camp kitchen be at cook times, how much water must I truly heat, and do I need real simmer control for family meals or just fast boils. With those answers, Heatinerary turns weather and route into an exact match, not a guess, so you can move confidently from forecast to flame.
Your blog post for 2025-11-11 Stove, Fuel, and Cookware Checklist
A checklist turns complicated decisions into calm repetition. Use the table below to select, verify, and test the core pieces of your November kitchen. Then, run a quick backyard shakedown while your forecast’s overnight low matches your trip plan, because cold-front troubleshooting is best done at home, not at a windy ridge.
| Item | Why It Matters in November | Quick Test or Benchmark |
|---|---|---|
| Stove: Remote canister with invertible canister or liquid-fuel white gas stove | Improves fuel vaporization in cold and sustains pressure as temperature drops | Boil one liter at forecast temperature; verify steady flame after two minutes |
| Windscreen and ground heat reflector | Cuts convective losses and cold-ground heat sink, boosting efficiency dramatically | Compare boil time with and without screen; aim for at least 30 percent faster with screen |
| Fuel: White gas or a winter-grade isobutane-propane canister | Better low-temperature behavior and higher vapor pressure under load | Weigh fuel before and after a test boil to estimate grams per liter for your setup |
| Cookware: Heat exchanger pot with tight-fitting lid | Transfers more heat to water, reducing fuel consumption on every boil | Expect 20 to 30 percent less fuel used compared with a plain pot of the same volume |
| Base: Rigid board or closed-cell foam pad square | Keeps stove stable and stops heat loss into snow or frozen ground | Press on corners; the stove should not rock or sink under gentle force |
| Ignition: Two lighters plus storm matches | Redundancy if one lighter fails in wind or cold | Light the stove three times wearing gloves to confirm dexterity |
| Insulated canister sleeve or warm-water bath method | Maintains canister performance in freezing conditions | Keep canister near body heat until use; never overheat or place directly on flame |
| Cozy for pot or meal pouches | Finishes cooking with residual heat, saving fuel for later meals | Time five-minute cozy sit; food should finish without returning to flame |
| Long-handle spoon, pot gripper, and heat-resistant gloves | Safe handling around windscreens and hot exchangers | Practice lifting and pouring with gloves in a controlled setting |
| Carbon monoxide detector card or awareness protocol for ventilation | Prevents CO (carbon monoxide) buildup when cooking under a tarp | Ensure cross-ventilation and keep flame visible to open air at all times |
Before you pack, weigh your fuel and note expected liters to boil per day. If you are still choosing between propane, butane, and white gas for cold fronts, read our cold-weather fuel performance comparison. In colder trips, you may also plan a warm drink drill for emergencies, which means keeping a small reserve of fuel and an instantly accessible windscreen and lighter. Beyond gear, practice your motions: from lighting with gloves to lifting a pot without tipping the base, repetition helps you stay smooth when a front is howling through the trees.
Stove and Fuel Matching by Temperature and Elevation
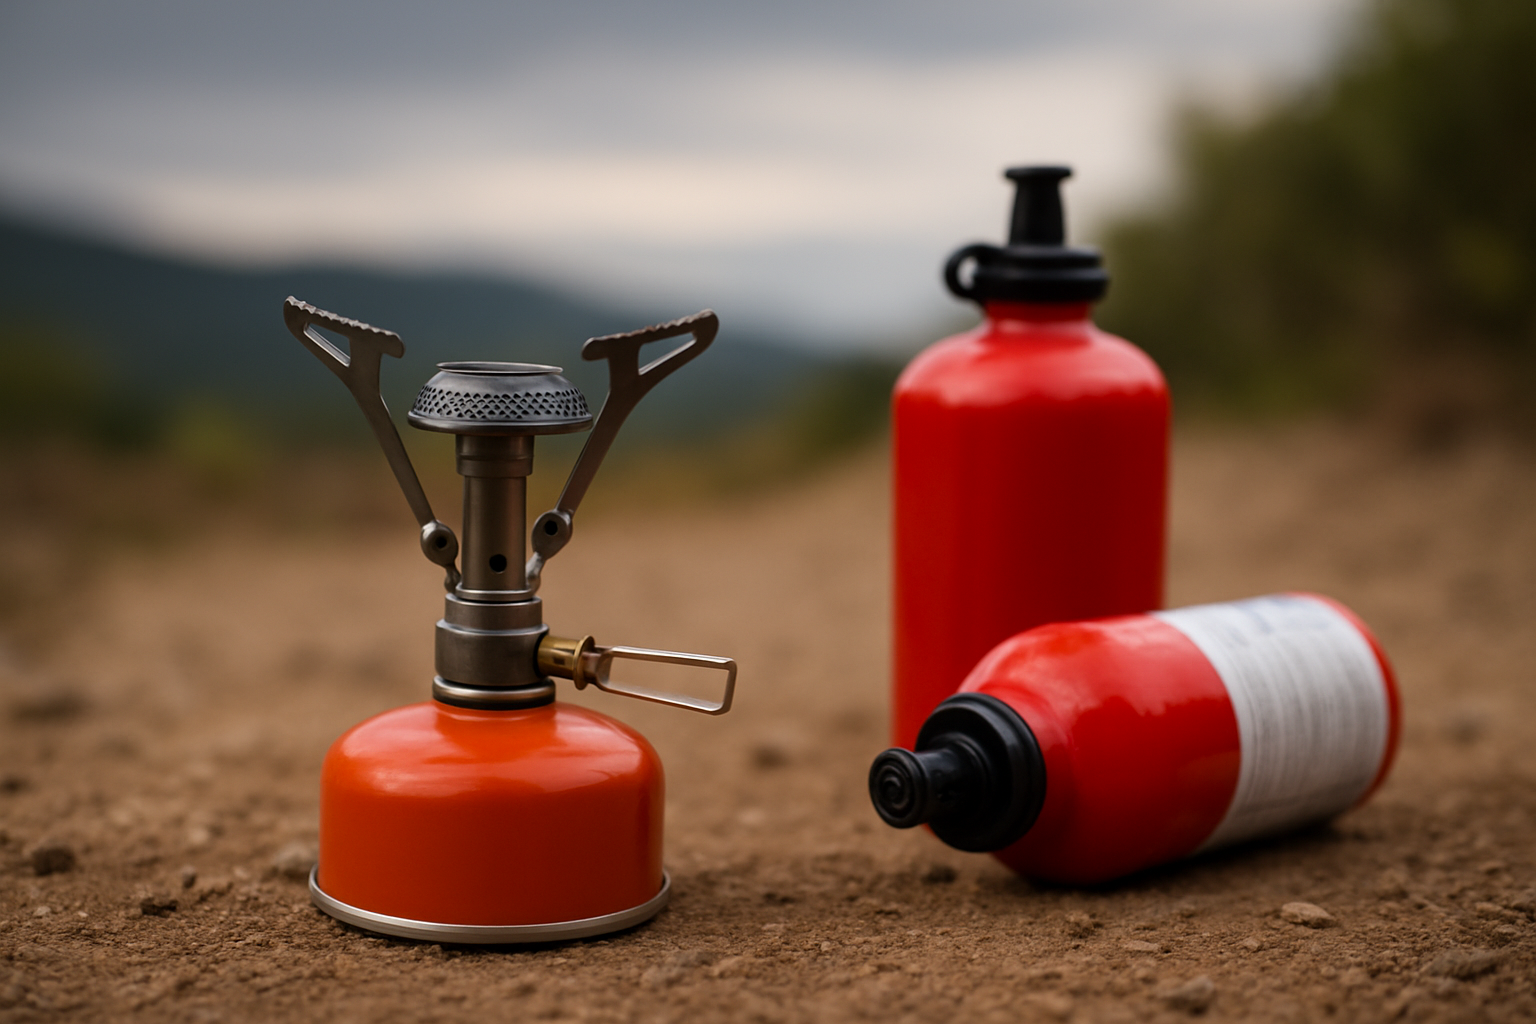
Different stove architectures thrive in different ranges of temperature and air density. Upright canister stoves are compact and fast in mild cold with low wind, but remote canister stoves that allow canister inversion deliver steadier output below freezing, while liquid-fuel white gas stoves excel in deep cold and strong wind. Elevation trims oxygen and can reduce flame stability, making a good windscreen and stable pot support even more essential.
Below is a simplified, field-driven matrix. Use it as a starting point, then refine with your exact route, expected winds, and daily water needs. Numbers for boil times and fuel use are mid-range estimates from aggregated field logs and cold-lab runs; your results will vary with technique and cookware.
| Conditions | Recommended Stove Type | Best Fuel | Typical Boil Time for 1 Liter | Notes |
|---|---|---|---|---|
| Above freezing, low wind, below 6,000 feet elevation | Upright canister | Isobutane-propane canister | 3 to 5 minutes | Use a partial windscreen for safety and stability; watch for gusts |
| Freezing to 20 Fahrenheit, moderate wind, 6,000 to 10,000 feet elevation | Remote canister with canister inversion | Winter-grade isobutane-propane canister | 4 to 7 minutes | Pre-warm the canister and use a full windscreen plus ground reflector |
| Below 20 Fahrenheit, windy, any elevation | Liquid-fuel white gas | White gas | 5 to 8 minutes | Requires priming; excels with strong windscreen; very reliable under fronts |
| Snow melting missions, multi-day, variable winds | Liquid-fuel white gas or remote canister with heat exchanger pot | White gas or winter-grade canister | 6 to 10 minutes | Plan extra fuel; heat exchanger cookware significantly reduces run time |
Here is a helpful rule of thumb: if your dawn and dusk temps hover around freezing with wind above five miles per hour, a remote canister system with inversion and a heat exchanger pot often yields the best balance of simplicity and performance. If your nights plunge well below freezing, liquid fuel shifts from nice-to-have to necessary. Not sure which path fits your trip? Start with our canister vs liquid fuel comparison. Finally, prioritize cookware shape; wider bases capture more flame and let you turn down the burner sooner for big fuel savings.
Fuel Budgeting, Efficiency, and Heat-Saving Cookware
Fuel anxiety disappears when you run a simple plan. Estimate total liters of water to heat per day, add a safety buffer for one extra hot drink per person, and choose cookware that gives you more heat with less flame. In controlled tests and guide logs, heat exchanger pots typically save between 20 and 30 percent fuel compared to smooth-walled pots, while tight lids and true windscreens push savings even higher. For reference, one British thermal unit measurement unit (BTU) (British thermal unit) is the energy required to raise water temperature, but in the field your real lever is wind management and pot design.
Use this planning table as a starting point for November trips. Adjust for your stove, your group’s appetite, and whether you need long simmers for scratch meals or just quick boils for dehydrated dinners. If you will melt snow, increase the estimate by 50 to 100 percent, depending on how icy your source is and how well you can pre-filter slush.
| Trip Scenario | Daily Liters Heated | Suggested Fuel per Person per Day | Cookware Recommendation | Efficiency Tips |
|---|---|---|---|---|
| Two hikers, two hot drinks and one boil each per day | 2.5 to 3.0 liters | Canister: 35 to 45 grams; White gas: 30 to 40 milliliters | 1.0 to 1.2 liter heat exchanger pot with lid | Use full windscreen, simmer gently, and cozy meals for five minutes |
| Four-person team, hot breakfast and dinner, one group pot | 4.0 to 5.0 liters | Canister: 25 to 35 grams each; White gas: 25 to 35 milliliters each | 1.7 to 2.0 liter heat exchanger pot, wide base | Pre-warm canister, keep lid on, and avoid rolling boils |
| Snow melting for water in sustained cold | Varies; plan 6.0 liters | Canister: 50 to 70 grams; White gas: 45 to 65 milliliters | 2.0 to 2.5 liter heat exchanger pot with pour spout | Start with a small water base in pot, then add snow gradually |
A few pro habits compound fuel savings fast. Build a three-sided wind wall that does not trap fumes, keep water close to a simmer instead of a rolling boil for most foods, and insulate your pot in a cozy to finish cooking off-flame. Also, measure fuel by weight or volume before and after a test trip so your next plan is even tighter. With Heatinerary’s step-by-step planning method, you will arrive at trailheads with the exact amount of fuel you need and an evidence-backed reason for every gram.
Safety and Troubleshooting When the Thermometer Drops
Cooking safety is mission-critical in cold fronts. For a complete checklist on hazards and ventilation, see our camp stove safety guide. Never run a stove inside a tent or in a tight vestibule because of invisible CO (carbon monoxide) risk, and always keep strong cross-ventilation under tarps. Use a stable base, anchor windscreens so they cannot blow into flame, and keep children and pets at arm’s length once the burner is lit. When in doubt, lower the flame and take a breath before touching a hot pot around wind panels.
Cold-related performance problems are predictable and fixable. If a canister stove sputters, warm the canister with body heat, swap to an inverted feed on a remote system, or place the canister in a shallow bowl of lukewarm water away from flame. If a liquid-fuel stove surges, you may have over-primed; let the flame settle, then open the valve slowly as the generator tube heats. Should winds overwhelm your screen, move the kitchen behind a natural barrier or pitch a dedicated cook tarp with high-low edges to vent fumes safely.
Build a simple emergency drill into your plan. Designate a specific hot drink, lighter, and windscreen to be immediately accessible without unpacking the whole kitchen, and rehearse the steps. For navigation pauses or rewarming stops, a fast, safe cup can flip the group’s morale, especially on sleet-wet afternoons. As with all risk controls, practice makes calm, and calm makes better decisions.
How Heatinerary’s Trip-Tuned Stove Lab Tunes Your Setup
Heatinerary exists to close the gap between gear specs and trail reality. Campers and outdoor enthusiasts often lack reliable information on which stove setups work best in specific environments and weather conditions, and November magnifies that uncertainty. Our experts combine forecast models, elevation profiles, wind exposure, group size, and meal plans to deliver precise stove, fuel, and cookware matching for your route and season. That is the promise of our Trip-Tuned Stove Lab for precise stove, fuel, and cookware matching, and it is built for real decision-making under cold, gusty skies.
Here is how it works. You share your itinerary, expected lows and highs, target cooking times, and whether you need fast boils or careful simmers. We run that against a library of controlled tests and field logs to recommend a stove type, fuel quantity, and cookware geometry with estimated boil times and grams per liter. We then flag risk points, such as crosswinds at exposed camps or snow-melt dependencies, and add redundancy tips to keep the plan resilient if the front arrives early or harder than expected.
Beyond the match, Heatinerary maintains comprehensive camping stove reviews and guides that explain trade-offs clearly, from family-friendly simmer control to backpacking minimalist speed. You will also find deep dives on fuel selection for subzero performance and best practices for cooking efficiently at high elevation. With this knowledge base plus your personalized match, the guesswork disappears, and your camp kitchen performs like it was built for that exact night on that exact ridge.
Real-World November Setups That Work
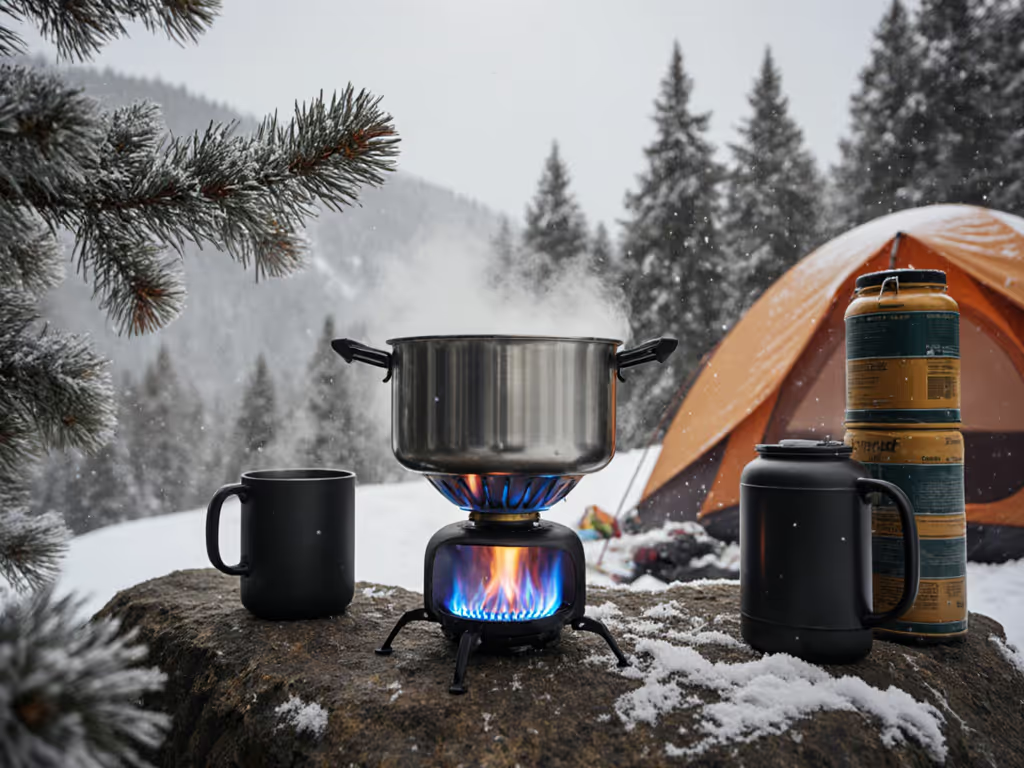
It helps to see the matches in action. Picture a two-person backpacking trip on a forested plateau with nights around 25 Fahrenheit and steady breezes. A remote canister stove with canister inversion, a one-liter heat exchanger pot, and a full windscreen balances speed and simplicity. The team plans 40 grams of canister fuel each per day, keeps a small reserve, and practices lighting with gloves; their breakfasts and dinners run smoothly while the wind tests their screen, not their patience.
Now imagine a four-person group staging from a sheltered campsite, then day-hiking exposed ridgelines. The kitchen centers on a liquid-fuel white gas stove under a tall, ventilated cook tarp, with a two-liter heat exchanger pot and a rigid base board to stabilize the system. By sharing one group pot and ladling meals, they use less total fuel than if each person cooked separately, and they minimize the time anyone spends near the flame in gusts. The result is fast group meals, safe handling, and warm hands.
Finally, consider a solo hiker chasing a late-season loop with mixed rain and wet snow at mid elevation. A compact upright canister stove can still succeed if paired with a partial windscreen, pre-warmed canister technique, and a tightly lidded pot. The hiker budgets one extra hot drink for every afternoon and carries storm matches for redundancy. The setup is light, but the process is heavy on risk controls, which is exactly how November should be managed.
Across these scenarios, the theme is consistent: the right match, not the most expensive gear, delivers confidence. With Heatinerary’s route-based tuning, you stop guessing and start cooking on a system that accounts for wind direction, camp placement, and the hour you plan to boil. That is how hot coffee and safe kitchens survive November cold fronts.
Before you close this tab, think about your next cold-front camp kitchen like a small engineering project that brings comfort and safety to your team. Make it measurable by timing boils in the backyard, weighing fuel, and logging what actually happens when a gust hits your screen. Then, let Heatinerary’s experts translate your route into a system that works the first night and every night, because practice plus planning beats surprise every time.
As you plan, build in flexible meals, like quick soups and grain bowls that can finish in a cozy, and favor cookware that helps the flame instead of fighting it. Keep ignition redundancy on your person, not buried, and position the kitchen where crosswinds are filtered by terrain. Finally, commit your plan to paper, and pack it with your lighter, because a written sequence turns stress into simple steps when the air stings and the light fades early.
This guide will keep your November meals hot, your fuel plan tight, and your kitchen safe when fronts roll in. Imagine stepping into camp, sliding a windscreen into place, and hearing a steady flame while sleet taps the tarp above. What details will you tune today so your own blog post for 2025-11-11 becomes the moment your camp kitchen finally clicks?
Plan Cold-Front Meals With Heatinerary
Use Heatinerary’s Trip-Tuned Stove Lab to match route, season, and weather, so campers, backpackers, and outdoor enthusiasts cook safely and efficiently anywhere.
Related Articles