The Ultimate Guide to Efficient Camp Cooking Solutions for Backpacking: Gear, Hacks, and Trip-Tuned Tips
By Tenzin Dorje • 23rd Oct
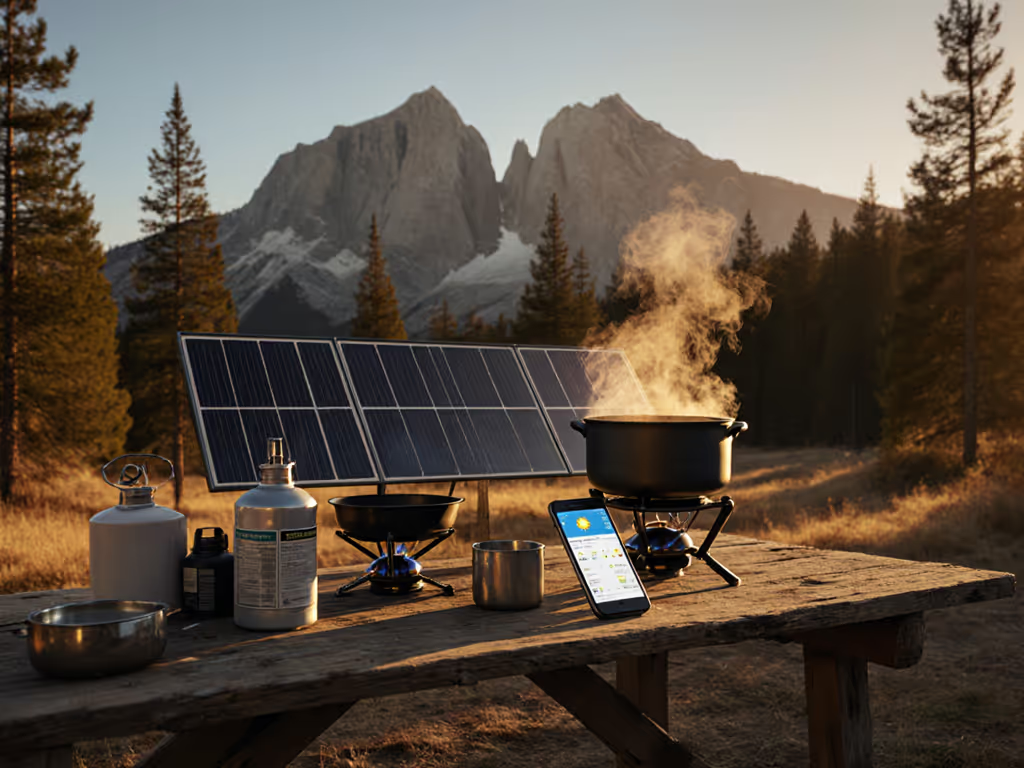
If you want trip-proof, efficient camp cooking solutions for backpacking, you need more than a fast boil time. You need a setup that matches your exact route, season, elevation, and menu, then keeps working when wind or cold fight back. This guide distills field-proven tactics and in-depth reviews so you can stop guessing and start eating hot meals faster with less fuel. Along the way, you will see how Heatinerary’s Trip-Tuned Stove Lab offers tailored recommendations that match stove type, fuel, and cookware to your itinerary, whether you are trekking a desert ridge or melting snow in a spruce-lined basin. Ready to turn your pack into a tiny, reliable kitchen without carrying unnecessary ounces? Let’s break down what matters and why it saves you time, fuel, and frustration.
How Efficient Camp Cooking Works: Heat Transfer, Wind, and Water
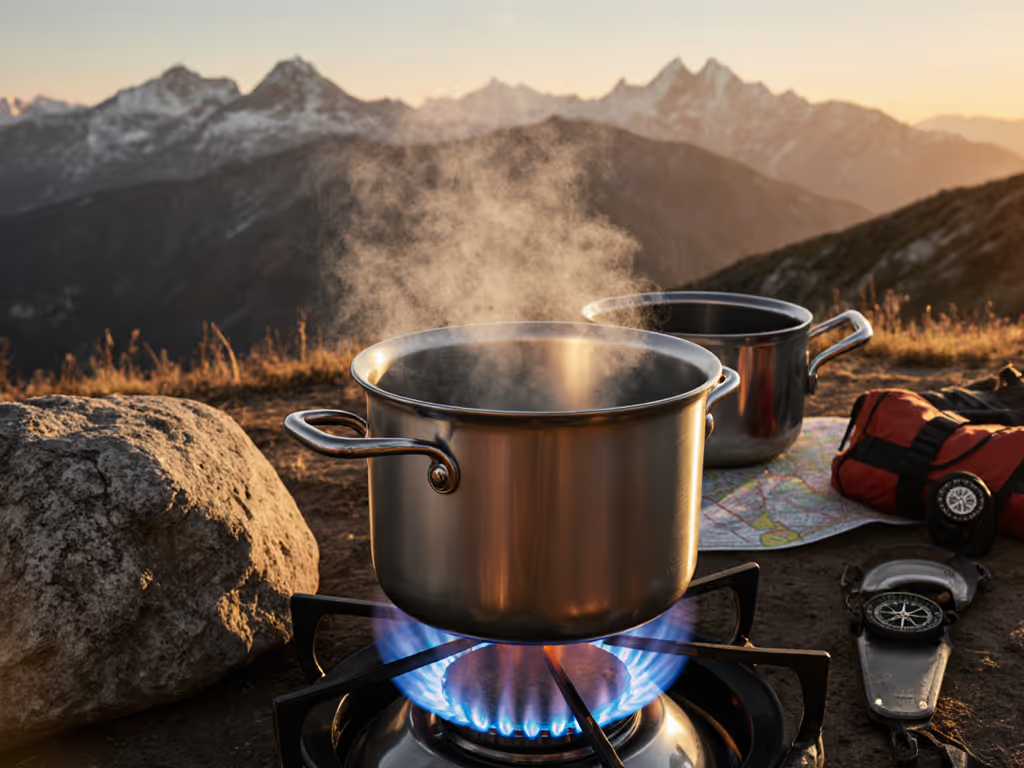
Efficiency on trail comes from controlling heat transfer and losses, not just picking the hottest burner. Wind strips heat through convection, and even a light breeze can raise fuel use by 60 to 80 percent according to common manufacturer lab findings and independent field logs. Pot shape and material shift how quickly energy moves into food through conduction and radiation, with wide bottoms capturing more flame and lids reducing heat loss. Boiling point drops roughly 3 degrees Celsius per 1,000 meters of elevation, so water never gets as hot at altitude, lengthening cook times for simmered meals and making pasta feel underdone unless you compensate. If your stove cannot regulate output, you scorch food while still wasting fuel, so simmer control is not a luxury for real cooking, it is a fuel strategy.
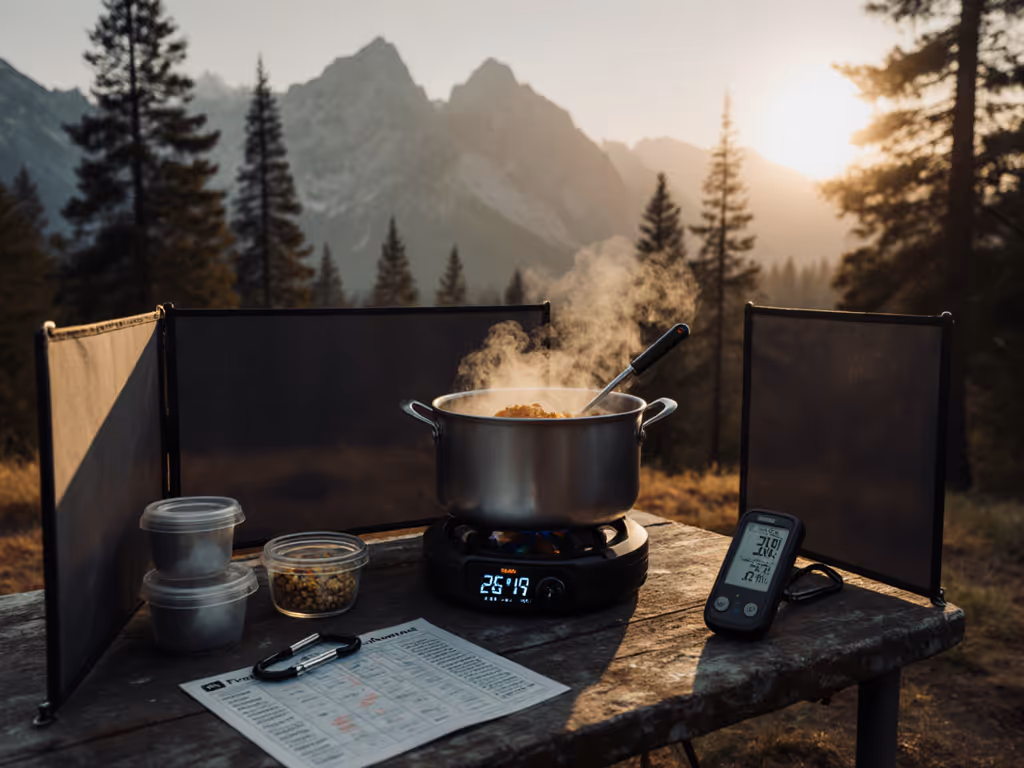
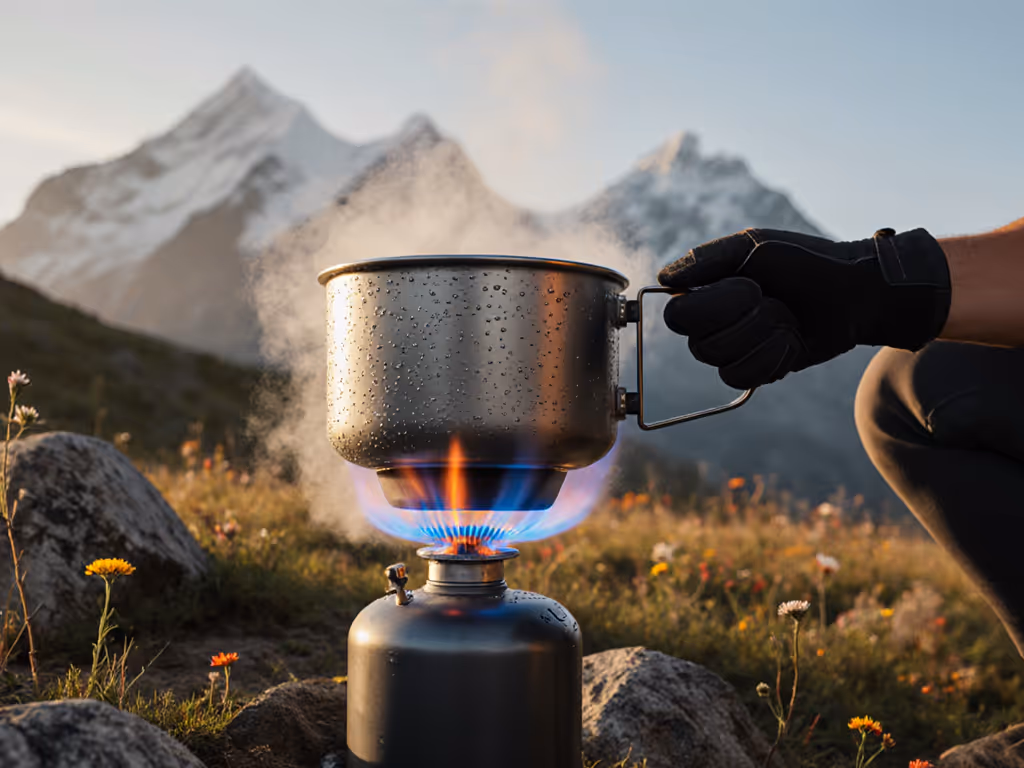
Practical choices amplify these physics in your favor. Heat exchanger pots can cut boil times by 20 to 30 percent and lower fuel consumption, especially in wind. A tight-fitting lid, a real windscreen used safely, and an insulated base under the stove reduce heat lost to cold ground and moving air. For setup tips and picks, see our windscreen and stove accessories guide. Fuels behave differently in cold: standard canister blends sputter below freezing, while inverted canister setups and refined naphtha (white gas) stay strong in subzero temperatures. Compare propane vs butane vs white gas in the cold to choose the right fuel for subfreezing trips. For many backpackers, an upright canister stove plus a 750 to 1,000 milliliter hard-anodized aluminum pot is the simplest, efficient baseline. Yet when conditions worsen, swapping only one element, such as upgrading to a regulated remote canister stove or adding a heat exchanger pot, can transform performance without revamping your entire kit.
Efficient Camp Cooking Solutions for Backpacking: Matching Stove, Fuel, and Pot
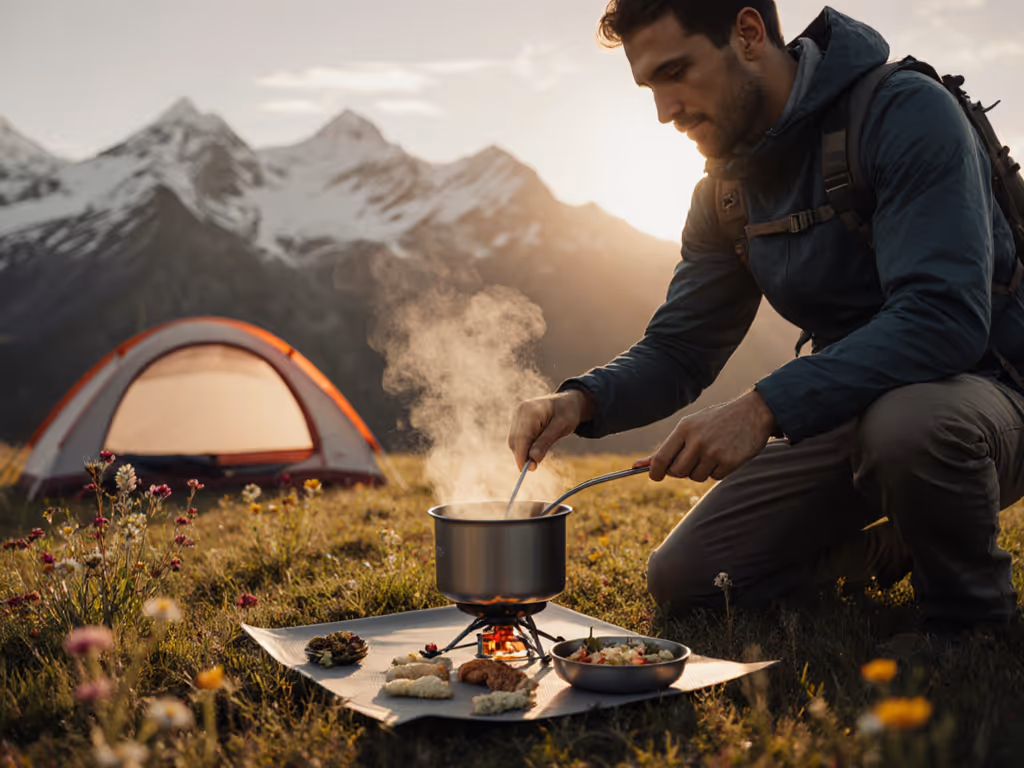
Matching gear to conditions is the core of a smart trail kitchen. Start with route and weather, because temperature and wind decide whether canister gas, alcohol, or liquid fuel makes sense. Then factor in elevation and your menu - and if you're cooking for several people, consider larger pots and stable platforms: high-elevation trips reward reliable regulation and broad burners; real cooking benefits from precise simmer control. If you prioritize coffee and freeze-dried meals, a compact upright canister stove with a lid-equipped pot is ultrafast and weight efficient. If your plan includes ramen with fresh vegetables or pan-fried trout, a wider burner and a heat exchanger pot prevent scorching and keep fuel use predictable. Notice the pattern? Frame your choice by use case rather than brand hype, then iterate as conditions change.
Watch This Helpful Video
To help you better understand efficient camp cooking solutions for backpacking, we've included this informative video from Darwin onthetrail. It provides valuable insights and visual demonstrations that complement the written content.
This is where Heatinerary shines. Heatinerary’s Trip-Tuned Stove Lab analyzes your itinerary, forecasted temperatures, expected wind, elevation profiles, group composition, and water sources to recommend and advise on stoves, fuels, and cookware that work together. The Lab blends comprehensive camping stove reviews and guides with a comparison of stove fuels for subzero performance, plus expert insights on family and backpacking stove options. You get a precise configuration and fuel plan instead of a generic list, along with safety notes like carbon monoxide (CO) risks and windscreen spacing. Want an easy framework you can apply now? Use our interactive stove selection guide to match simmer control, windproofing, and budget to your trip.
- Route and Season: cold, windy, humid, or calm and warm?
- Elevation: prolonged time above 2,000 meters demands better regulation.
- Group and Menu: pure boiling vs real cooking, solo vs 3 to 4 people.
- Fuel Availability and Rules: restrictions on open flames or liquid fuels?
- Weight Budget: ultralight simplicity vs efficiency for daily simmering.
Stove and Fuel Comparison by Temperature and Elevation
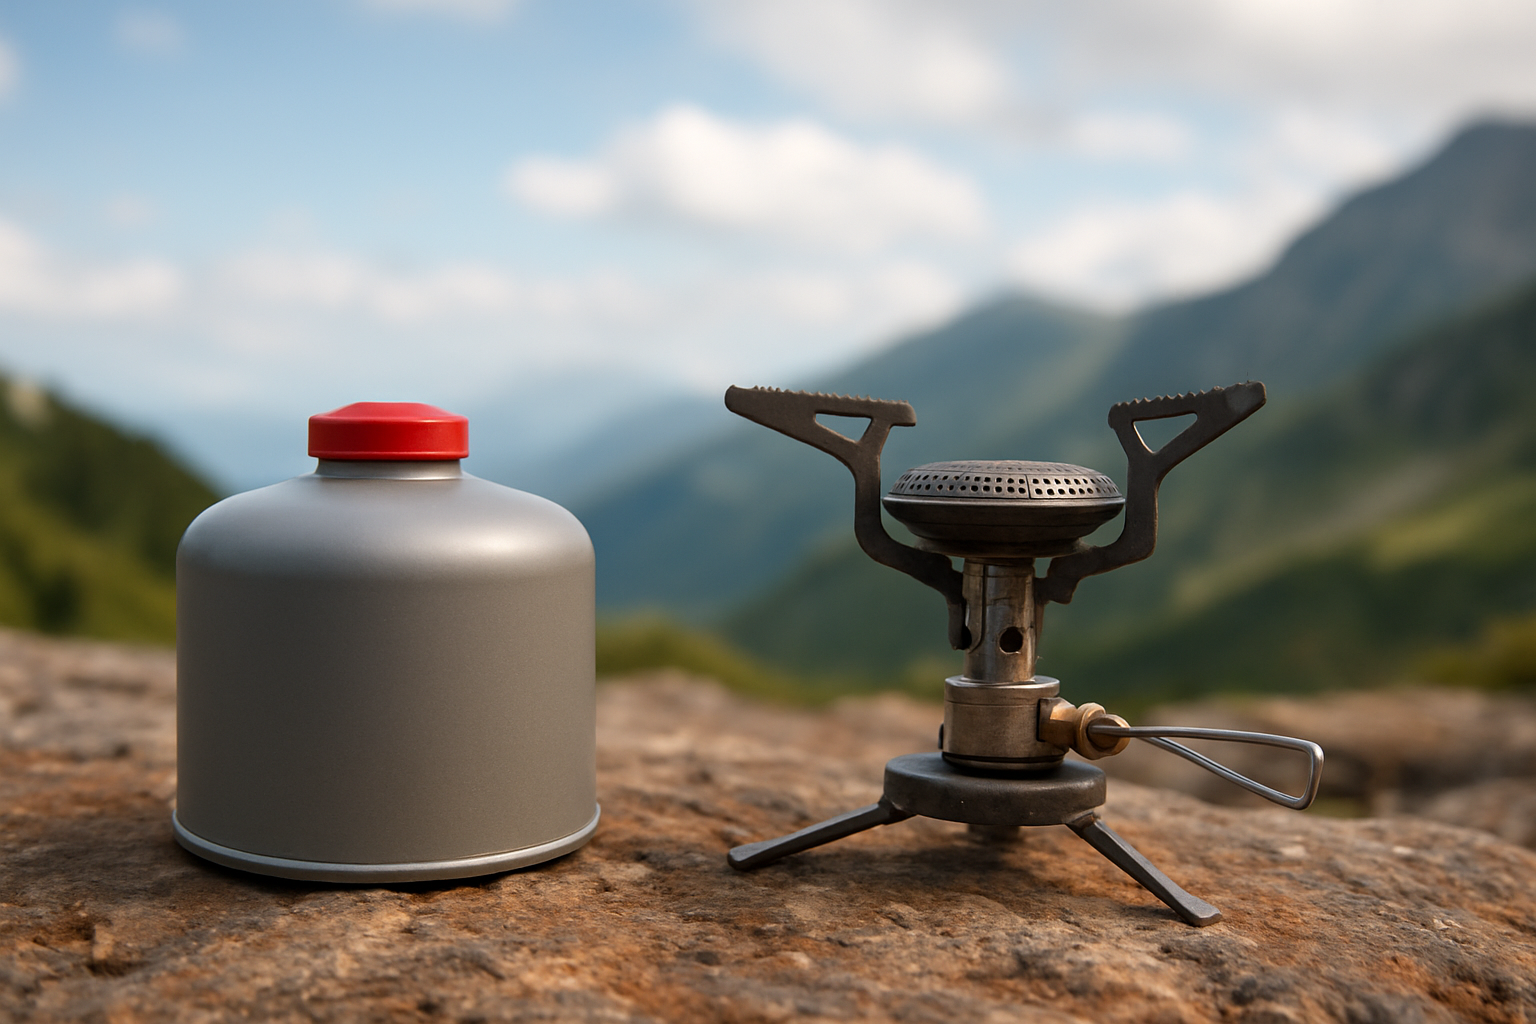
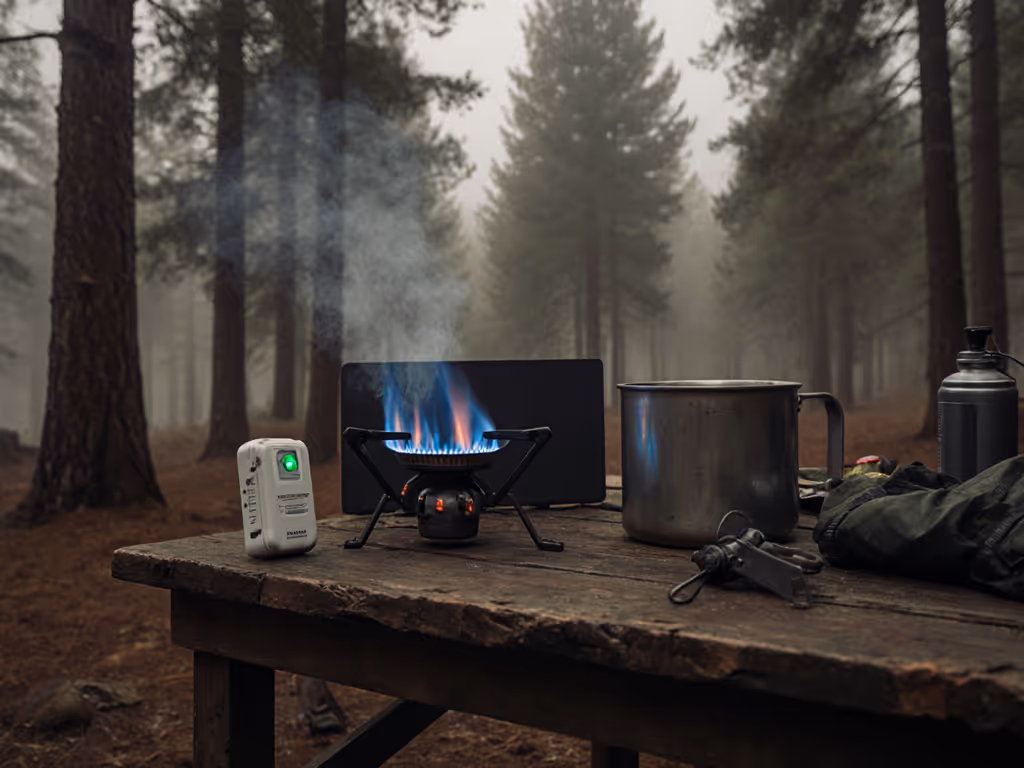
Not all stoves handle wind and cold equally, and fuels vary widely in volatility and pressure behavior. Canister blends of propane and isobutane excel in three-season conditions but falter when canisters cool below freezing, while inverted canister systems feed liquid fuel to maintain pressure. Refined naphtha (white gas) stays robust in severe cold with excellent simmering once mastered, though it adds priming steps and maintenance. Alcohol is wonderfully simple and quiet yet comparatively slow and wind sensitive, making it better for low-altitude fair weather. Solid fuel tablets can be ultralight for minimalists but offer limited output, noticeable soot, and poor performance in cold gusts. Use the table below as a realistic starting point, then adjust based on your pot choice, wind management, and cooking style.
Stove Types vs Performance (typical field observations and aggregated specifications)
| Stove Type | Best Temp Range | Subzero Reliability | Wind Performance | Simmer Control | Boil Time 500 ml | Fuel Use per Liter | Maintenance | Notes |
|---|---|---|---|---|---|---|---|---|
| Upright Canister (regulated) | 5 to 25 C | Fair with canister warming | Moderate with partial windscreen | Good to very good | 2.5 to 3.5 min | 12 to 18 g | Low | Light, fast, easy; struggles below freezing without care |
| Remote Canister (inverted capability) | -10 to 25 C | Good when inverted | Good with safe windscreen | Very good | 3 to 4 min | 11 to 16 g | Low to medium | Stable base for larger pots; strong cold-weather choice |
| Liquid Fuel (refined naphtha, white gas) | -30 to 15 C | Excellent | Very good with windscreen | Excellent after practice | 4 to 5 min | 10 to 15 g equivalent | Medium to high | Best for long, cold trips and snow melting |
| Alcohol (denatured) | 10 to 25 C | Poor | Poor without full wind block | Limited | 6 to 9 min | 25 to 35 g equivalent | Very low | Silent and simple; plan extra fuel and time |
| Solid Fuel Tablets | 10 to 20 C | Poor | Poor | Minimal | 8 to 12 min | 30 to 40 g equivalent | Very low | Emergency or ultralight only; soot and odor |
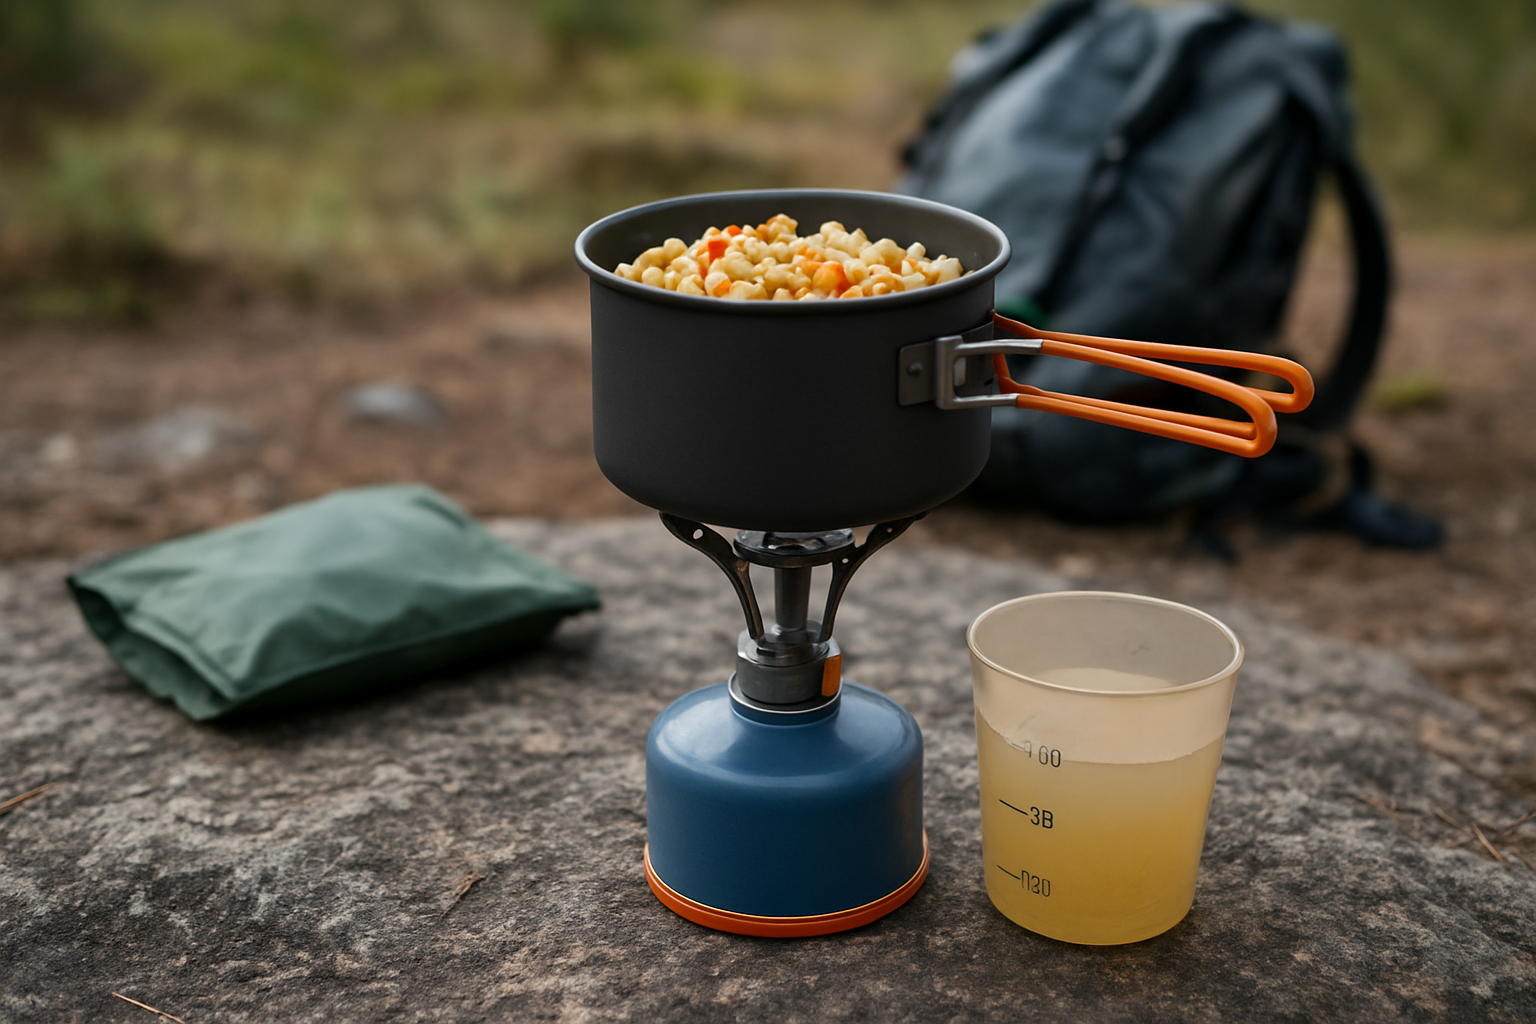
| Integrated Canister System (heat exchanger pot) | 0 to 20 C | Fair with canister warming | Good with built-in shroud | Fair to good | 1.8 to 3 min | 8 to 14 g | Low | Superb boiling efficiency; modest simmer capability |
Values above reflect typical, careful use with lids and some wind protection, derived from aggregated manufacturer specs, independent field tests, and guide logs. Expect variance from pot size, food type, and behavior such as lifting the lid or letting the flame climb the sides. For cold trips, remember that gas blends change character as canisters cool; using an inverted remote canister or refined naphtha (white gas) can stabilize output. If your plan includes longer simmering, prioritize stoves with regulated valves and wide burners, and pair them with heat exchanger cookware to drop your grams per liter. If you are unsure which setup fits your coming route, Heatinerary’s Trip-Tuned Stove Lab narrows choices by the actual temperatures and elevations you will encounter rather than generic ratings.
Cookware Choices and Heat Efficiency: Materials, Shapes, and Lids
Cookware is the unsung lever of fuel savings. Hard-anodized aluminum distributes heat evenly and keeps weight low, while titanium excels for pure boiling where durability and minimal mass trump evenness. Stainless steel is tough but slow to heat and easy to scorch during simmering unless you manage flame height and stir. Heat exchanger pots capture side flame and boost transfer, pairing best with regulated burners for steady output. Nonstick coatings make one-pot meals practical, but you should select ceramic nonstick that is Perfluorooctanoic acid (PFOA)-free for safety and durability. Fit matters too: pick a pot that covers the burner without letting flame lick past the sides, and add a tight lid with a small vent to cut losses without messy boil-overs.
Cookware Materials and Design Effects on Efficiency
| Material / Design | Weight | Heat Distribution | Fuel Efficiency | Durability | Best Use Case |
|---|---|---|---|---|---|
| Hard-Anodized Aluminum | Light | Even | High | Good | Balanced boiling and simmering for most trips |
| Titanium | Ultralight | Quick but hot spots | High for boiling, lower for simmering | Very good | Fast boil, minimal menus, solo setups |
| Stainless Steel | Heavy | Moderate | Moderate | Excellent | Group durability and rough use |
| Heat Exchanger Pot | Moderate | Very efficient capture | Very high | Good | Windy or cold trips, fuel-limited routes |
| Ceramic Nonstick (Perfluorooctanoic acid (PFOA)-free) | Light to moderate | Even | High | Good | Easy cleanup, one-pot meals, family trips |
Two small additions pay off immediately: a pot cozy and a real lid. A lightweight cozy lets you kill the flame early and finish cooking with retained heat, saving fuel and improving texture for rice, couscous, and dehydrated meals. Meanwhile, a fitted lid can save roughly 10 to 20 percent fuel use across conditions, which adds up over a week. Consider a spoon-friendly pot shape too; a wider pot is nicer to cook in and pairs well with wider burners, while tall mugs are excellent for pure boiling but awkward for sautéing. Finally, use silicone-tipped tools to protect ceramic coatings, and carry a small scouring pad so you can maintain transfer efficiency by keeping pot bottoms clean and flat.
Planning, Hacks, and Fuel Math That Actually Works
Meal planning and a few tactical habits make the difference between running out of fuel and carrying too much. First, portion your water and food so you are not boiling excess volume, and pre-soak foods like lentils or dehydrated beans during the day to cut cook times at night. Use a reliable windscreen with safe spacing for the fuel you carry; for upright canister stoves, shield only above the burner level and leave room around the canister to avoid overheating. Pre-warm canisters in your jacket pocket, keep them off frozen ground on a foam pad, and flip remote canisters to liquid feed when rated for inverted use in cold conditions. For real cooking, lower your flame and stir; the fastest flame is rarely the most efficient once food goes in.
- Always use a lid and bring water just to a simmer for rehydrated meals.
- Insulate the pot or pouch for 5 to 10 minutes of carryover cooking.
- Choose high-energy, quick-cooking carbs like couscous or instant rice.
- Pre-measure oil and spices; fat boosts calories per gram and improves flavor.
- Dry bake with a diffuser and low heat on compatible stoves for morale-boosting treats.
- Keep a micro towel to dry pots; standing water steals heat before the next boil.
Fuel Planning Quick Reference (typical grams per person per day)
| Scenario | Breakfast | Dinner | Hot Drinks | Total | Notes |
|---|---|---|---|---|---|
| Warm, low wind, boil-only | 6 to 8 g | 10 to 12 g | 4 to 6 g | 20 to 26 g | Upright canister or integrated system |
| Cool, breezy, light simmer | 8 to 10 g | 14 to 18 g | 6 to 8 g | 28 to 36 g | Add wind protection and lid discipline |
| Cold, windy, real cooking | 10 to 12 g | 20 to 26 g | 8 to 10 g | 38 to 48 g | Remote canister inverted or liquid fuel |
| Snow melting, subzero | - | - | - | 80 to 120 g | Liquid fuel preferred; big pot and real windscreen |
Adjust totals for group size by multiplying and then subtracting 10 to 15 percent for shared efficiency with bigger pots and stable platforms. If you want a number you can trust before you pack, Heatinerary’s Trip-Tuned Stove Lab models your volume of hot water, simmer minutes, forecasted wind, and temperatures to provide an estimated grams-per-day recommendation for your exact itinerary. The Lab also flags safety steps like ventilation to limit carbon monoxide (CO) exposure when cooking near a shelter entrance, and it recommends pot sizes and shapes that match your burner footprint. Review our camp stove safety guide before cooking near shelters or in tight vestibules. Prefer to cook by feel rather than formulas? Use a conservative day-one test boil to benchmark your stove and adjust on the spot.
Real-World, Trip-Tuned Scenarios and Expert Insights
Sometimes the fastest path to clarity is seeing what works for specific trips. Below are distilled, realistic scenarios with the logic behind the choice, echoing the type of guidance you get from Heatinerary’s Trip-Tuned Stove Lab and its expert insights on both family and backpacking stove options. Use them to pattern-match your next route, then tweak based on your group’s cooking style and the latest forecast.
- Shoulder-Season Alpine Loop, 3,000 meters, gusts to 30 kilometers per hour. Choose a regulated remote canister stove that allows inverted use, a 1.0 to 1.3 liter heat exchanger pot, and a robust windscreen with safe spacing. Expect 30 to 38 grams per person per day for boiling and short simmering. Rationale: steady output in cold, wide burner for even heat, efficient pot to fight wind and lower the grams per liter.
- Desert Ridge Traverse, 1,000 to 1,800 meters, warm and breezy, water scarce. Use an upright regulated canister stove, 750 to 900 milliliter hard-anodized aluminum pot with lid, and a lightweight partial windscreen. Expect 20 to 26 grams per person per day. Rationale: you are mostly boiling exact volumes for meals and drinks, and the lid plus careful measurements save both fuel and precious water.
- Winter Forest Overnighter, -12 C overnight, partial snow melt for water. Go with refined naphtha (white gas), a stable liquid-fuel stove with real windscreen, and a 1.5 to 2.0 liter heat exchanger pot. Plan 90 to 110 grams per person per day when melting snow. Rationale: liquid fuel retains pressure in deep cold, bigger pot improves stability and heat capture, and the windscreen plus lid control consumption.
- Family Weekend at Altitude, mixed menus, two adults and two kids. Pick a regulated remote canister stove with a wide, stable base, a 2.5 liter ceramic nonstick pot that is Perfluorooctanoic acid (PFOA)-free, and a silicone spoon set. Expect 28 to 34 grams per person per day. Rationale: simmer control avoids scorching, nonstick speeds cleanup, and the larger pot lets you cook one-pot meals safely and efficiently.
Each scenario demonstrates the same principle: efficiency is the byproduct of clean matching across stove, fuel, and cookware and the habits you bring to the flame. Heatinerary’s Trip-Tuned Stove Lab helps make that matching precise by factoring route profiles, seasonal weather windows, and elevation bands, then layering recommendations from comprehensive camping stove reviews and guides. You get a shortlist that works, with reasons and safety guardrails, so you can cook confidently whether you see sun, spindrift, or both in a single day.
You now have the tools to build a lean, reliable trail kitchen that suits your routes, meals, and weather. Imagine opening your pack at dusk and knowing your next 20 minutes are predictable: water on, lid on, quick stir, fuel saved, morale up. In the next 12 months, expect lighter regulated burners and smarter heat exchanger designs to push fuel savings even further while improving simmer control. What will you cook first when your efficient camp cooking solutions for backpacking finally feel dialed to your trip rather than the other way around?
Additional Resources
Explore these authoritative resources to dive deeper into efficient camp cooking solutions for backpacking.
- Best Backpacking Stoves & Pots - I Heart Pacific Northwest
- The 5 Best Stoves for Speedy Boil Times and Backcountry Feasts
Elevate Trail Cooking with Heatinerary
Heatinerary’s Trip-Tuned Stove Lab gives tailored stove, fuel, and cookware picks by route, season, and weather, ensuring safe, efficient cooking anywhere for campers and backpackers.
Related Articles