How to Choose the Right Backpacking Stove for Any Trip: A Step-by-Step Guide
By Ingrid Sørensen • 28th Oct
Choosing a backpacking stove can feel like picking a hiking partner you have not met yet: will it keep pace, handle bad weather, and help make dinner without drama? The best choice depends on where you are going, the season, your menu, and how many mouths you are feeding. In this step-by-step guide, you will learn how to match stove type, fuel, and cookware to your exact trip conditions, including cold snaps, windy ridges, and high-elevation camps. Along the way, we will show how Heatinerary’s Trip-Tuned Stove Lab turns guesswork into confidence without adding weight to your pack.
Because stoves are systems rather than single items, we will look beyond flashy boil times and compare real-world efficiency, wind resistance, simmer control, cold-weather behavior, and safety. You will see where canister, liquid fuel, alcohol, wood-burning, and solid fuel stoves excel, and where they struggle. We will also walk through practical examples, from a shoulder-season fastpack to a midwinter basecamp, so you can apply each step immediately. Ready to find a stove that cooks as well as you do?
Step 1: Map Your Trip Variables Before You Shop
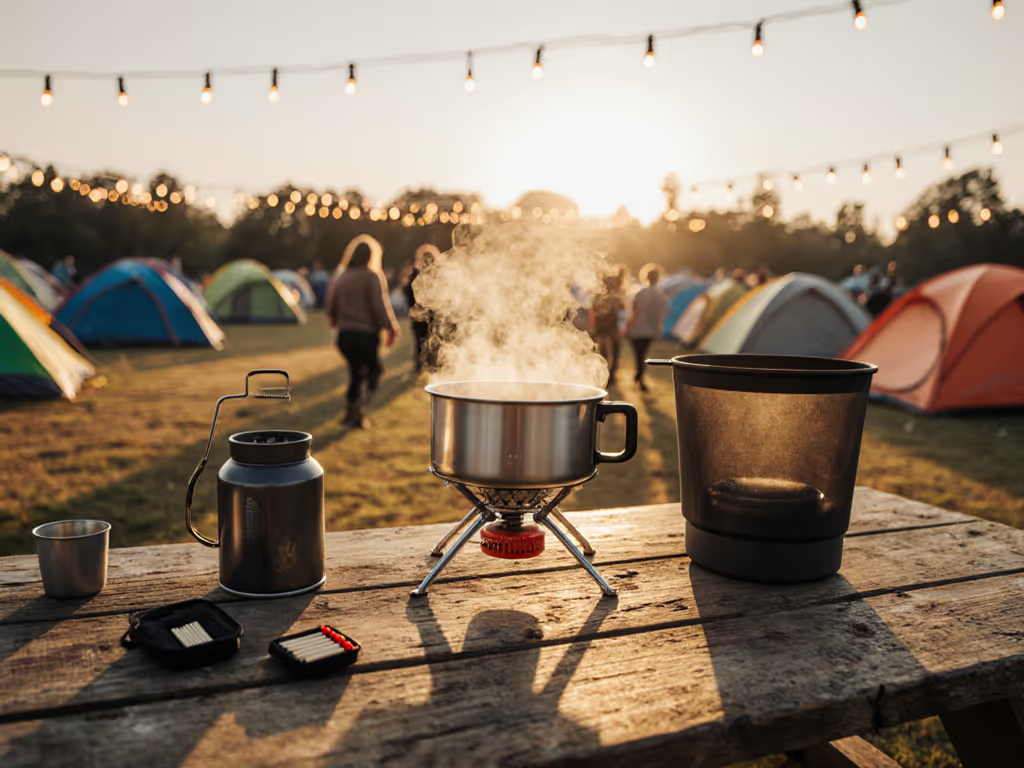
Every great decision starts with context. Before you buy, list the variables that define your trip: route length, expected temperatures, elevation range, daily mileage, group size, and the meals you want to cook. A stove that is perfect for one solo overnighter can be frustrating on a windy, three-person shoulder-season trek. Write down your top meals, whether that is boil-only dehydrated dinners or pan-sautéed veggies with precise simmer. Then consider refuel options and fire restrictions along the route, including no-open-flame rules during dry spells. A few minutes of planning here prevents field headaches later.
Next, estimate fuel needs with a simple rule of thumb and then refine it. A typical canister stove might use 7 to 12 grams per person per meal in mild weather, but wind, low temperatures, and longer simmer times can double that usage. At 3,000 meters (9,843 feet), water boils near 90 degrees Celsius (194 degrees Fahrenheit), so you may need longer cook times for pasta or rice. Ask yourself: are you prioritizing speed, weight, or culinary range? By ranking your priorities, you can quickly narrow to one or two stove categories that match how you actually cook.
- Trip length and resupply: how many hot meals and drinks per day?
- Weather and elevation: expected lows, wind exposure, and camp altitude.
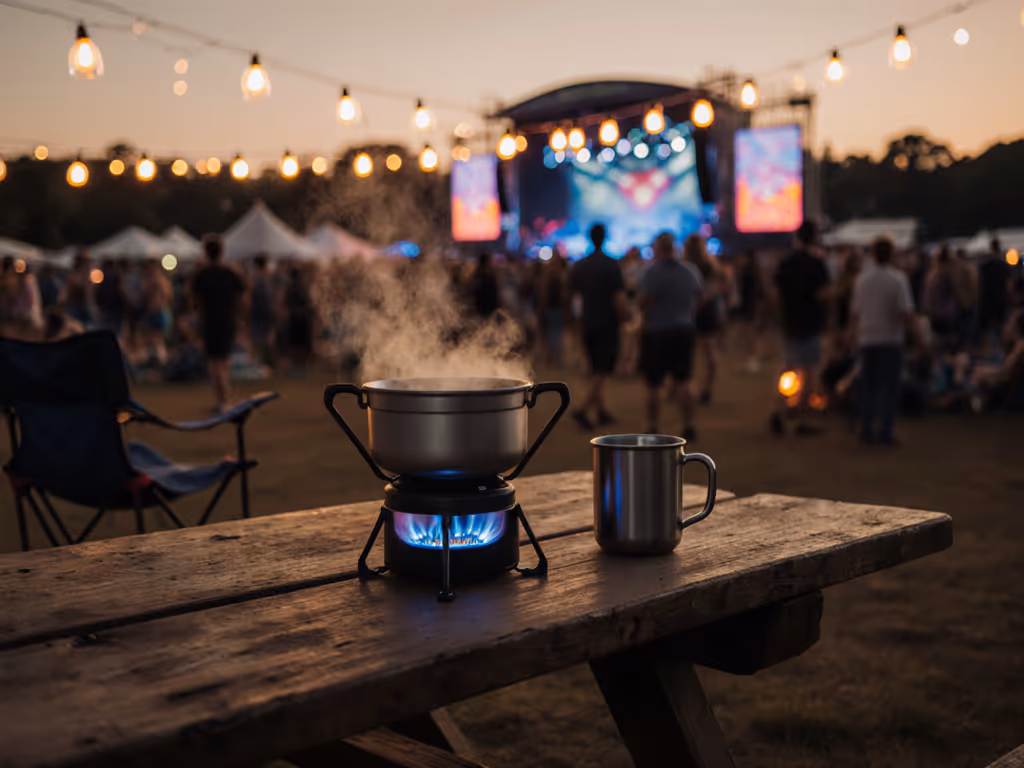
- Group size: solo, pair, or family, and whether you cook together.
- Menu complexity: boil-only, simmer-heavy, or frying and baking.
- Restrictions: fire bans, shelter cooking rules, and leave no trace considerations.
Step 2: Know Your Stove Categories and What They Do Best
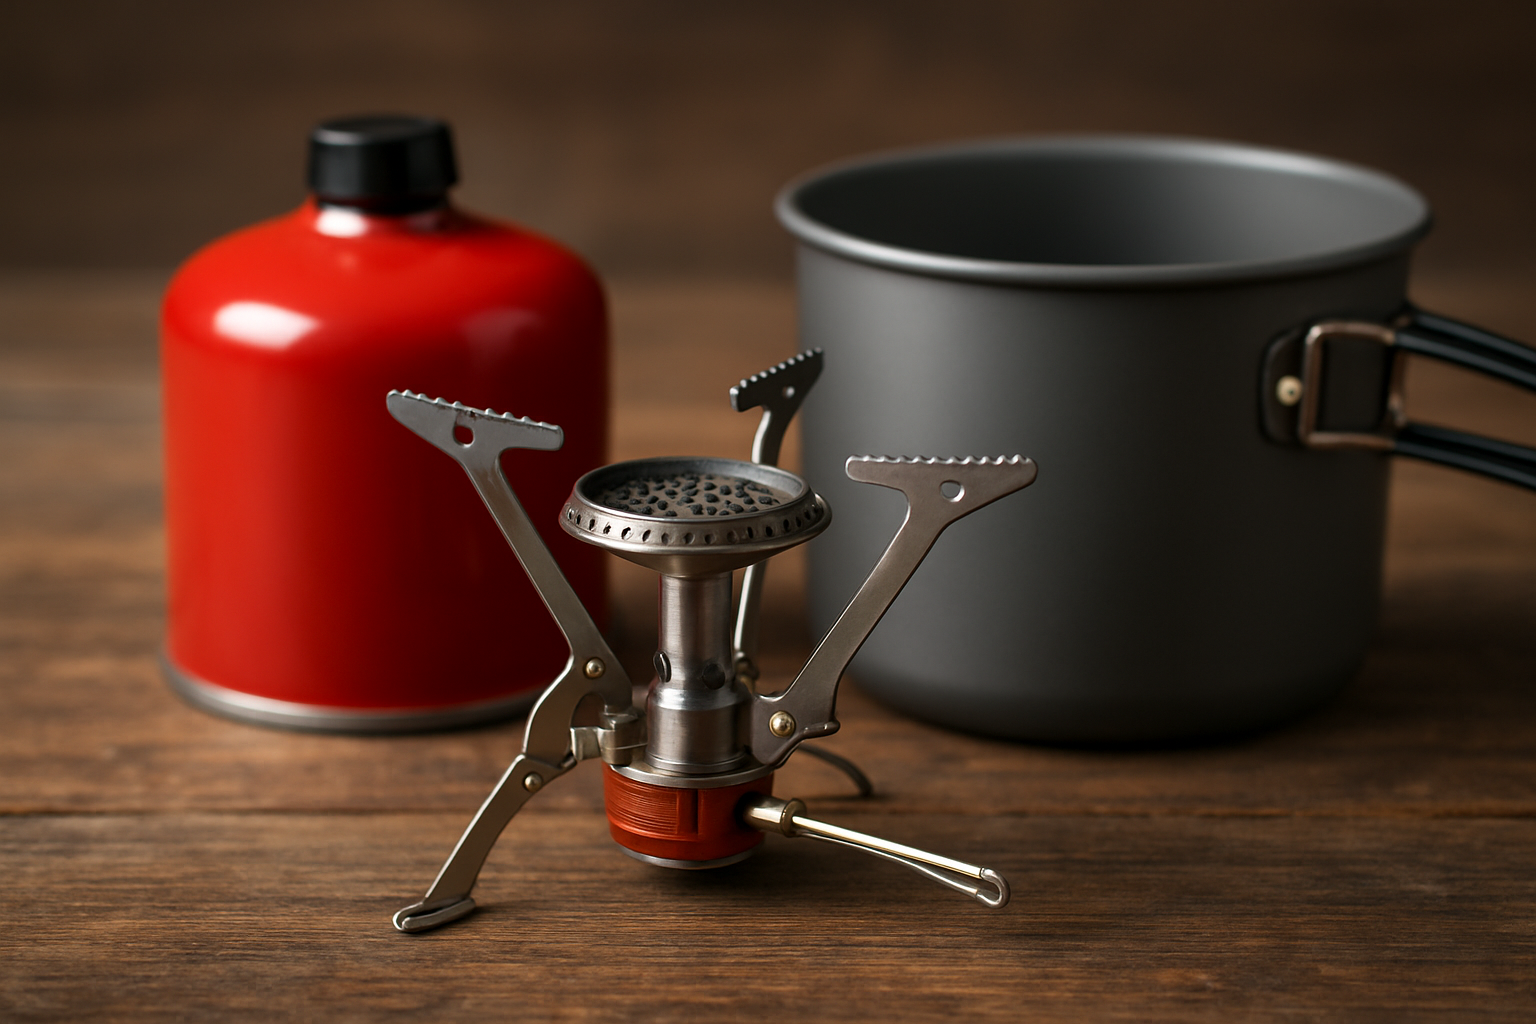
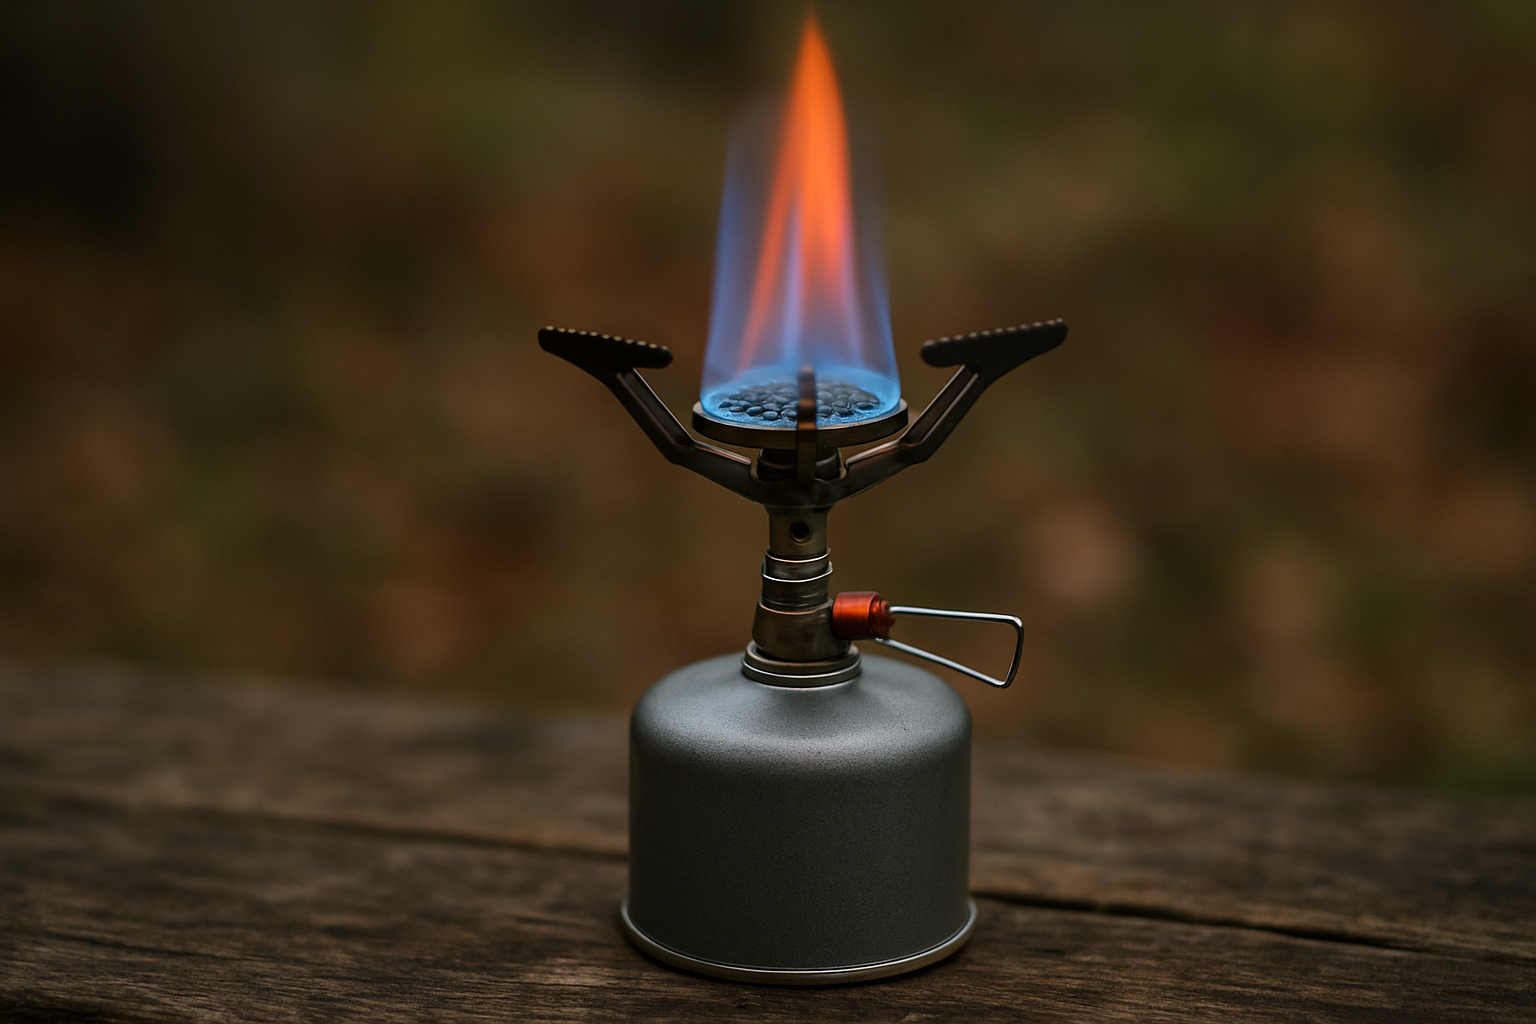
Backpacking stoves fall into a handful of categories, each with strengths and trade-offs. The right one for you depends on how the burner, fuel delivery, pot support, and wind protection work as a system. Canister-top stoves are compact and fast for light meals, while integrated canister systems add efficiency and wind resistance for speedy hot drinks. Remote canister stoves improve stability and can run the canister inverted in cold conditions. Liquid fuel stoves shine below freezing and at high elevations, where vapor pressure in canisters drops. Alcohol, wood-burning, and solid fuel stoves appeal to ultra light trekkers, minimalists, and those who enjoy simplicity and quiet cooking. If you are torn between canister and liquid setups, start with our canister vs liquid fuel comparison.
Watch This Helpful Video
To help you better understand woods ™ backpacking stove, we've included this informative video from MyLifeOutdoors. It provides valuable insights and visual demonstrations that complement the written content.
| Stove Category | Typical Fuel | Strengths | Limitations | Best For | Notes |
|---|---|---|---|---|---|
| Canister-Top | Isobutane-propane canister | Fast boils, light, simple setup | Wind sensitive, less stable with wide pots | Solo or pair, 3-season, boil-focused | Add a partial windscreen and wide base for stability |
| Integrated Canister System | Isobutane-propane canister | High efficiency, good wind resistance, quick setup | Pot size limited, heavier than canister-top | Hot drinks, quick meals, shoulder season | Heat-exchanger pot boosts fuel savings |
| Remote Canister | Isobutane-propane canister | Stable base, better windscreen use, inverted-canister option | Bulkier, more parts | Group cooking, colder temps, broader cookware | Can stabilize flame in light subfreezing conditions |
| Liquid Fuel | White gas or multi-fuel | Reliable in cold, strong output, field maintainable | Priming learning curve, heavier | Winter, high elevation, long expeditions | Great for melting snow and larger pots |
| Alcohol | Denatured alcohol | Quiet, light, simple | Slow, wind sensitive, low output | Ultralight, fair-weather solo trips | Plan extra fuel for simmering |
| Wood-Burning | Twigs and biomass | Fuel can be gathered, ambiance | Weather dependent, restrictions, sooty pots | Areas with abundant dry wood, low fire risk | Carry backup solid fuel for wet days |
| Solid Fuel | Hexamine or similar tablets | Ultralight, packable | Slow, odor, limited output | Emergency kit, simple boils | Great backup when combined with windscreen |
Notice how each category aligns with a cooking style. If you mostly rehydrate meals and brew coffee, an integrated canister system cuts fuel use and time. Planning to fry trout or simmer oatmeal for a family? Stability and flame control matter, which suggests a remote canister or a liquid fuel stove. When evaluating specs, treat advertised boil times as lab benchmarks. In real wind, with a half-full pot and a tired camp chef, wind protection, pot fit, and burner design usually determine your dinner time more than a single number on a box.
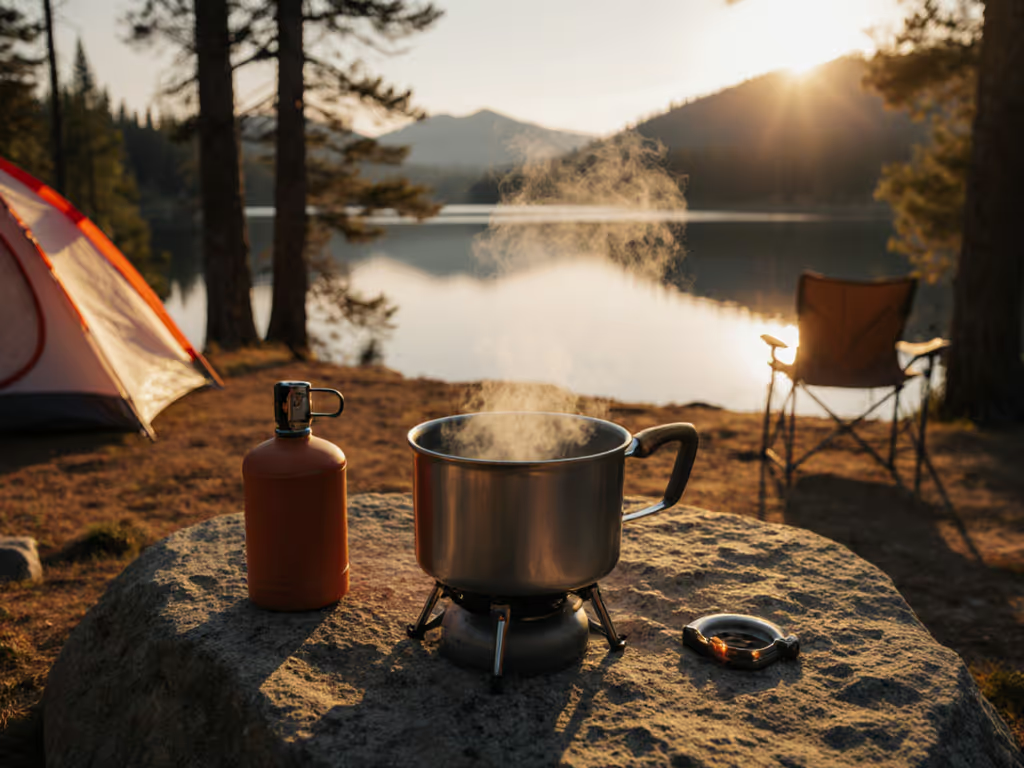
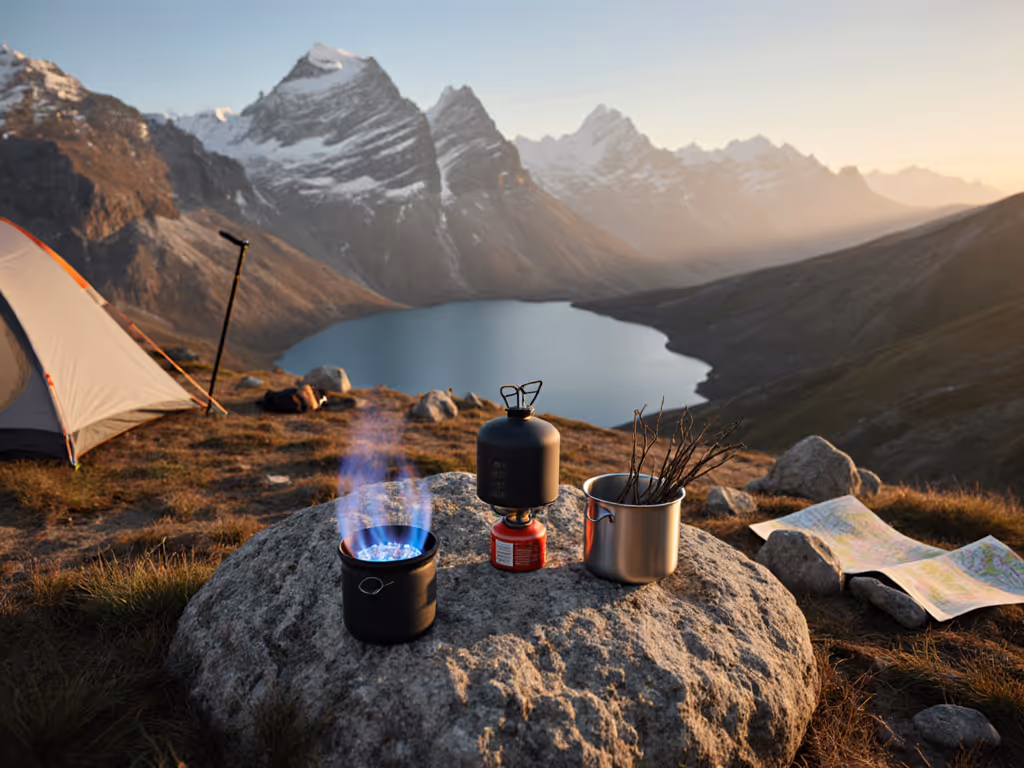
Step 3: Weather, Elevation, and Group Size Change the Rules
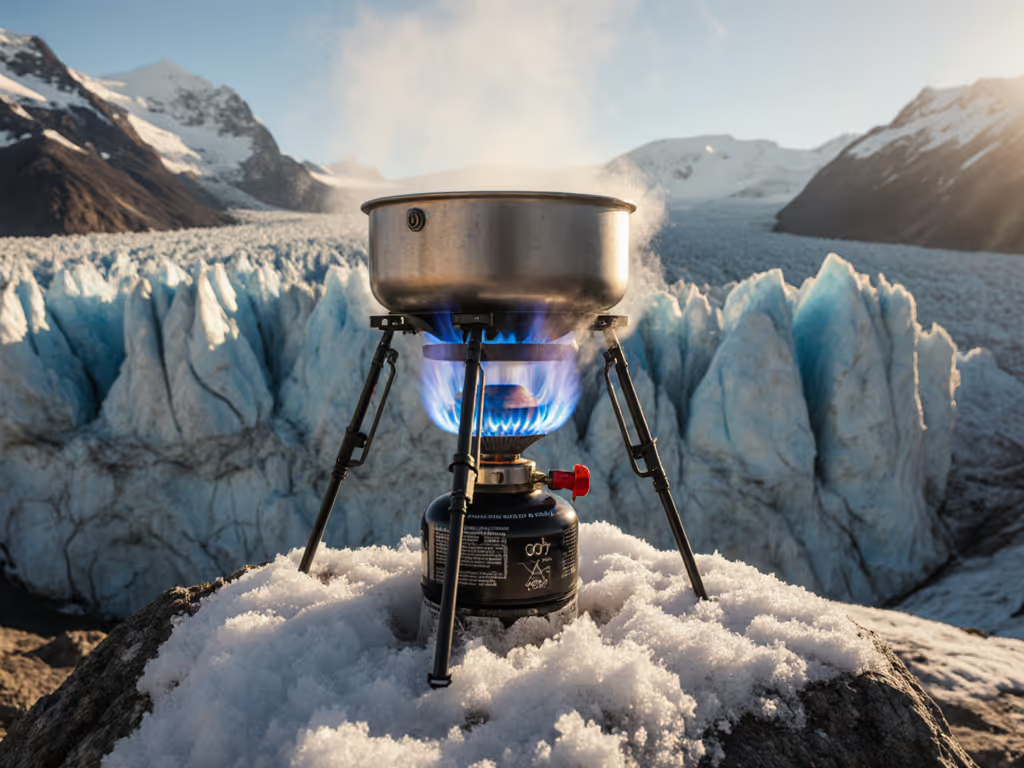
Cold air and thin air both challenge stove performance, but in different ways. As temperatures drop below freezing, the vapor pressure inside canisters falls, which can cause weak flames or stall-outs. Many canister stoves struggle below about minus 6 degrees Celsius (21.2 degrees Fahrenheit) unless protected from wind and paired with a warm canister or an inverted design. For proven tactics to boost canister performance in the cold, see our guide to canister stoves in cold weather. At higher elevations, water boils at a lower temperature, so cooking certain foods takes longer even though flames look strong. Wind compounds both problems by stripping heat from pots and burners. Meanwhile, cooking for three or four people demands broader pot support, steadier simmer control, and enough fuel capacity to avoid mid-meal changes.
| Condition | Typical Impact | Recommended Adjustments |
|---|---|---|
| Below Freezing | Slower boils, sputtering canister flames | Remote canister with inverted use, liquid fuel, insulated base, keep canister warm in pocket |
| High Elevation | Lower boiling point, longer cook times | Plan extra fuel, use lids and heat-exchanger pots, consider liquid fuel for snow melting |
| Strong Wind | Heat loss, pot cooling, instability | Use a full-height windscreen with remote canister or liquid fuel, shielded burners, leeward cooking spots |
| Group Cooking | Heavier pots, more stirring, longer simmer | Choose wide, stable burners, 2 to 3 liter pots, remote canister or liquid fuel stoves |
| Fire Restrictions | No twig burning, limited open flames | Use canister or liquid fuel stoves with on-off valves, confirm local regulations |
Industry testing suggests heat-exchanger pots can reduce fuel use by 20 to 30 percent in breezy conditions, which adds up on longer trips. At around 2,500 meters (8,202 feet), expect many meals to take 10 to 20 percent longer unless you switch to finer pasta, thinner cuts, or soak grains first. For winter, liquid fuel stoves remain the workhorse because they deliver consistent pressure regardless of temperature. If you love canister convenience in the cold, look for remote setups that allow safe inverted-canister operation and always use a stable base with a proper windscreen. Your cooking system should feel calm and predictable, not fussy or on edge.
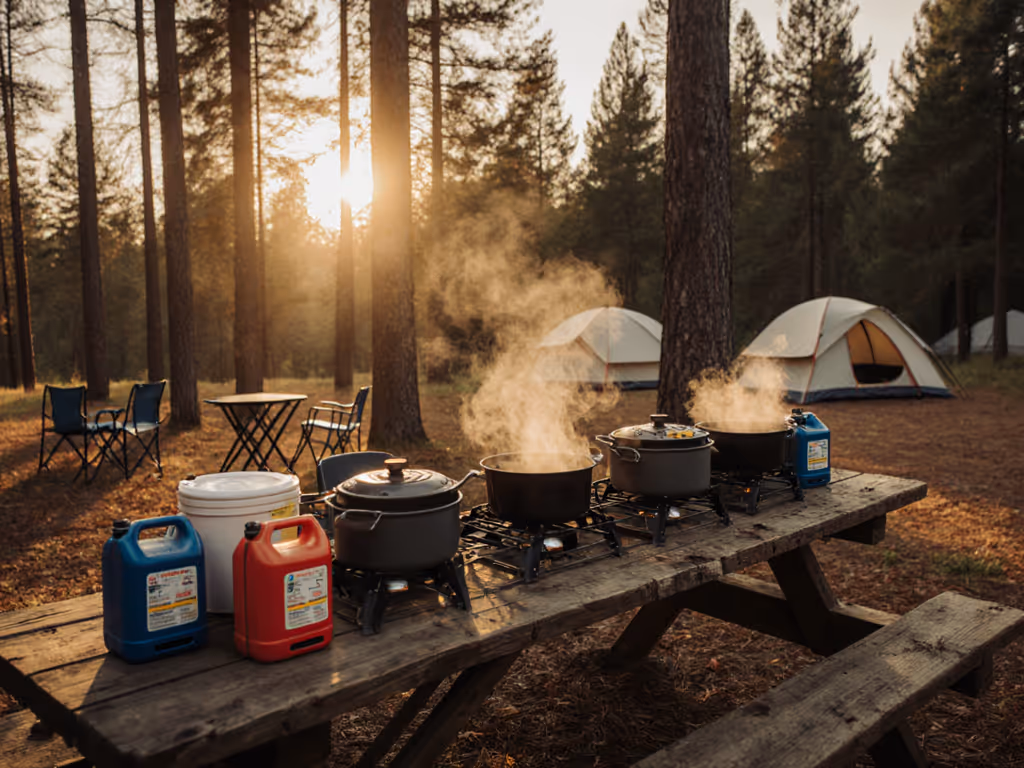
Step 4: Match Your backpacking stove to Fuel and Cookware
Even the best burner will underperform with the wrong pot, lid, or windscreen. Think of your stove, fuel, and cookware as a matched trio. Narrow, tall pots pair well with integrated canister systems for fast boils. Wider pots spread heat for sautéing and family meals but demand a broader burner head and stable base. Lids are not optional; they shorten cook times and save fuel. A lid, a windscreen, and a pot with a well-fitting base can turn a modest stove into a surprisingly efficient kitchen. Conversely, mismatched parts become noisy fuel hogs.
| Cookware Feature | Best Stove Pairing | Why It Works | Typical Use |
|---|---|---|---|
| Narrow, 0.8 to 1.0 liter pot | Integrated canister or canister-top | Concentrated flame pattern boosts boil speed | Solo hot drinks, boil-only meals |
| Wide, 1.5 to 2.5 liter pot | Remote canister or liquid fuel | Broad burner spreads heat for simmering | Group cooking, real meals |
| Heat-exchanger base | Any, but shines with canister systems | Improves wind resistance and efficiency | Cold or breezy weather, fuel savings |
| Frying pan or skillet | Remote canister or liquid fuel | Stable pot support and good simmer control | Pan frying, sauté, pancakes |
Fuel choice completes the match. Isobutane-propane canisters are clean and convenient for three-season trips. White gas delivers dependable performance in subzero temperatures and for melting snow. Alcohol and solid fuel keep grams off your back but require patience and wind discipline. Wood-burning stoves create an enjoyable camp vibe when regulations allow and dry twigs are abundant. Heatinerary’s Trip-Tuned Stove Lab considers your exact route, forecast, and group size, then suggests specific stove-fuel-pot combinations so your setup cooks how you want it to in the conditions you will actually face.
Step 5: Test, Maintain, and Cook Safely
A little backyard testing pays off in the backcountry. Run a boil test with your typical pot and lid, using 500 milliliters (ml) of water at ambient temperature. Record time to boil and note flame stability. Then repeat in a breeze or with a fan to simulate wind. Try a simmer test with a sensitive dish like rice or oatmeal to see if your burner can hold a low, steady flame. These practical checks tell you more than any single British Thermal Unit (BTU) rating ever will, because British Thermal Unit (BTU) numbers do not reflect wind, pot geometry, or elevation. If your tests show flaring or sputtering, adjust wind protection, pot size, or consider a different stove category for your trip.
Safety is the nonnegotiable ingredient. Never operate stoves inside tents or enclosed shelters because of carbon monoxide (CO) risk and fire danger. Set up on a stable, nonflammable surface, away from dry duff and overhanging fabric. Keep a lid or damp cloth handy to smother small flare-ups and store fuel upright, away from heat sources. Carry a repair kit for liquid fuel stoves and check seals and O-rings for cracks each trip. For canister stoves, inspect the threads and ensure the valve turns smoothly. The goal is a quiet, efficient flame that lets you focus on food and friends rather than troubleshooting at dusk.
- Run both boil and simmer tests with your actual pot and lid.
- Practice lighting and shutdown steps until they are second nature.
- Pack a windscreen sized for your pot and stove type.
- Log fuel use per meal to forecast needs for longer routes.
- Review local regulations on stoves and fire bans before departure.
Step 6: Put It Together with Heatinerary’s Trip-Tuned Stove Lab
You can make an excellent choice with the steps above, and Heatinerary makes it easier. Campers and outdoor enthusiasts often lack reliable, trip-specific data, so Heatinerary built the Trip-Tuned Stove Lab to analyze your route, season, elevation profile, and weather pattern. You get tailored recommendations for stoves, fuels, and cookware that balance speed, weight, and cooking style. Planning a chilly shoulder-season trek with two friends and a real-meal menu? Expect suggestions like a remote canister stove, 1.8 liter pot with heat-exchanger, full windscreen, and conservative fuel budgeting. Heading for a midwinter basecamp above treeline? The lab prioritizes liquid fuel reliability, wind stability, and snow-melting efficiency.
| Trip Scenario | Key Conditions | Lab-Style Recommendation | Why It Works |
|---|---|---|---|
| Weekend fastpack, shoulder season | Windy ridges, near freezing nights | Integrated canister system, 1.0 liter pot, partial windscreen | Fast hot drinks and boil-only meals with solid wind resistance |
| Three-person alpine traverse | 2,500 to 3,000 meters (8,202 to 9,843 feet), breezy | Remote canister stove, 1.8 to 2.0 liter heat-exchanger pot, full windscreen | Stable base and efficient fuel use for group meals |
| Winter basecamp | Below minus 10 degrees Celsius (14 degrees Fahrenheit) | Liquid fuel stove, 2.5 liter pot, repair kit, priming practice | Reliable pressure, snow melting, field maintainability |
Beyond the custom matches, Heatinerary publishes comprehensive camping stove reviews and guides, compares fuel behavior in subzero conditions, and highlights expert insights for both family camping and lightweight backpacking. The aim is simple: cooking that is efficient, safe, and satisfying wherever you pitch your shelter. If you like visual aids, imagine a simple diagram with temperature on the horizontal axis and boil time on the vertical axis, showing lines for canister, liquid fuel, and alcohol setups. As cold creeps in, the canister line rises faster than liquid fuel, which stays flatter. That picture captures why a precise match, not a one-size-fits-all gadget, makes all the difference.
Quick Decision Checklist You Can Use Right Now
Use this short checklist to pick your stove with confidence. Start at the top and move down, making the call that fits your plan and comfort level. If you are between options, choose the more stable, wind-resistant one for safety. Remember, your stove should serve your meals and your team, not dominate your attention when the weather turns messy. Still unsure after the checklist? That is exactly where Heatinerary’s Trip-Tuned Stove Lab shines with route and forecast-aware recommendations you can trust. Prefer a comprehensive buyer’s overview? Use our Best Camp Stove guide to match wind-proofing and simmer control to your budget.
- Menu: boil-only or real cooking with simmer and frying?
- Weather: above freezing, near freezing, or winter conditions?
- Elevation: below 2,000 meters (6,562 feet) or above?
- Group: solo, pair, or 3-plus needing bigger pots and stabler bases?
- Restrictions: any fire bans or shelter rules that limit stove types?
- Pick category: canister-top, integrated, remote canister, liquid fuel, alcohol, wood-burning, or solid fuel.
- Match cookware: pot size and shape that fit your burner head and meals.
- Add protection: windscreen and lid; consider heat-exchanger pot for efficiency.
- Test at home: boil and simmer checks; log fuel use per meal.
- Pack safety: stable surface plan, fuel storage, and any needed repair parts.
Fuel Behavior Snapshot for Fast Planning
Fuel chemistry and physics shape your experience as conditions change. While precise performance varies by brand and blend, the table below captures common behavior trends that matter on trail. Use it to anticipate adjustments and to decide when to switch categories for comfort and safety. Because weather swings are inevitable, many hikers carry a small backup, like a solid fuel tab, to bridge an unexpectedly cold morning or a late-day wind spike. Planning for these moments keeps your kitchen calm and your crew fed.
| Fuel Type | Cold Performance | Wind Sensitivity | Efficiency Tips | Safety Notes |
|---|---|---|---|---|
| Isobutane-propane canister | Declines below freezing; inverted use helps | Moderate to high without windscreen | Use lid, partial windscreen, heat-exchanger pot | Keep canister warm, do not fully enclose burner |
| White gas | Strong in subzero temperatures | Low with proper windscreen | Prime efficiently, maintain pump and seals | Practice priming safely away from tents |
| Alcohol | Weak in cold; pre-warm fuel | High without robust windscreen | Shield well, plan longer cook times | Open flame, no valve; extra caution |
| Wood | Dependent on dry twigs | High in gusts | Use windbreaks, process small sticks | Respect bans, manage embers and soot |
| Solid fuel | Steady but low output | Moderate | Shield and use small covered pots | Odor and residue; pack out thoroughly |
Case Study: Three Trips, Three Winning Setups
Let us stitch the steps together with real-world scenarios. Notice how the recommendation shifts as conditions change, even when the people and the goal remain similar. The point is not to chase the fanciest burner, but to build a calm, efficient kitchen that suits your route and weather. If you want precision tailored to your exact plan, Heatinerary’s Trip-Tuned Stove Lab uses forecast data and elevation profiles to calculate fuel needs and stove-fuel-pot matches that keep meals on schedule and spirits high.
| Trip | People | Conditions | Recommended System | Rationale |
|---|---|---|---|---|
| Overnight shoulder-season ridge walk | 2 | Windy, 0 to 5 degrees Celsius (32 to 41 degrees Fahrenheit) | Integrated canister stove, 1.0 liter pot, partial windscreen, lid | Speedy hot drinks and boil-only meals with good wind protection |
| Long weekend in subalpine lakes | 3 | Cool breezes, 5 to 10 degrees Celsius (41 to 50 degrees Fahrenheit) | Remote canister stove, 1.8 liter heat-exchanger pot, full windscreen | Stable simmer and efficient group cooking with broader pot |
| Four-night winter snow-camp | 2 | Minus 12 degrees Celsius (10.4 degrees Fahrenheit) nights, calm mornings | Liquid fuel stove, 2.5 liter pot, repair kit, priming practice | Reliable pressure for snow melting and breakfast simmering |
Where Heatinerary Fits: Trusted Guidance When It Matters
Heatinerary exists because a wrong stove match can waste fuel, time, and morale. The Trip-Tuned Stove Lab for precise stove, fuel, and cookware matching takes your itinerary, forecast, elevation, and menu, then returns a complete system plan including fuel quantities, wind protection, and cookware sizing. It is backed by comprehensive camping stove reviews and guides, detailed comparisons of fuel behavior in subzero temperatures, and expert insights for both family campers and backpackers. You get clarity, not just specs, and confidence that your kitchen will work anywhere you roam.
The result is simple and powerful: meals that start on time, simmer like they should, and end with happy people. Whether it is a quick caffeine fix in sleet or a celebratory pasta at a high camp, the right match turns effort into ease. And when the forecast changes midweek, you can run your plan back through the lab and update your setup before you leave. That is modern trip planning for real-world cooking.
Final Thoughts
Pick the stove that matches your route, weather, group, and menu, and your backcountry kitchen will run like clockwork. Imagine starting each meal with a steady flame, a pot that fits, and fuel to spare, regardless of wind or frost. Which step will you take today to dial in your backpacking stove and make your next meal the one your trail friends talk about?
In the next 12 months, you could log fuel use by meal, refine your cookware, and build a dependable setup that feels second nature in any season. What would your perfect trail kitchen look like on a stormy evening?
Additional Resources
Explore these authoritative resources to dive deeper into woods ™ backpacking stove.
- Camping Stoves & Cookware - Woods Canada
- Woods Canada "personal stove system", MSR/ Jetboil competitor ...
Plan Smarter With Heatinerary’s Trip-Tuned Stove Lab
Heatinerary’s Trip-Tuned Stove Lab matches your stove, fuel, and cookware to route, season, and weather so campers and backpackers cook safely and efficiently anywhere.
Related Articles